Easy Goat’s Milk Soap Recipe: Melt and Pour for Beginners
There’s something deeply satisfying about making your own soap especially when it’s gentle, creamy, and nourishing. Goat’s milk soap has long been loved for its skin-soothing qualities, and the best part? You don’t need complicated techniques or intimidating ingredients to make it at home.
This easy goat’s milk soap recipe using the melt and pour method is perfect for beginners. There’s no lye, no curing time, and no guesswork just a simple, relaxing DIY that leaves you with beautiful soap bars you can use, gift, or even sell.
This website contains affiliate links. As an Amazon Associate, I earn from qualifying purchases. Please read our disclaimer.
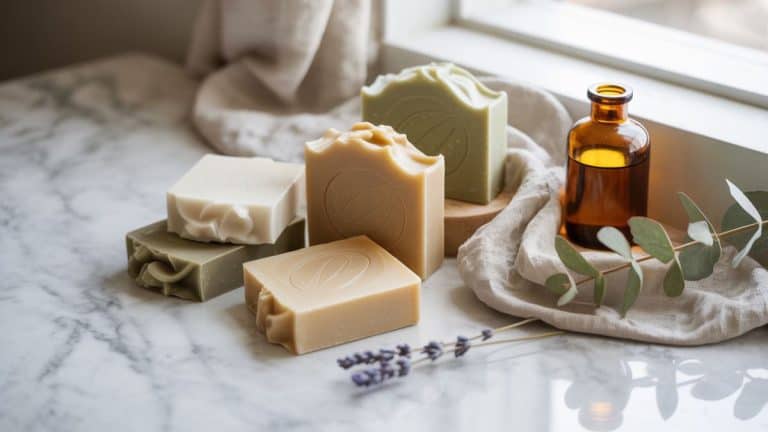
Why Choose Goat’s Milk Soap?
Goat’s milk soap is a favorite for a reason. It’s naturally creamy, gentle on the skin, and suitable for everyday use even for those with sensitive or dry skin.
Goat’s milk contains natural fats that help moisturize, while its mild cleansing properties make it a great option for hands, face, and body. When combined with a melt and pour base, you get all the benefits without the complexity of traditional soap making.
This recipe is especially loved by:
- Beginners trying soap making for the first time
- Anyone wanting a soft, nourishing bar
- Makers creating handmade gifts or market-ready soaps
What Is Melt and Pour Soap?
Melt and pour soap is exactly what it sounds like you melt a pre-made soap base, customize it, and pour it into molds. That’s it.
There’s no lye handling, no long curing process, and no advanced equipment required. It’s the safest and easiest way to make soap at home, while still allowing plenty of room for creativity.
You can keep things simple and classic, or customize your bars with scents, colors, and gentle add-ins depending on your style.
Ingredients You’ll Need
This recipe keeps things beautifully simple.
Base Ingredients
- Goat’s milk melt and pour soap base (affiliate)
Optional Add-Ins
- Fragrance oil or essential oil
- Soap-safe colorant or mica (optional)
- Gentle add-ins like oatmeal, honey, or dried botanicals
If you’re new to soap making, starting with an unscented, uncolored bar is a great way to get comfortable before experimenting.
Tools & Equipment
You won’t need anything fancy just a few basics you may already have at home.
- Microwave-safe bowl or double boiler (affiliate)
- Silicone soap mold
- Spoon or spatula
- Measuring spoons
- Rubbing alcohol in a spray bottle (optional, for bubbles)
Silicone molds are especially beginner-friendly because they make unmolding easy and stress-free.
Step-by-Step: Easy Goat’s Milk Melt and Pour Soap Recipe
Step 1: Cut the Soap Base
Cut the goat’s milk soap base into small, even cubes. Smaller pieces melt more evenly and help prevent scorching.
Step 2: Melt Gently
Place the cubes into a microwave-safe bowl or double boiler.
- Microwave in short bursts, stirring between each
- Or melt slowly over low heat on the stovetop
The key is gentle heat overheating can cause discoloration or affect the creamy look of goat’s milk soap.
Step 3: Add Fragrance & Color
Once fully melted, remove from heat and allow the soap to cool slightly before adding fragrance or color.
Stir gently to avoid bubbles. A little fragrance goes a long way especially with goat’s milk soap, which already has a soft, natural scent.
Step 4: Pour Into Molds
Carefully pour the soap into your silicone molds.
If bubbles appear on the surface, lightly spray with rubbing alcohol to pop them.
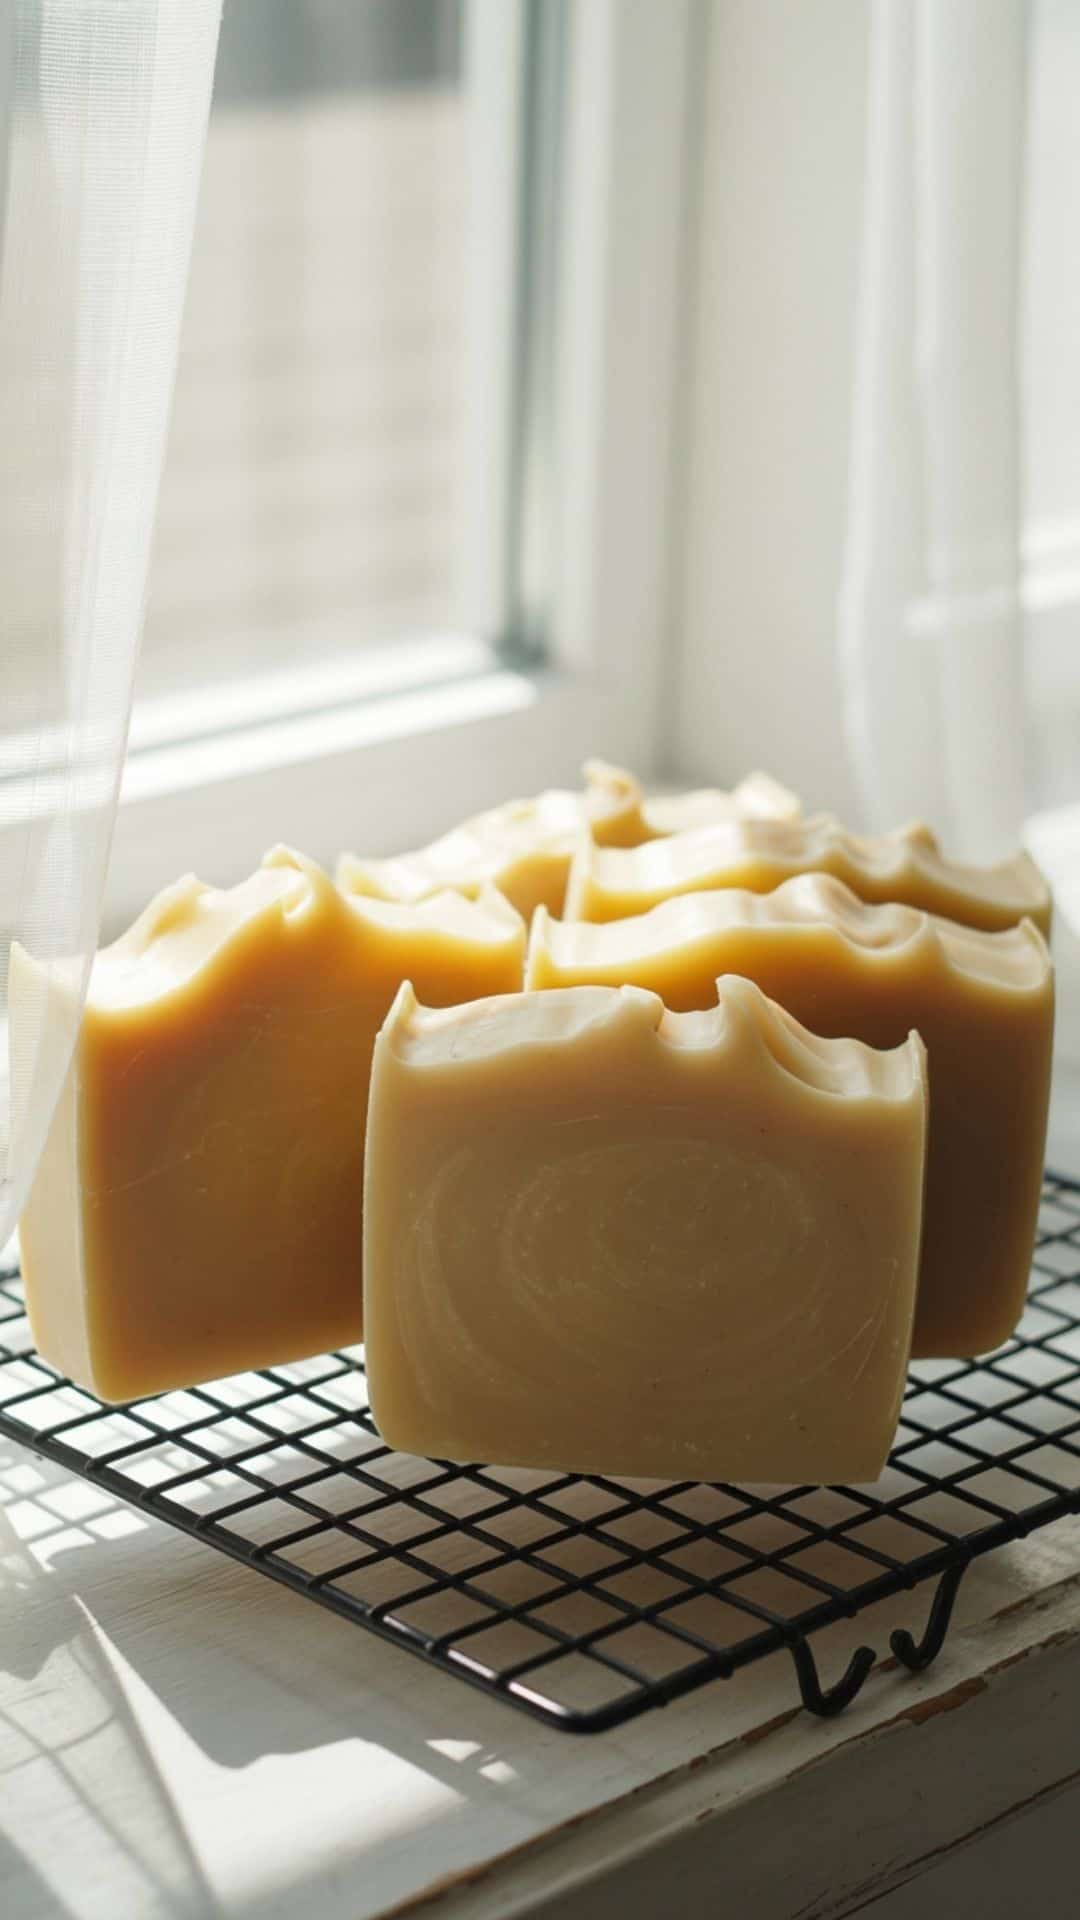
Step 5: Let Set & Unmold
Allow the soap to cool and harden completely usually 1–2 hours at room temperature. Once firm, gently pop the bars out of the mold. Your soap is ready to use immediately.
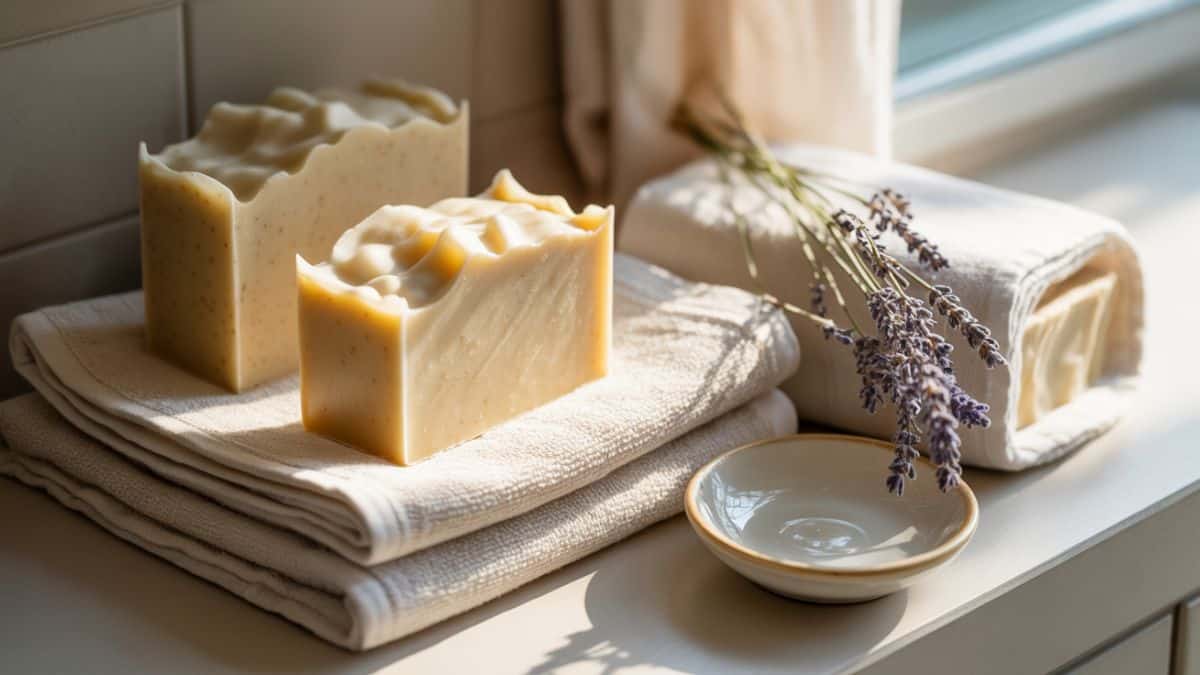
Tips for Perfect Goat’s Milk Soap
- Avoid overheating to keep the soap creamy and light in color
- Let melted soap cool slightly before adding fragrance
- Store finished bars in a cool, dry place
- Wrap soaps to prevent glycerin dew, especially in humid climates
These small steps make a big difference in the final look and feel of your soap.
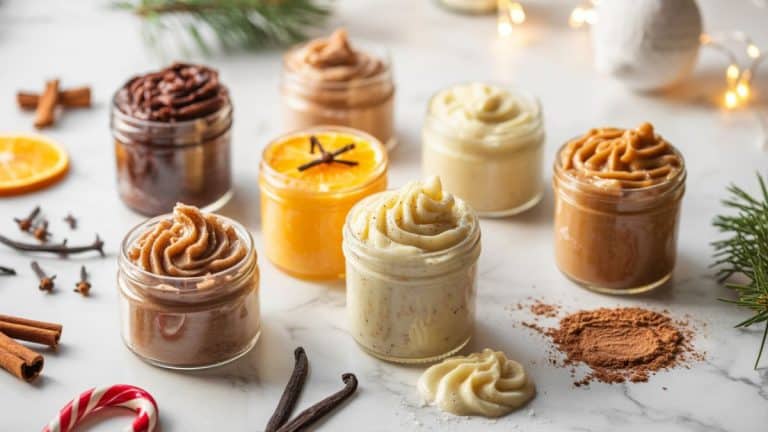
Customization Ideas
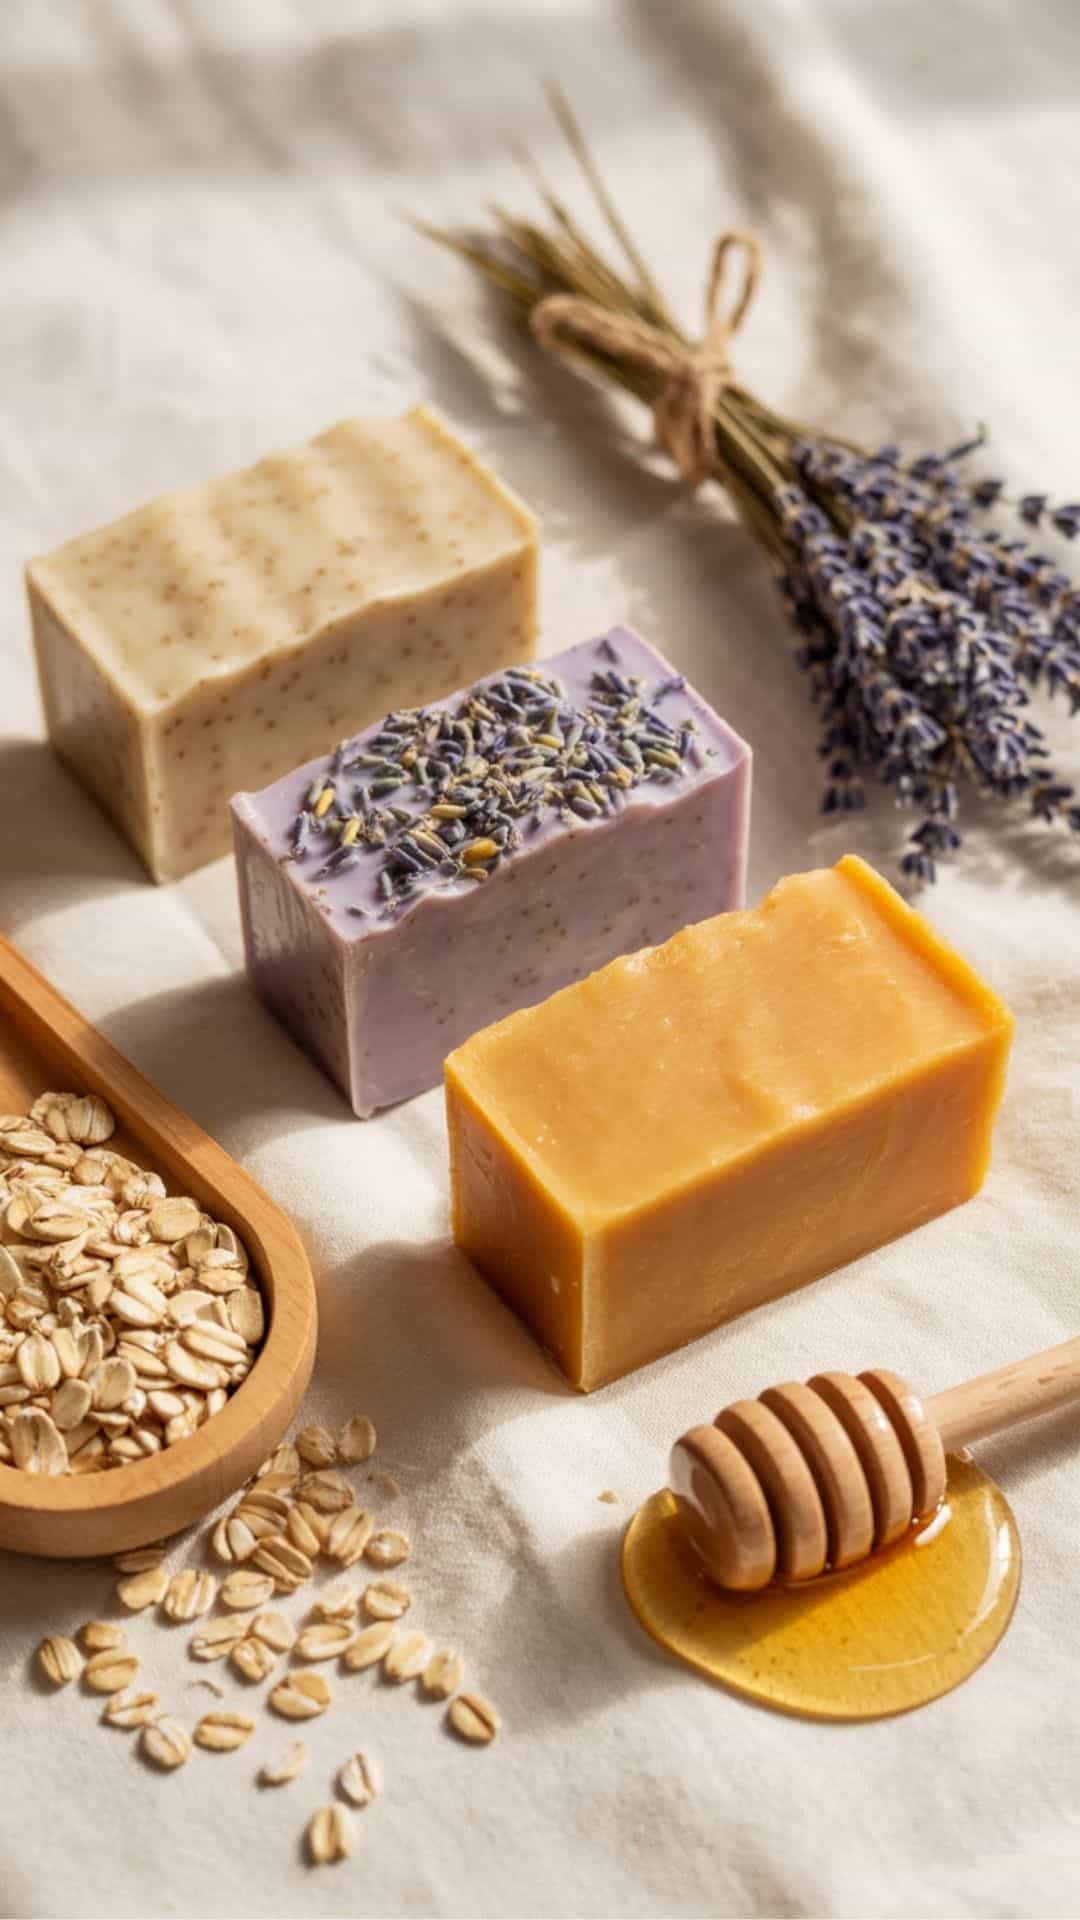
Once you’ve mastered the basic recipe, it’s easy to create variations:
- Oatmeal Goat’s Milk Soap – gentle exfoliation
- Honey & Milk Soap – warm, comforting, and nourishing
- Lavender Goat’s Milk Soap – calming and spa-like
- Unscented Soap – perfect for sensitive skin or babies
You can keep your designs minimalist or dress them up with layers and textures.
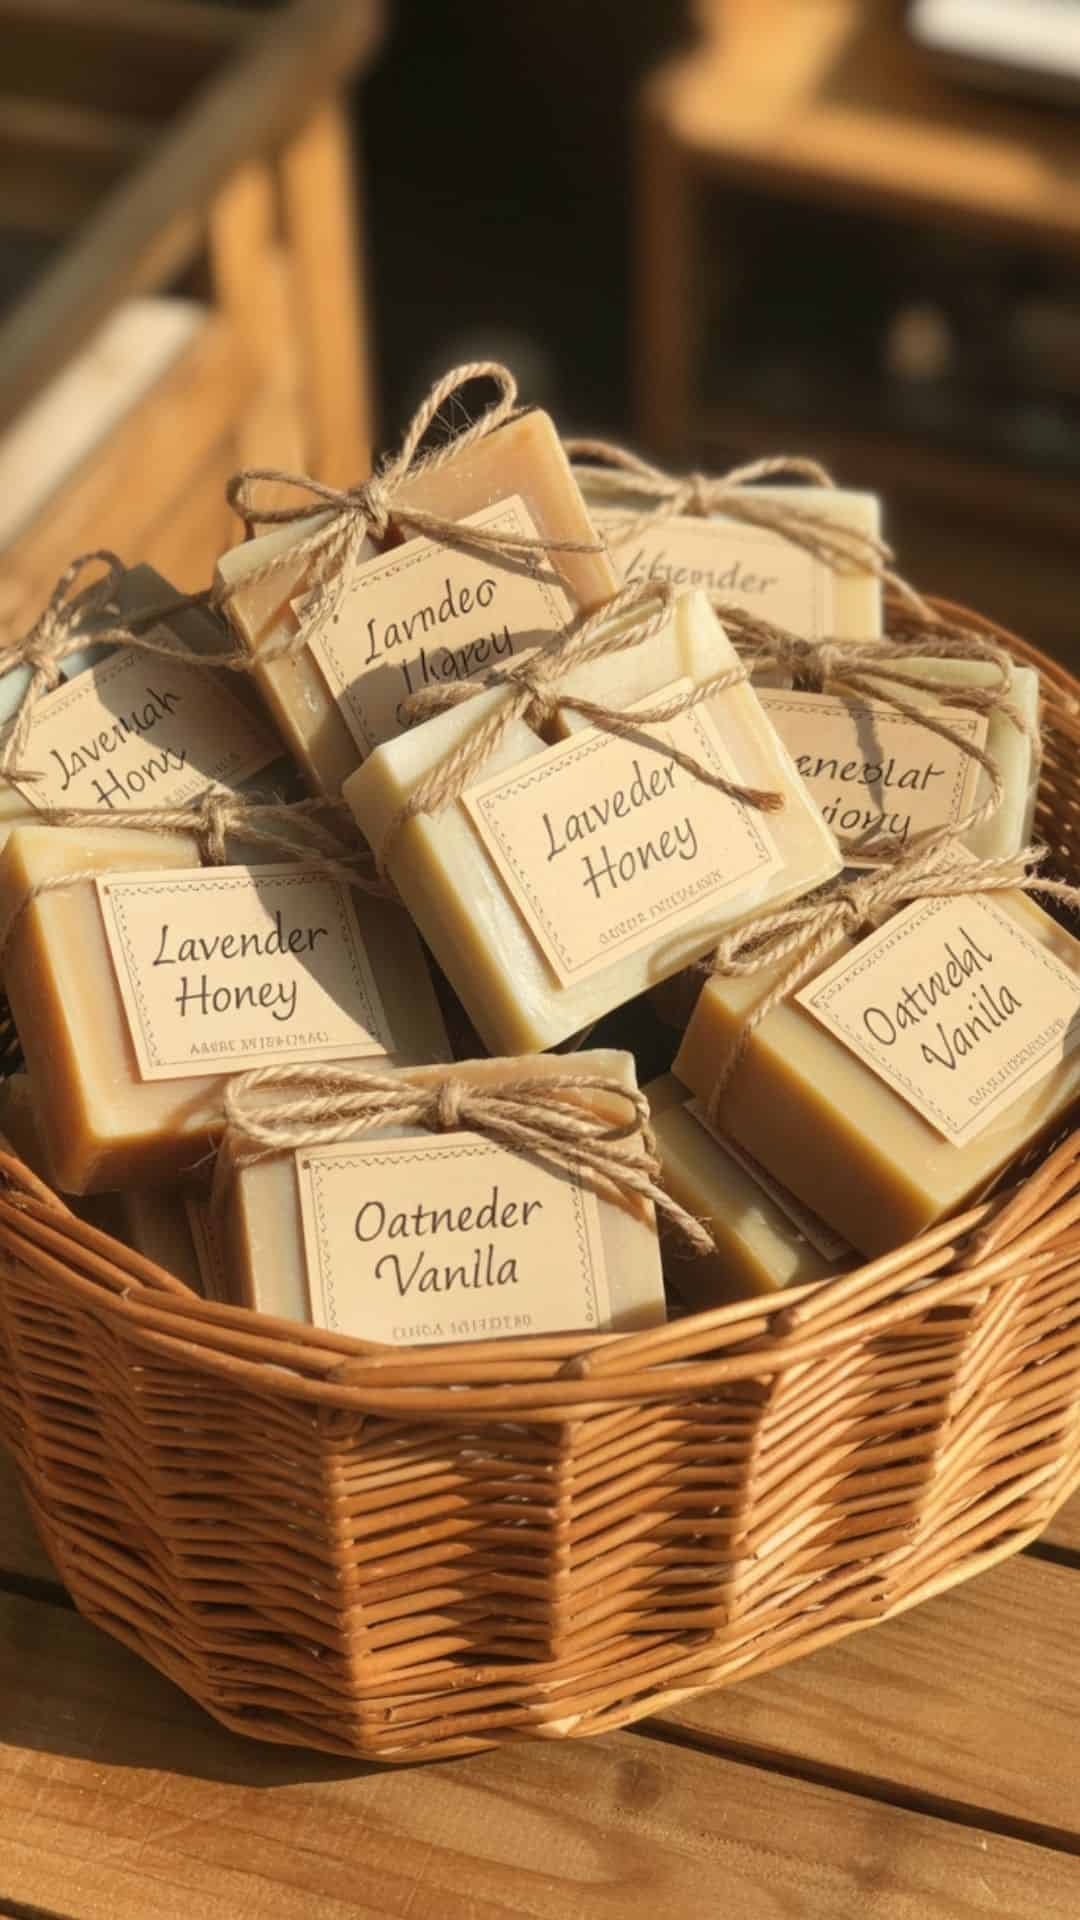
Storage, Packaging & Shelf Life
Melt and pour goat’s milk soap typically lasts 12–18 months when stored properly.
For best results:
- Store in a cool, dry place
- Wrap bars in shrink wrap or wax paper
- Add simple labels for gifting or selling
These soaps make beautiful handmade gifts and are a popular choice at craft fairs and online shops.
Goat’s Milk Melt and Pour Soap FAQs
Can I use essential oils instead of fragrance oils? Yes just make sure they’re skin-safe and used at proper rates.
Why did my soap darken? Overheating or adding fragrance at too high a temperature can cause discoloration.
Can I remelt soap if I make a mistake? Absolutely. Melt and pour soap is very forgiving.
Is this soap safe for kids? Yes, especially unscented versions. Always supervise younger children during use.
Final Thoughts
Making goat’s milk soap with the melt and pour method is one of those crafts that feels both creative and comforting. It’s simple enough for beginners, yet satisfying enough to come back to again and again.
Making soap for yourself, as gifts, or as part of a small handmade business, this recipe is a beautiful place to start and one you’ll likely return to often.
If you’re ready to take the next step, explore this collection of easy melt and pour soap recipes designed for all levels: Melt and Pour Soap Recipes for Beginners & Beyond charcoal melt and pour soap recipes.