Creative DIY Old Key Crafts You Can Make to Gift or Sell
We all have them those mysterious old keys that no longer open anything but somehow still linger in our junk drawers. Instead of letting them collect dust, why not transform these forgotten items into beautiful, functional, or decorative pieces?
Old keys carry a certain vintage charm and symbolism that make them perfect for creative DIY projects. In this guide, we’ll explore seven unique ways to breathe new life into your collection of old keys through simple, enjoyable crafting projects.
This website contains affiliate links. As an Amazon Associate, I earn from qualifying purchases. Please read our disclaimer.
Where to Find Old Keys for Your DIY Projects
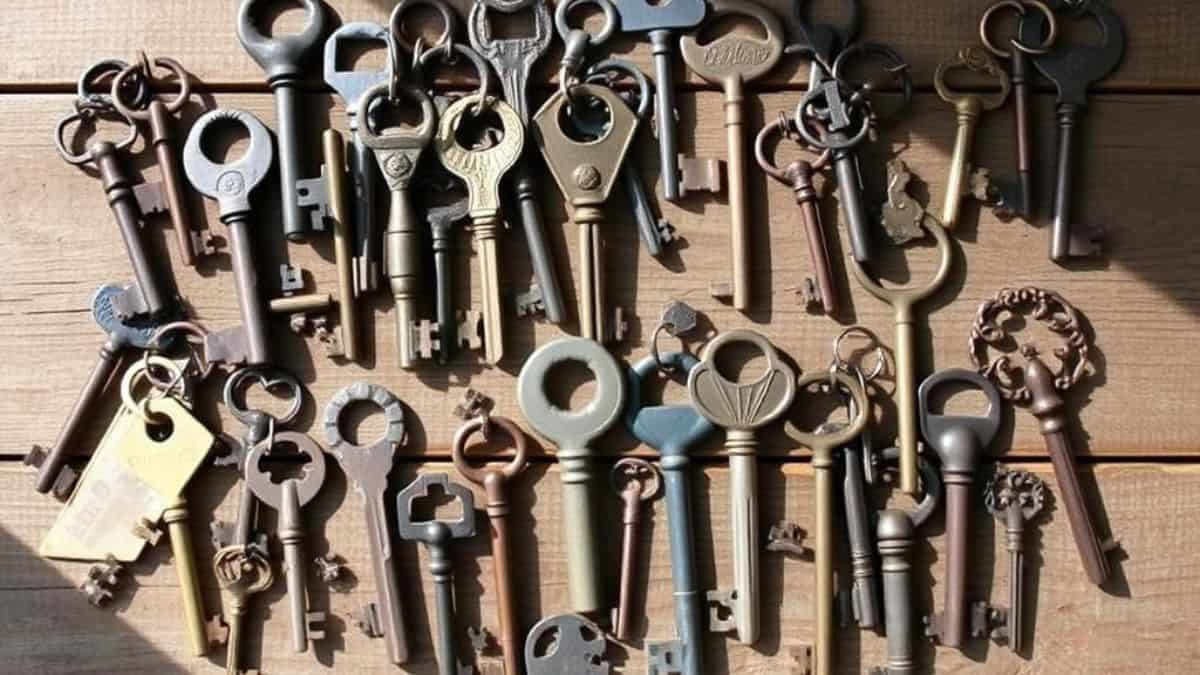
Before diving into our creative projects, you might be wondering where to find old keys if you don’t already have a collection. Here are some excellent sources:
- Thrift stores and secondhand shops often have jars of miscellaneous keys
- Antique stores and flea markets for vintage or skeleton keys
- Garage sales and estate sales where you can often find them for pennies
- Online marketplaces like Etsy or eBay sell bulk vintage keys
- Hardware stores sometimes have bins of unclaimed or miscut keys
- Ask friends and family to save their old, unused keys
A variety of key styles will give your projects more visual interest! Ready to Start Crafting?
Once you’ve gathered your keys, it’s time to transform them into something special!
Safety Considerations When Working with Old Keys
Before starting any of these projects, it’s important to consider a few safety precautions:
Important Safety Tips:
- Clean old keys thoroughly before handling them extensively
- Wear gloves when working with rusty keys to prevent cuts
- Use proper eye protection when cutting, drilling, or bending metal
- Keep small keys away from children who might put them in their mouths
- Ensure proper ventilation when using adhesives, paints, or other chemicals
Now that we’ve covered safety, let’s explore our seven creative DIY projects!
Vintage Key Wind Chime

There’s something magical about turning old keys into soft, tinkling music. A key wind chime brings together vintage metal, breezy movement, and a little whimsy all with materials you already have at home. This is one of the easiest ways to use a handful of mismatched keys and instantly add charm to your porch or garden.
Materials Needed:
- 15-20 keys of various sizes
- Fishing line or thin, strong string
- A piece of driftwood, a small branch, or a wooden dowel
- Scissors
- Optional: small beads, crystals, or buttons for additional decoration
Step-by-Step Instructions:
- Clean your keys thoroughly with soap and water, then dry completely.
- Cut fishing line into varying lengths between 4-12 inches.
- Tie one end of each fishing line securely to a key.
- If using decorative elements, thread them onto the fishing line above the keys.
- Tie the other end of each fishing line to your wooden piece, spacing them evenly.
- Hang your completed wind chime in a place where it will catch the breeze.
Customization Tips:
For a more colorful wind chime, paint some of the keys with weather-resistant paint. You can also add small bells between keys for additional sounds, or arrange keys by size for a more organized look.
The gentle tinkling sound of keys moving in the breeze creates a soothing atmosphere in any garden or porch area.
Key Jewelry: Necklaces and Bracelets
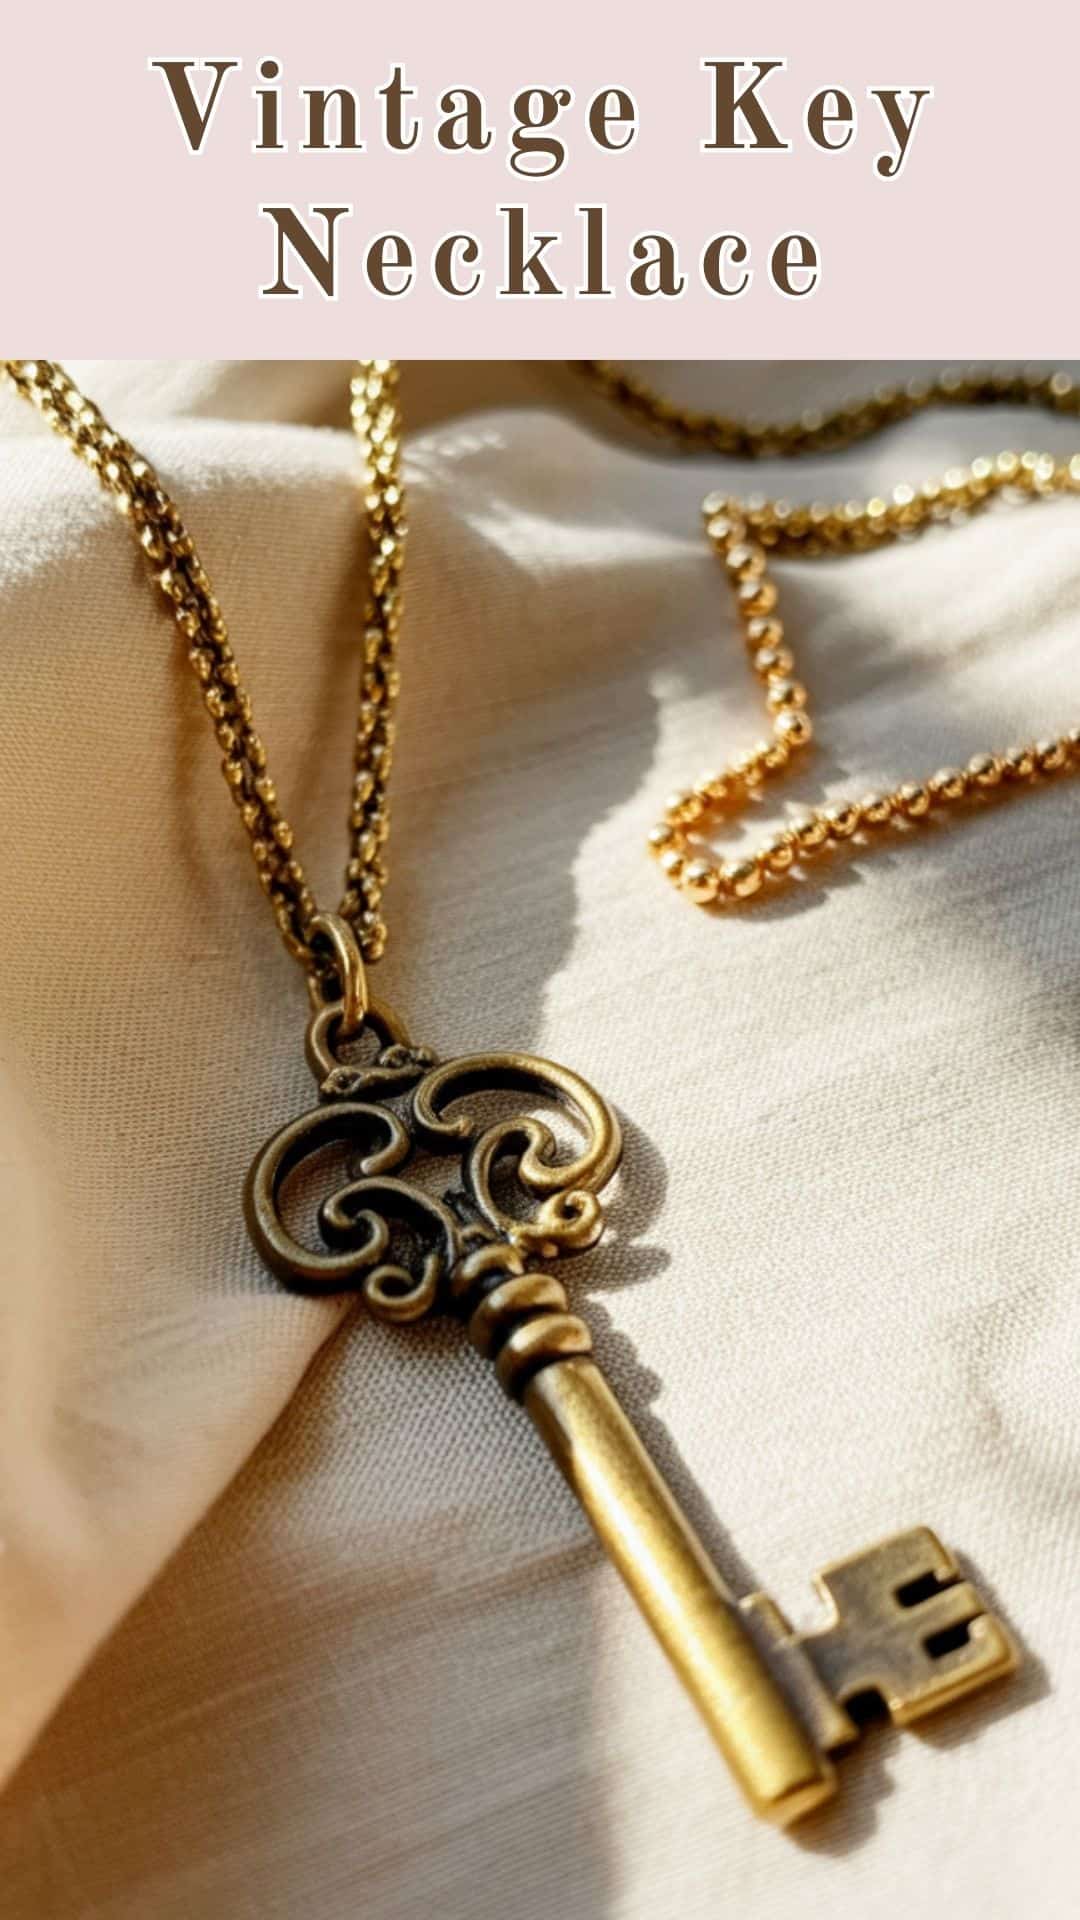
Old keys make beautiful, meaningful jewelry especially when they’re lightweight skeleton keys or keys from a childhood home. With just a few basic jewelry supplies, you can turn them into sentimental necklaces or bracelets that look like something from a boutique artisan market.
Materials Needed:
- Small to medium-sized keys (skeleton keys work especially well)
- Jewelry chain in your preferred metal tone
- Jump rings (small metal rings that open and close)
- Clasps for necklace/bracelet
- Needle-nose pliers
- Optional: beads, charms, or crystals for embellishment
Step-by-Step Instructions:
- Clean and polish your keys to remove any dirt or tarnish.
- Using needle-nose pliers, open a jump ring by twisting it sideways (never pull apart).
- Thread the jump ring through the hole in your key.
- Attach the jump ring to your chain.
- Close the jump ring by twisting it back into place.
- Attach clasps to the ends of your chain using jump rings.
Customization Tips:
For a more elaborate piece, combine multiple keys of different sizes. Add complementary charms like locks, clocks, or vintage-style pendants. You can also wrap colored wire around parts of the key for a pop of color.
Key jewelry makes for meaningful gifts, especially when using keys that have personal significance.
Key Wall Hooks

If you love crafts that blend creativity with actual function, key wall hooks are a winner. By bending a few sturdy keys and mounting them onto a wooden board, you can create a rustic-meets-vintage storage solution perfect for entryways, mudrooms, and cottage-style decor.
Materials Needed:
- 5-10 sturdy metal keys
- Wooden board or plaque
- Heavy-duty pliers
- Crescent wrench
- Small screws or decorative nails
- Screwdriver
- Sandpaper (if finishing the wood)
- Paint or stain (optional)
- Wall mounting hardware
Step-by-Step Instructions:
- If using unfinished wood, sand and finish your board as desired.
- Heat each key slightly over a flame to make it more pliable (use pliers to hold it).
- Using the pliers and wrench, carefully bend each key at a 90-degree angle to form an “L” shape.
- Arrange your bent keys on the board in your desired pattern.
- Mark the position for each key, then attach them using small screws or decorative nails.
- Attach wall mounting hardware to the back of the board.
- Hang your new key hook rack and use it for lightweight items like scarves, jewelry, or small bags.
Caution: Be careful when heating and bending keys. Some older keys may be brittle and could snap if bent too quickly. Always wear protective gloves when handling heated metal.
Customization Tips:
Add a decorative touch by painting your keys in coordinating colors. You can also add text to your board such as “Home,” “Keys,” or “Welcome” using stencils or vinyl lettering.
This functional piece combines practicality with vintage charm, perfect for entryways or mudrooms.
Key-Decorated Picture Frame
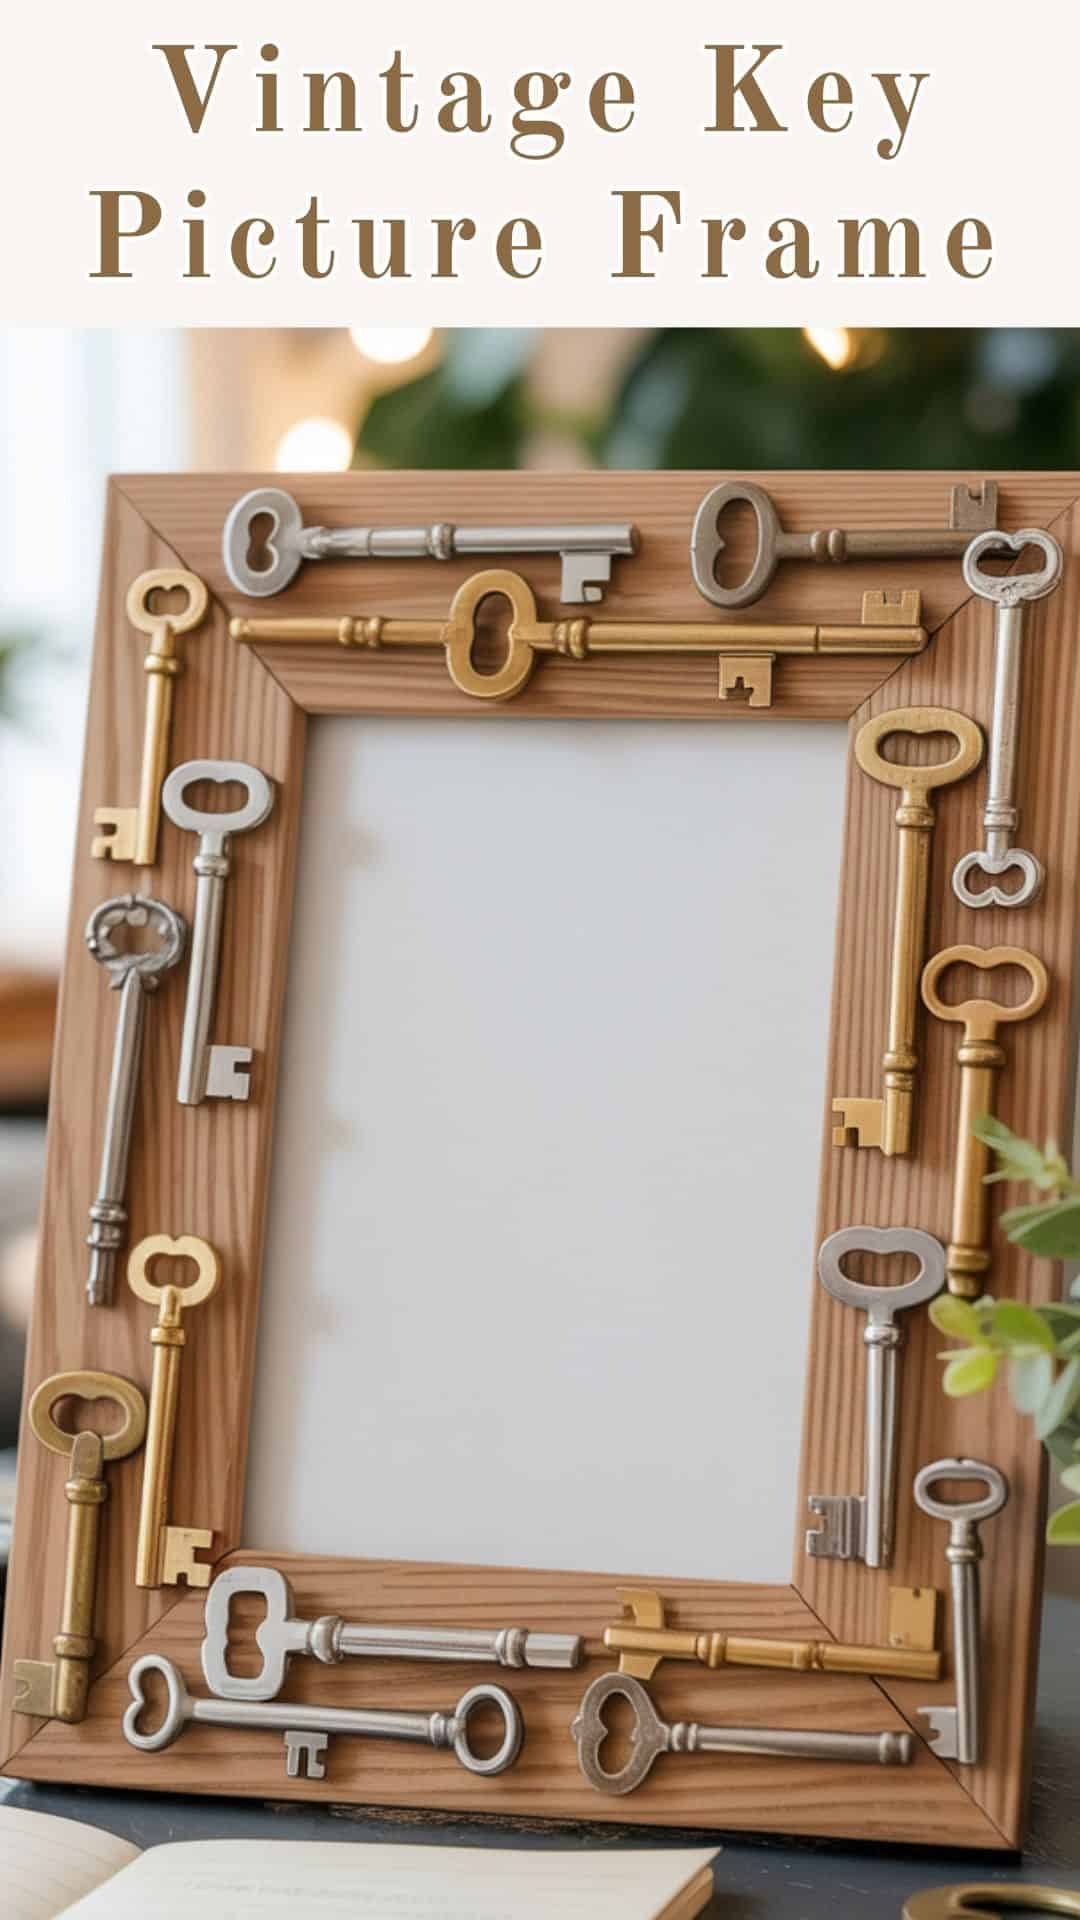
If you love mixed-media crafts, decorating a picture frame with old keys is a beautiful way to add vintage character. Whether you keep the keys in their natural patina or paint them metallic, this project instantly transforms a simple frame into a meaningful keepsake.
Materials Needed:
- Wooden picture frame (unfinished works best)
- Assorted keys of different shapes and sizes
- Strong adhesive (E6000 or similar)
- Paint or stain for the frame (optional)
- Metallic paint for keys (optional)
- Sandpaper
- Paintbrushes
- Decorative elements like small gears or watch parts (optional)
Step-by-Step Instructions:
- If desired, sand and paint or stain your wooden frame. Allow to dry completely.
- Arrange your keys on the frame to create a pleasing design before gluing.
- One by one, apply adhesive to the back of each key and press firmly onto the frame.
- If using additional decorative elements, add these between or around the keys.
- Allow the adhesive to cure completely according to package instructions (usually 24 hours).
- Insert your favorite photo and display your unique creation.
Customization Tips:
For a cohesive look, paint all keys in the same metallic finish. For more contrast, mix different metal tones like copper, brass, and silver. You can also create a theme by using similar types of keys or arranging them in specific patterns.
This project creates a one-of-a-kind frame that adds vintage character to any photo display.
Key Magnets
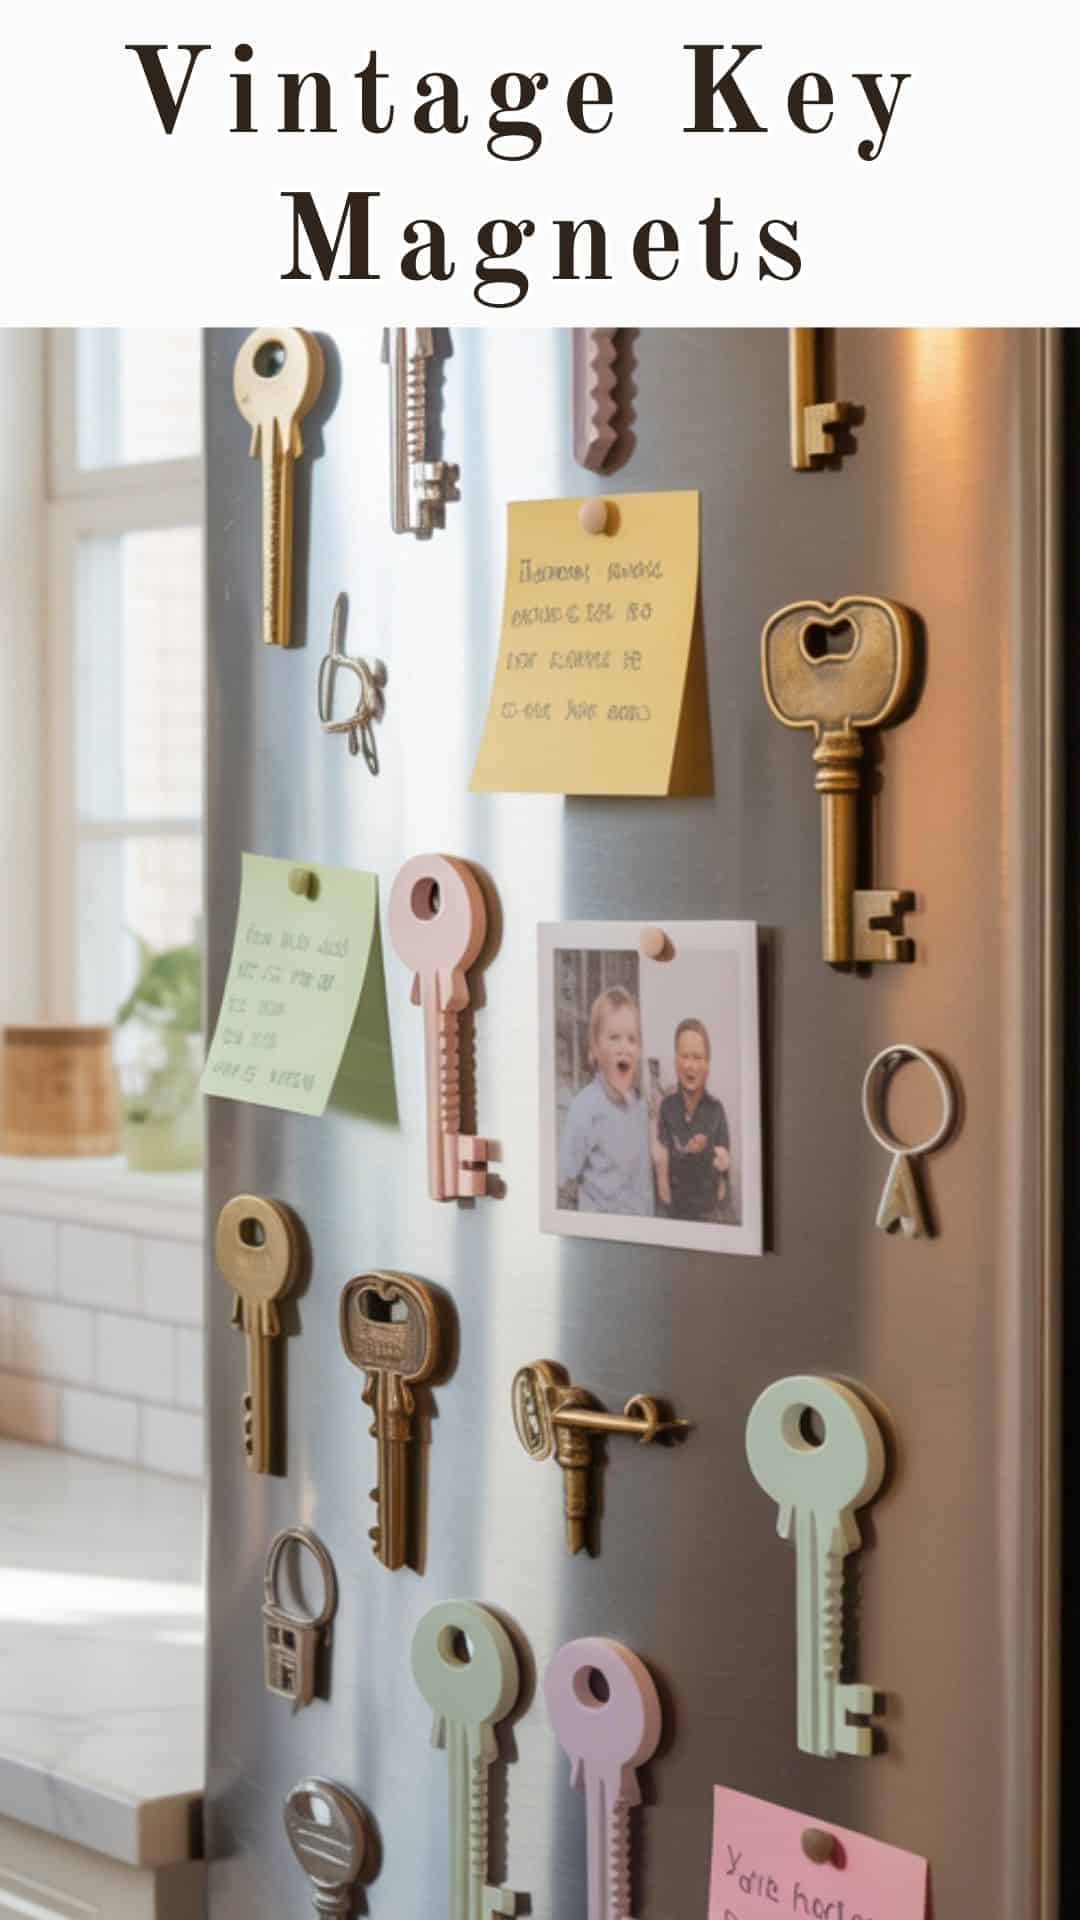
Key magnets are one of the easiest DIYs on this list and one of the most giftable. A few small keys plus strong magnets give you a cute, functional accessory for refrigerators, office boards, or kids’ art displays. You can paint them or keep the rustic look both work beautifully.
Materials Needed:
- Small to medium-sized keys
- Strong magnets (neodymium works best)
- Heavy-duty adhesive like E6000 or epoxy
- Sandpaper
- Optional: spray paint in your choice of colors
- Optional: decorative elements like small beads or rhinestones
Step-by-Step Instructions:
- Clean your keys thoroughly and let them dry completely.
- If painting, lightly sand the keys to help the paint adhere better.
- Apply spray paint in thin, even coats and allow to dry between coats.
- Mix your epoxy according to package directions or prepare your adhesive.
- Apply adhesive to the back of each key and press a magnet firmly into place.
- Allow the adhesive to cure completely (usually 24 hours).
- Test your magnets on your refrigerator or magnetic board.
Customization Tips:
Create themed sets by painting keys in coordinating colors. Add personality with small decorative elements glued to the front of the keys. For a rustic look, leave vintage keys in their natural, tarnished state.
These magnets make practical gifts and add character to any magnetic surface in your home or office.
Key Imprinted Clay Ornaments
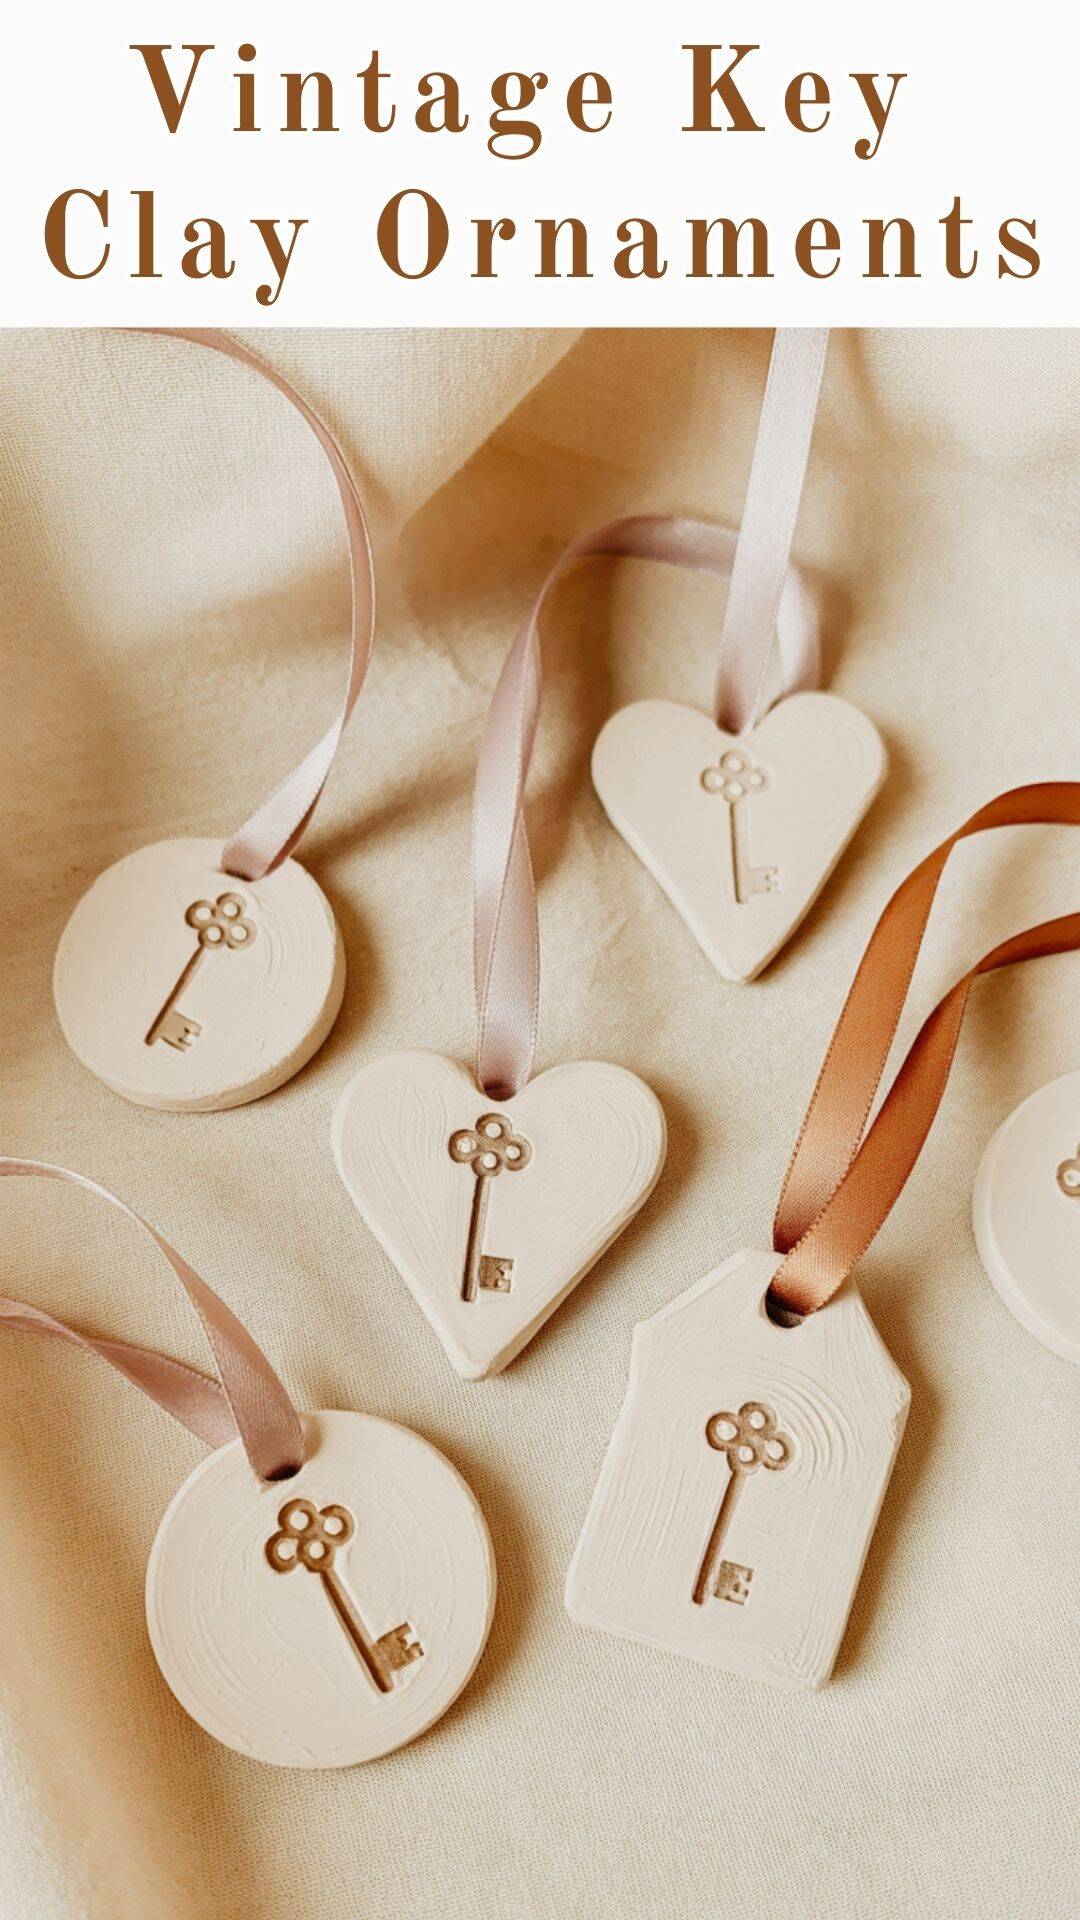
These clay ornaments capture the textures and patterns of old keys in the most gorgeous way. Whether you hang them on a Christmas tree, use them as gift tags, or display them year-round, the impressions look detailed, vintage, and beautifully handmade.
Materials Needed:
- Air-dry clay or polymer clay (affiliate)
- Keys with interesting shapes and patterns
- Rolling pin
- Cookie cutters or knife for cutting shapes
- Straw or skewer (to make holes for hanging)
- Sandpaper (fine grit)
- Acrylic paint and brushes (optional)
- Clear sealer or glaze (optional)
- Ribbon or string for hanging
Step-by-Step Instructions:
- Roll out your clay to about 1/4 inch thickness on a clean surface.
- Use cookie cutters to cut out shapes, or cut freehand with a knife.
- Press keys firmly into the clay to create detailed impressions.
- Use a straw or skewer to make a hole near the top for hanging.
- Allow air-dry clay to dry completely (usually 24-48 hours) or bake polymer clay according to package instructions.
- Once dry or cooled, lightly sand any rough edges.
- If desired, paint the ornaments and apply a clear sealer.
- Thread ribbon or string through the holes for hanging.
Customization Tips:
Create seasonal ornaments by using themed cookie cutters. Add metallic paint to the key impressions for a striking effect. Mix different colored clays for a marbled look, or add glitter to the clay before rolling it out.
These versatile ornaments can be used for holiday decorations, gift tags, or year-round home decor.

Unlock Your Creativity with Old Keys
Old keys hold a special kind of magic – they’ve unlocked doors to homes, diaries, and treasures in their past lives. By transforming them into beautiful crafts, you’re giving them a second chance to be meaningful and useful. Each of these seven projects offers a unique way to showcase the character and charm of vintage keys.
Whether you’re a seasoned crafter or just starting out, these DIY key projects provide options for every skill level. The best part is that each creation will be completely unique, reflecting your personal style and the individual character of your keys.
The beauty of DIY crafting is in the process as much as the result. Don’t be afraid to experiment, modify these ideas, or combine elements from different projects to create something entirely your own. The possibilities are truly endless when you unlock your creativity!