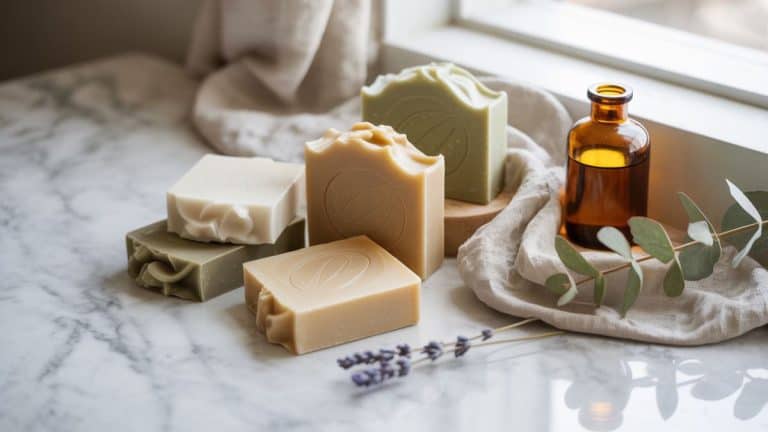
How to Make Minimalist Beaded Bracelets That Sell Fast
Want to turn a simple jewelry idea into a fast-selling product line? Minimalist beaded bracelets are the perfect mix of trendy, timeless, and beginner-friendly and the best part is, you can make them in 30 minutes or less once you master the system.
In this guide, you’ll learn:
- The exact materials and tools to use for premium-quality bracelets
- 5 bestselling bracelet designs you can recreate fast
- Time-saving production tricks used by real jewelry sellers
- What mistakes to avoid so your bracelets never snap, stretch, or look cheap
- Marketing tips to help your bracelets sell on Etsy, Instagram, or at markets
Crafting for fun, gifting, or building a side hustle, minimalist beaded bracelets are one of the easiest ways to start creating beautiful, high-profit jewelry that people want to buy.

This website contains affiliate links. As an Amazon Associate, I earn from qualifying purchases. Please read our disclaimer.
Materials & Tools You’ll Need
The secret to creating luxury-looking bracelets quickly is using high-quality components and keeping your workspace organized. Better materials = higher price point, fewer returns, and happier customers.
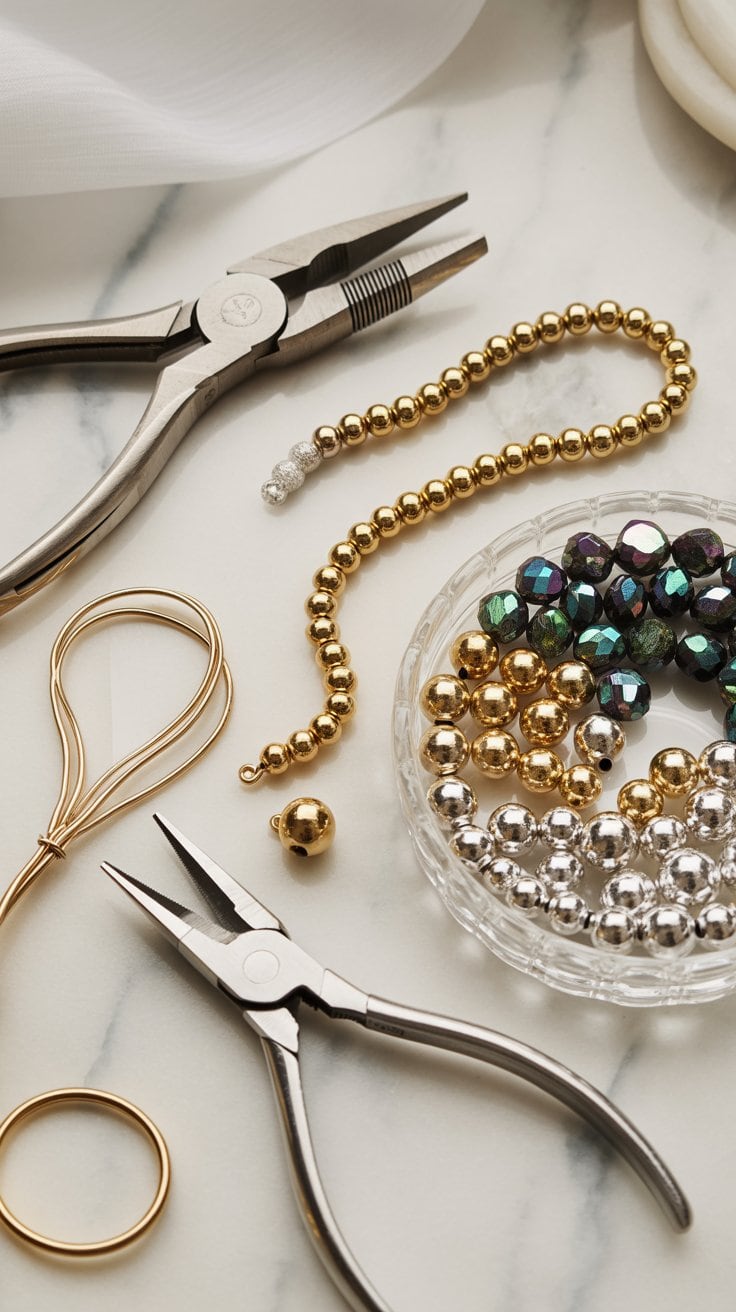
Beads & Findings
- 2–5mm gold filled or sterling silver round beads
- Miyuki or Toho glass seed beads (sizes 11/0 or 8/0)
- 2–4mm gemstone beads (moonstone, amazonite, labradorite, etc.)
- Spacer beads (tiny gold or silver metal dots for spacing)
- Clasps (only needed if not using stretch cord)
- 4mm jump rings
Tools & Stringing Supplies
- 0.5–0.8mm clear elastic cord (for stretch bracelets)
- Beading wire (for non-stretch bracelets)
- Bead board or tray with measurements
- Sharp scissors
- Round-nose + chain-nose pliers
- Crimp beads + crimp tool (if using wire)
- Clear nail polish or GS Hypo Cement (for sealing knots)
Pro Tip: Quality = Profit: Gold filled and sterling silver beads cost more than plated beads but they don’t flake, don’t turn green, and don’t irritate skin, which is why they sell fast at premium prices. Cheap findings = cheap reviews.
5 Minimalist Bracelet Designs (Ready in 30 Minutes)
These bestselling bracelet templates are fast to assemble, require no complicated beading skills, and look professionally designed perfect for stacking, gifting, or selling in sets.
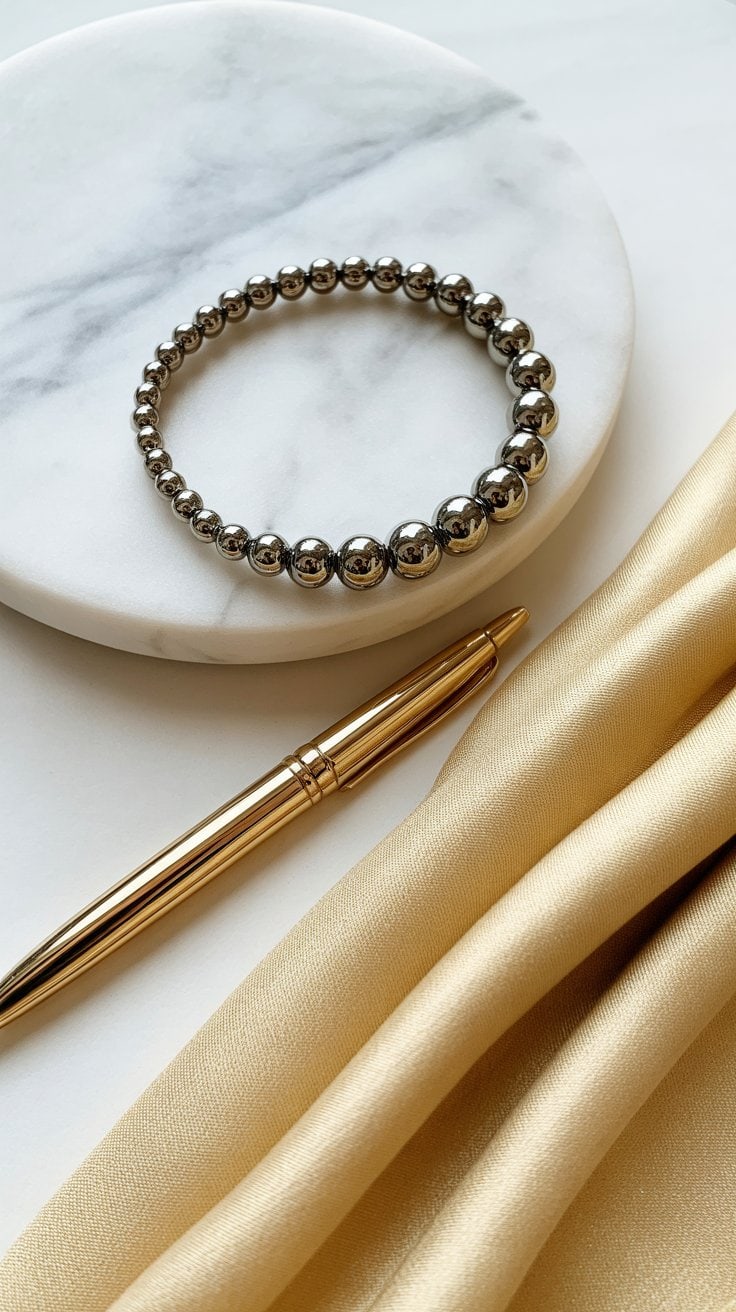
1. The Classic Single-Bead Strand
Elegant, timeless, and one of the easiest bracelets to batch-make for fast inventory.
Materials: 25–30 identical 3mm gold-filled or sterling silver beads, 0.7–0.8mm clear elastic cord
Time to Make: 10–15 minutes
Why It Sells: Universal style, great for stacking, always in demand
How to Make It
- Cut 10 inches of elastic cord and pre-stretch it gently.
- Add a bead stopper or small piece of tape to one end.
- String 25–30 beads until bracelet matches wrist size + 0.5 inch.
- Tie a double surgeon’s knot, tightening slowly to avoid snapping.
- Seal knot with clear nail polish or GS Hypo Cement.
- Trim ends close and tuck the knot inside a bead if possible.
- Roll bracelet between palms to settle beads evenly.
Pro Tip: Use gold-filled beads instead of plated they retain shine for 20+ years.
2. The Graduated Bead Pattern
Subtle and modern the layered bead sizes create a curved visual flow.
Materials: 10–12 each of 2mm, 3mm, and 4mm beads, elastic cord
Time to Make: 15–20 minutes
Why It Sells: Adds visual interest while still minimalist
How to Make It
- Cut 10 inches of elastic and pre-stretch.
- Start with 2mm beads, then transition to 3mm, then 4mm, then back down.
- Check the layout on a bead board before stringing for symmetry.
- String beads in order: smallest → largest → smallest.
- Tie a double surgeon’s knot and pull snugly without over-stretching.
- Seal, trim, and roll bracelet to even out spacing.
- Test stretch before packaging.
Pro Tip: This design looks especially polished in sterling silver.
3. Sterling Silver Tube Bead Minimalist Bracelet

A sleek, modern bracelet made with polished sterling silver tube beads separated by tiny round beads. Clean lines, lightweight, and ultra-wearable this one sells especially well with “everyday minimalist” buyers.
Materials:
- 4 sterling silver tube beads (approx. 10–12mm long, smooth)
- 5 2–3mm sterling silver round beads (for spacing)
- 0.6–0.7mm clear stretch cord (elastic)
- Optional: 2 tiny silicone-lined spacer beads to frame the knot
- Sharp scissors, bead stopper/tape, clear nail polish or GS Hypo Cement
Time to Make: 10–15 minutes
Why It Sells: Ultra-minimalist, gender-neutral, looks like fine jewelry, stacks beautifully with gold or gemstone styles.
How to Make It
- Cut Cord: Measure and cut 10 inches of stretch cord. Gently pre-stretch to prevent loosening later.
- Layout Pattern: On a bead board, arrange:
round bead • tube bead • round bead • tube bead • round bead • tube bead • round bead • tube bead • round bead
(Ends with round beads so the tubes don’t collide.) - String Beads: Add stopper, then string in order exactly as laid out. Keep beads facing the same direction so tubes line up visually.
- Test Fit: Form a circle and check the spacing the tubes should create a clean “bar” look across the front of the bracelet.
- Secure Knot: Tie a double surgeon’s knot and pull snugly, but don’t overstretch the elastic.
- Seal Knot: Add a tiny dab of clear polish or Hypo Cement. Let dry 60–90 seconds.
- Finish Cleanly: Trim ends close and rotate knot under one of the round beads for a seamless finish.
- Polish + Check: Wipe tubes with a soft cloth to remove fingerprints, then gently stretch test to ensure security.
Pro Tip: Offer this in both all-silver and mixed metal (silver tube + gold beads) it doubles your listing without doubling your work.
4. Tiny Pearl & Gold Bead Bracelet

A softly elegant, minimalist bracelet featuring micro freshwater pearls paired with tiny gold-filled beads. Feminine, stackable, and perfect for gifting or bridal.
Materials:
- 12–16 micro freshwater pearls (2–3mm, round or potato)
- 14–20 gold-filled round beads (2–3mm)
- 0.6–0.7mm clear elastic cord (stretch)
- Optional: 2 tiny gold-filled spacer beads (1.8–2mm) to frame the pearl clusters
- Clear nail polish or GS Hypo Cement (for sealing knot)
- Bead stopper or tape, sharp scissors
Time to Make: 15–20 minutes
Why It Sells: Pearls + gold feel luxurious, pairs with bridal and everyday stacks, easy upsell as “gift set.”
How to Make It
- Measure & Cut: Measure wrist, then cut ~10 inches of elastic cord. Pre-stretch gently so it won’t loosen with wear.
- Plan the Layout: On a bead board, arrange a repeating pattern such as:
2 gold • 1 pearl • 2 gold • 1 pearl(repeat), or cluster pearls at the front only for a focal look. - Start Stringing: Add a stopper to one end. String your pattern until you reach wrist size + 0.5 inch for comfortable stretch.
- Check Balance: Lay the bracelet in a circle on your board. Adjust so the pearls are centered and spacing is symmetrical.
- Tie Securely: Tie a double surgeon’s knot (two passes each), snug but not stretched tight.
- Seal & Hide: Dab a tiny amount of clear polish or Hypo Cement on the knot. Let it set for 60–90 seconds, then tuck the knot between two gold beads.
- Finish Cleanly: Trim ends very close. Roll the bracelet between your palms to settle spacing and ensure no gaps show.
- Quality Check: Gently stretch 2–3 times to confirm knot security and even tension.
Pro Tip: For a luxe bridal version, use cream/ivory pearls with 2mm gold-filled spacers framing each pearl. List it as “nickel-free, hypoallergenic, tarnish-resistant.”n “tarnish-resistant, nickel-free, hypoallergenic” in product listings.
5. The Accent Gemstone Design
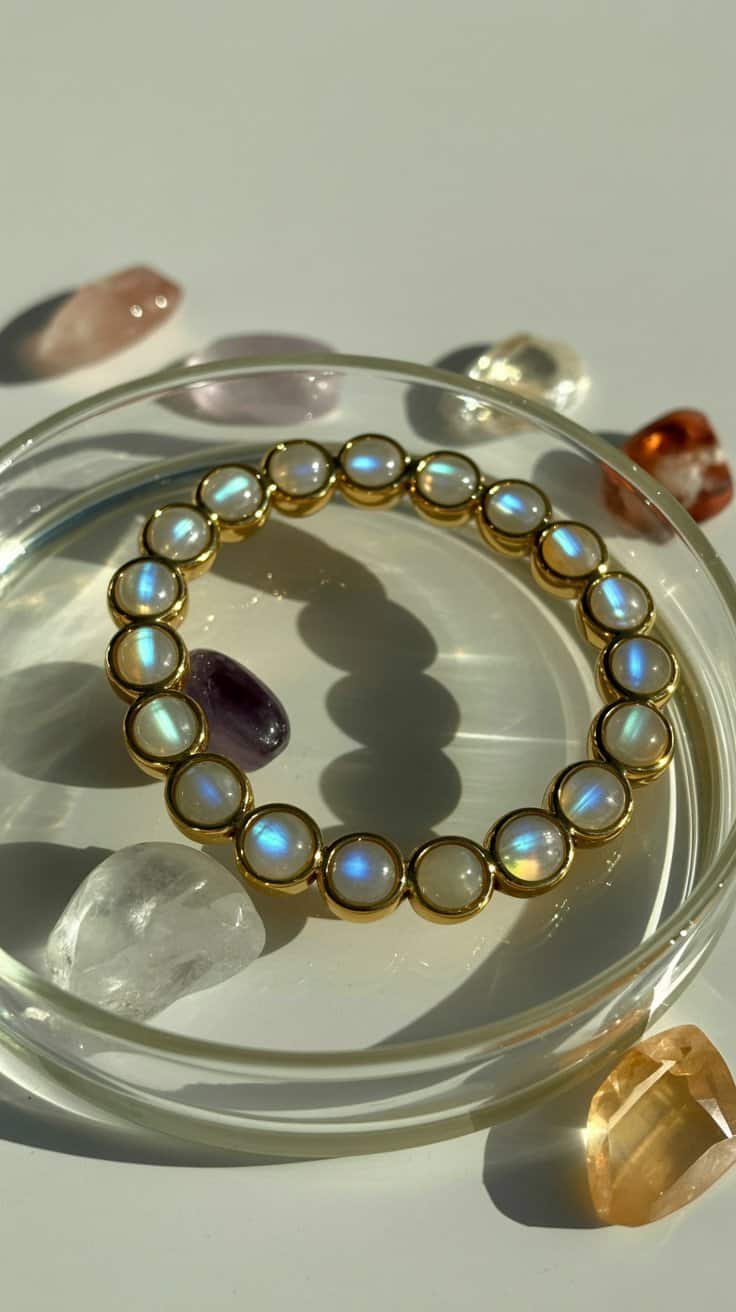
Minimalist metal beads with tiny semi-precious gemstone pops perfect for birthstones or “meaning” jewelry.
Materials: 20–25 metal 3mm beads, 5–7 gemstone beads (3–4mm), elastic cord
Time to Make: 20 minutes
Why It Sells: “Intent jewelry” + personal color choices convert well on Etsy
How to Make It
- Cut and pre-stretch 10 inches of elastic cord.
- Create your layout: 4 metal beads → 1 gemstone → repeat.
- String metal and gemstone beads in your chosen pattern.
- Stop and check spacing gemstones should be evenly distributed.
- Tie a double surgeon’s knot, tighten gently, seal knot.
- Trim ends and rotate knot under a metal bead.
- Roll bracelet to align all beads neatly.
Pro Tip: Offer gemstone versions as “custom births
6. The Faceted Sparkle Bracelet (Wire + Clasp Version)

A more refined, boutique-style bracelet made with beading wire and a lobster clasp.
Materials: 25–30 faceted 3mm sterling silver or gold-filled beads, 7-strand beading wire, 2 crimp beads, 1 lobster clasp, 2 jump rings, pliers
Time to Make: 20–25 minutes
Why It Sells: Looks like fine jewelry, higher price point, great gift item
How to Make It
- Cut 9 inches of beading wire (bracelet + clasp space).
- Slide on a crimp bead, then a jump ring, then loop wire back through crimp.
- Flatten crimp with pliers, trim extra wire.
- String faceted beads until bracelet length is achieved.
- Add 2nd crimp bead + jump ring, loop wire back through, flatten crimp.
- Attach clasp to one jump ring, attach second ring as the closure loop.
- Test drape wire bracelets should curve softly, not kink.
Pro Tip: Mention “tarnish-resistant, nickel-free, hypoallergenic” in product listings.
7. The Mixed Metal Pattern

A bestseller for shoppers who like to wear both gold and silver together.
Materials: 15 gold-filled beads, 15 sterling silver beads (3mm each), elastic cord
Time to Make: 15–20 minutes
Why It Sells: Two-tone jewelry pairs with every watch and ring set
How to Make It
- Pre-cut elastic and lightly stretch.
- Create a pattern: 3 gold → 3 silver → repeat.
- String full strand before tying to check balance.
- Tie a surgeon’s knot, seal, trim, hide knot.
- Gently roll beads to settle spacing.
- Test stretch twice to check for gaps.
Pro Tip: Photograph this style stacked with matching single-metal bracelets to increase order value.
Time-Saving Production Techniques
Want to make 15 bracelets an hour instead of 5? Here’s how real jewelry sellers speed up their workflow.
Prep Tips
- Pre-sort beads by size and type into mini containers
- Pre-cut elastic cords to 7–7.5 inches + extra for knotting
- Keep your top designs on “bracelet recipe cards”
Assembly Tricks
- Use a beading needle for faster stringing
- Practice the surgeon’s knot strongest knot for elastic
- Lightly coat knots with clear nail polish to seal
Workflow Hacks
- Batch 10 bracelets at once before tying knots
- Keep a polishing cloth nearby to remove fingerprints
- Track your production time to price correctly
“Batching and pre-sorting tripled my output. I can now make 15 bracelets in under an hour.”
— Sarah, Minimalist Jewelry Seller
Common Mistakes to Avoid (and How to Fix Them)

| Problem | Cause | Solution |
|---|---|---|
| Bracelet snaps | Weak knot or cheap elastic | Use surgeon’s knot + seal |
| Gaps between beads | Too few beads or stretched cord | Add beads or use thinner elastic |
| Fingerprints on beads | Handling during assembly | Wipe with microfiber cloth |
| Sizing issues | Guessing instead of measuring | Wrist size + 0.5″ rule |
| Tarnishing | Plated metal, not gold-filled | Upgrade materials |
Best Practices
- Double knot + seal every bracelet
- Keep spacing consistent
- Always test stretch before packaging
- Store finished bracelets in soft pouches
Marketing & Selling Tips to Move Bracelets Fast
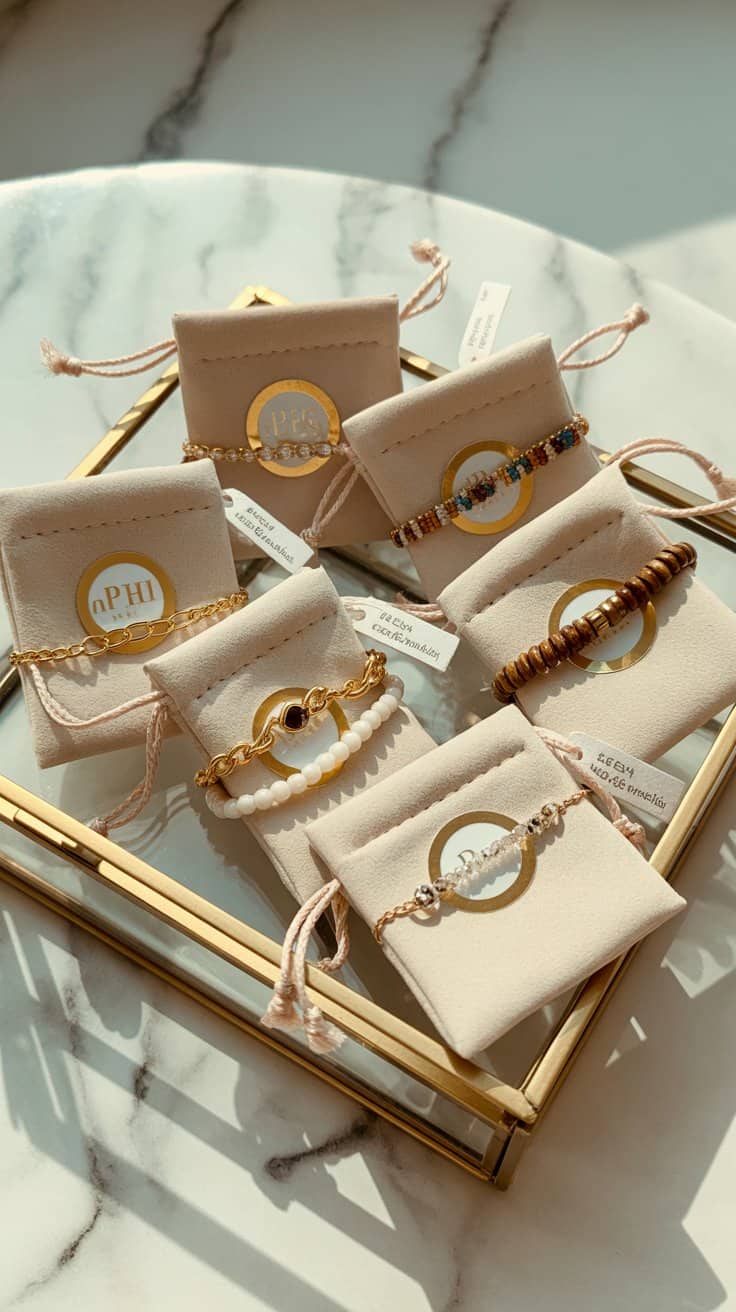
Photography Tips
- Shoot on marble, linen, or glass no messy craft tables
- Use natural window light + reflector
- Show the bracelet on a wrist for scale
- Stack 3–5 bracelets together for higher-value sale
Best Price Strategies
- Price at 3–4x material cost
- Bundle 3 bracelets for a “stack discount”
- Offer limited editions for holidays or birthstones
Where to Sell
- Etsy (keyword: “minimalist beaded bracelet”)
- Instagram Reels + Stories
- Local boutiques on consignment
- Craft fairs with clean, modern display stands
Product Description Formula
“Delicate, timeless, and designed for everyday wear this minimalist bracelet is crafted with genuine gold-filled beads for a tarnish-free shine that lasts. Stretch fit, stackable, and perfect for gifting.”
Start Your Bracelet Collection Today
With premium materials, fast-build designs, and a smart workflow, you can create a full bracelet collection in just a weekend and start selling online, at markets, or through social media.
- Beginner-friendly
- Fast production
- High perceived value
- Easy to customize