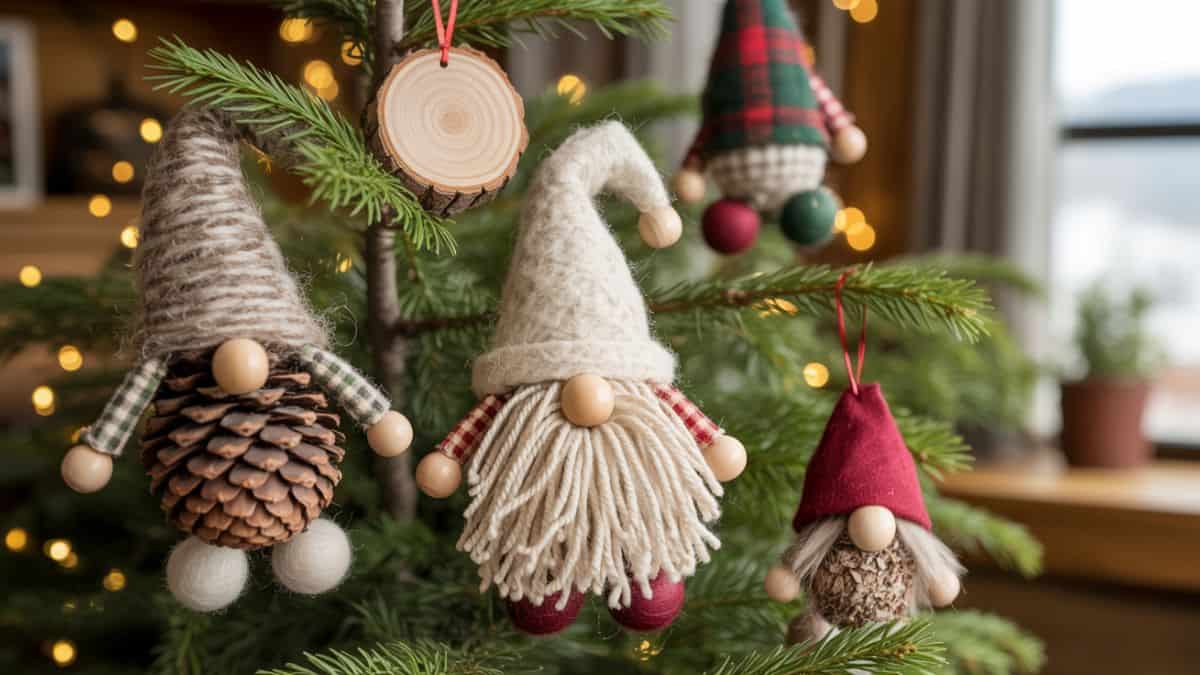
DIY Woodland Gnome Ornaments: Easy Christmas Handmade Craft
Decorating for Christmas doesn’t have to mean glitter overload and store-bought ornaments. If you love a rustic, woodland aesthetic or just have a soft spot for those adorable little Scandinavian gnomes these DIY woodland gnome ornaments are the perfect holiday craft. They’re beginner-friendly, made from simple materials like pinecones, felt, yarn, and wood slices, and each one has its own cozy woodland personality.
Decorating a natural, Nordic-inspired tree, making handmade gifts, or crafting with the kids on a chilly afternoon, these five gnome ornament ideas bring instant charm to your holiday décor. Grab your glue gun, pick your favorite style, and let’s start building a whole forest of festive little gnomes!
This website contains affiliate links. As an Amazon Associate, I earn from qualifying purchases. Please read our disclaimer.
Materials You’ll Need
Gather these supplies before starting your wood slice snowman ornaments project. Most items can be found at your local craft store, dollar store or online.
- Low-temp hot glue gun (affiliate) + glue sticks
- Scissors
- Jute or twine (for hanging loops, beards, hat ties)
- Small wooden beads (affiliate) (for noses)
- Felt sheets (various colors for hats)
- Faux fur (affiliate) (for beards)
- Fabric scraps (plaid, burlap, etc.)
- Small pinecones
- Wood slices (2.5–3.5 in)
- Wooden balls, foam balls, or corks (for bodies)
- Chunky yarn (white or cream for beards)
- Fiberfill stuffing or cotton balls
- Wool felt balls + wool roving (optional for felted version)
- Acorn caps (cleaned and dried)
- Mini faux greenery or berries (optional accents)
- Buttons, mini bells, stars, or berries (optional embellishments)
- Needle + thread (optional for sewing instead of gluing)
- Craft knife (affiliate) (for cutting faux fur backing)
- Optional: white paint or faux snow for frosted effect
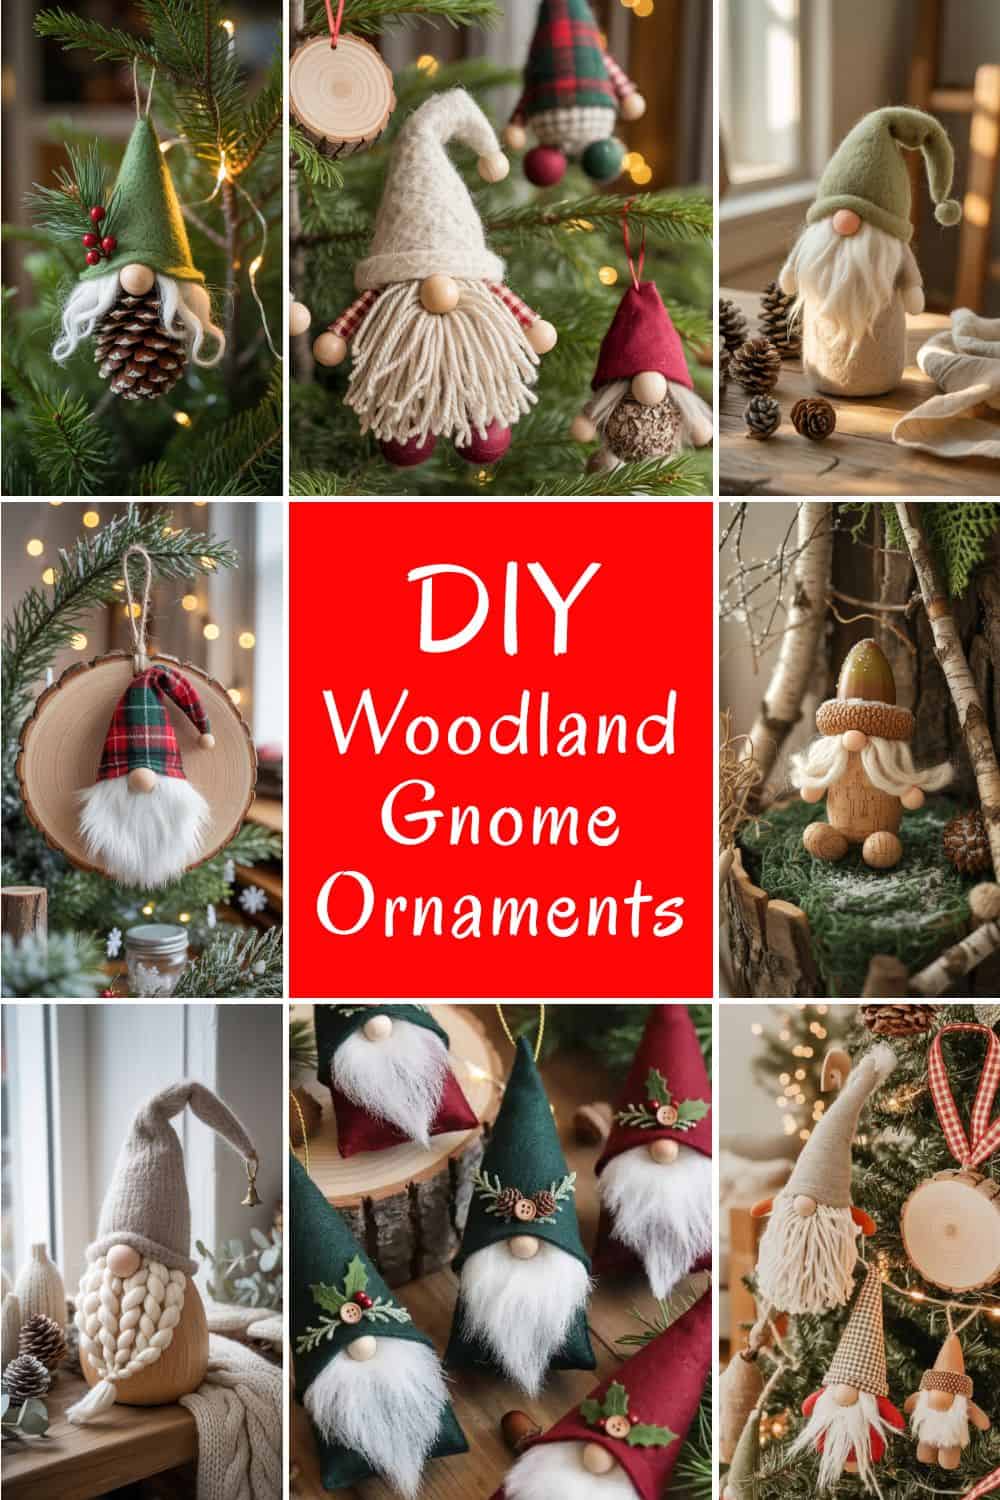
7 DIY Woodland Gnome Ornaments
Looking for charming Christmas ornaments that feel handmade, natural, and full of personality? These 5 DIY woodland gnome designs are fun to make, budget-friendly, and each one has its own unique rustic style. From pinecone bodies and plaid hats to fluffy yarn beards and acorn cap toppers, you’ll find an idea here whether you love farmhouse, Nordic, or fairy-forest décor. Pick a favorite or make all five and turn your tree into a whimsical woodland village!
Pinecone Woodland Gnome

This rustic pinecone gnome looks like it walked straight out of the forest. Natural textures do the heavy lifting, so the result is charming without much fuss perfect for a woodland or cabin-style tree.
Shopping List
- Small pinecones (firm, dry)
- Felt sheets (neutral, forest green, cranberry, or cream)
- Small wooden beads (8–12 mm)
- Mini faux greenery/berries (optional)
- Jute/twine for hanging
- Low-temp hot glue + glue sticks
- Scissors
How to Make (Step by Step)
- Prep the pinecones: Brush off debris; trim any protruding scales so the top surface has a small “shelf” for the nose and hat.
- Add the nose: Hot glue a wooden bead near the top front of the pinecone. Hold 5–10 seconds to set.
- Make the hat: Cut a felt triangle (about 3–4 in tall). Roll into a cone, test-fit above the nose, then glue the seam.
- Attach the hat: Run a thin glue line inside the cone rim and place over the pinecone so it slightly overlaps the bead.
- Add accents: Glue a tiny sprig of faux pine or a berry cluster to one side of the hat for woodland flair.
- Hanger: Knot a small loop of twine, glue it inside the hat’s tip or behind the cone.
- Tidy up: Remove glue strings and fluff any greenery. Done!
Burlap and Twine Gnome Ornament
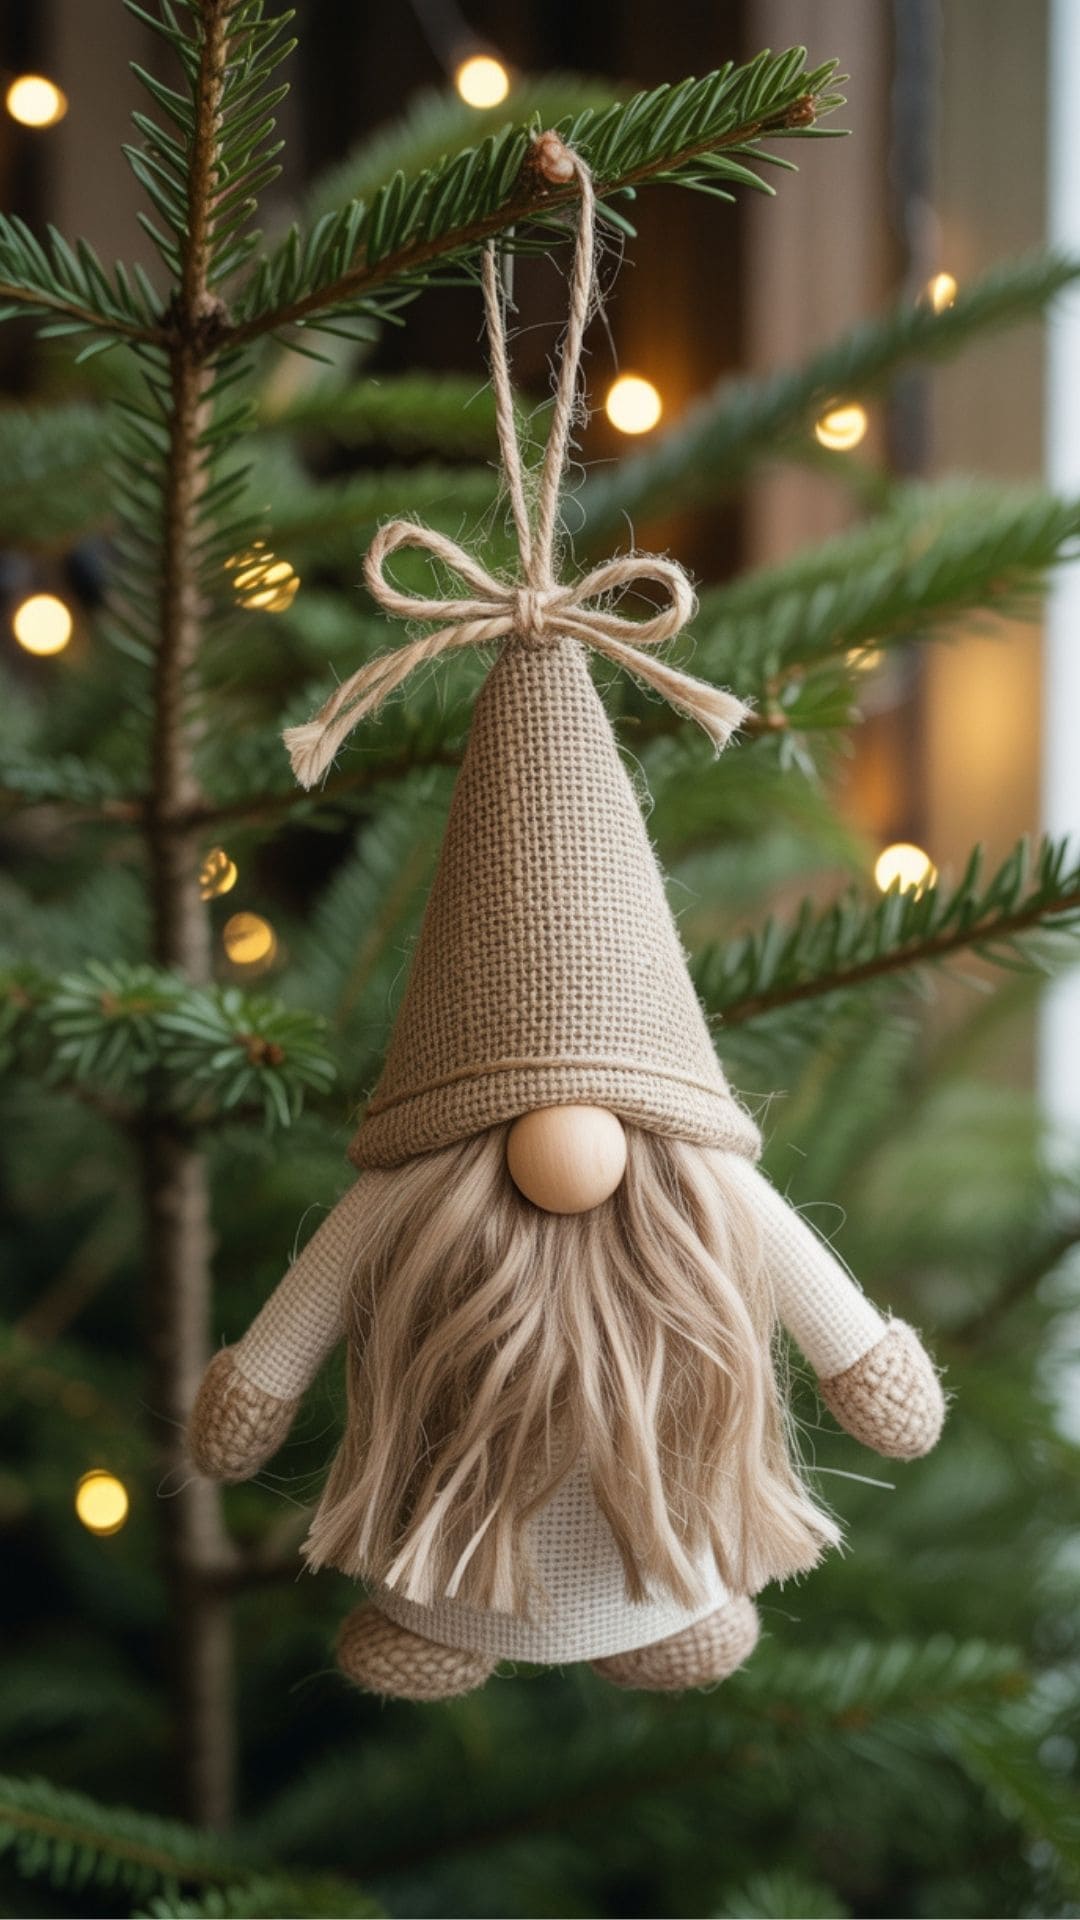
If you love a raw, farmhouse texture, this burlap and twine gnome is the definition of rustic charm. No faux fur or bright colors here just natural fibers, earthy tones, and a simple handmade vibe that looks perfect on neutral, Scandinavian, or primitive-style Christmas trees.
Shopping List
- Burlap ribbon (affiliate) or scrap fabric
- Twine or jute cord (for beard + hat tie)
- Wooden bead (nose)
- Small foam ball, wooden ball, or cork (body base)
- Scissors
- Low-temp hot glue gun + glue sticks
- Optional: cinnamon stick or twig instead of body, white paint dab for “snow”
How to Make (Step by Step)
- Prep the body: Wrap your foam ball, wooden ball, or cork with a strip of burlap and glue in place. Trim excess fabric.
- Create the beard: Cut 8–10 short lengths of twine (about 3–4 in). Fray or unravel the ends with your fingers to soften the look.
- Attach the beard: Glue the top row of twine strands to the lower half of the burlap-wrapped body in a U or V shape.
- Add the nose: Glue a wooden bead at the top center of the beard line.
- Make the hat: Cut a burlap triangle, roll into a cone, and glue the seam. Leave a little loose fray at the bottom for character.
- Add the hat: Glue the hat just above the nose so it overlaps slightly. Tie a small twine bow or wrap twine around the hat tip for detail.
- Add hanger: Glue or tie a twine loop to the top of the hat.
- Optional rustic touch: Lightly dry-brush a dab of white paint or sprinkle faux snow on the hat for a snowy barnyard effect.
Plaid Hat Gnome with Pine Accents Christmas Ornament
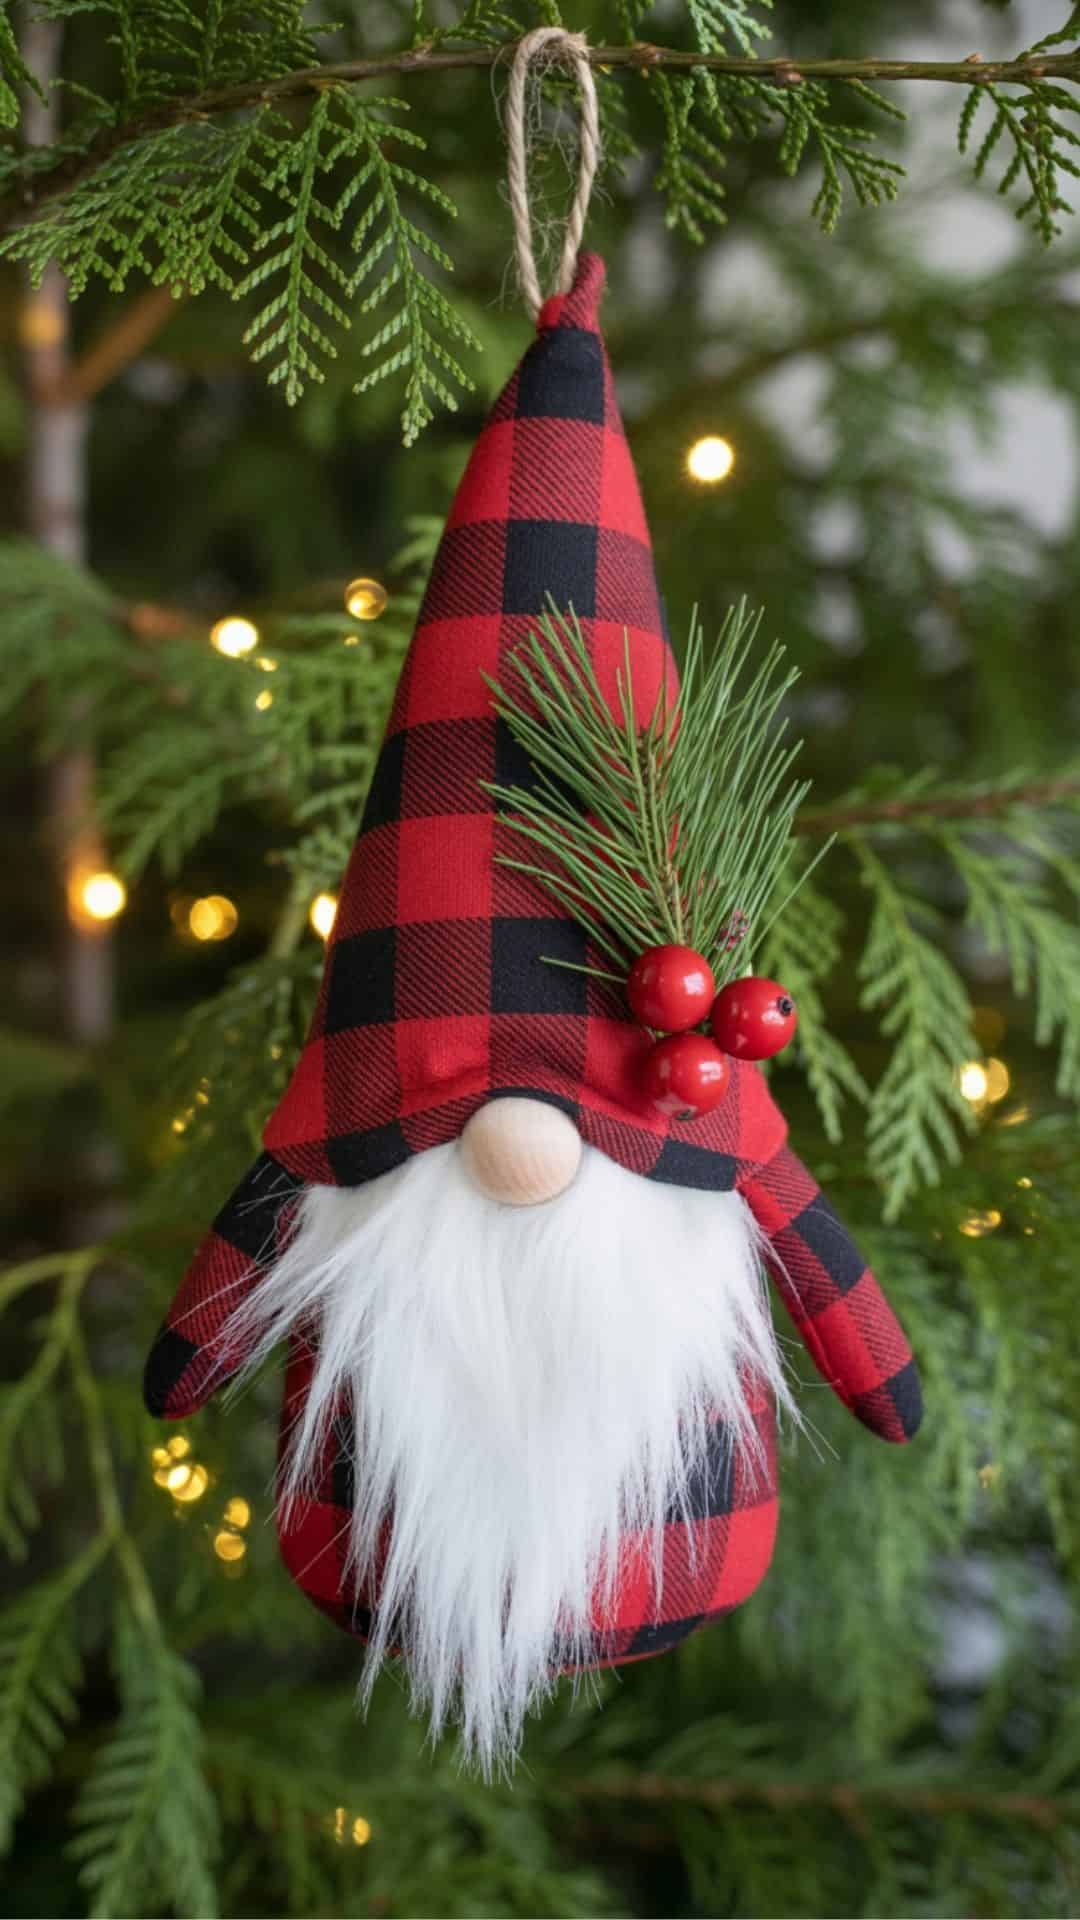
This classic buffalo plaid gnome brings instant lodge-style Christmas charm to any tree. Both the body and hat are made from soft plaid fabric, giving it a stuffed, handmade look that pairs beautifully with faux fur and natural greenery. It’s beginner-friendly, giftable, and perfect for anyone who loves rustic cabin or farmhouse Christmas décor.
Shopping List
- Red + black buffalo plaid fabric (or any plaid)
- Fiberfill stuffing (or cotton balls)
- Faux fur (for beard)
- Wooden bead (nose)
- Faux pine sprig + small red berries
- Jute/twine for hanger
- Low-temp hot glue gun + glue sticks
- Scissors, ruler, needle + thread (optional for sewing instead of gluing)
How to Make (Step by Step)
- Cut the body shape: Cut a semi-circle of plaid fabric (about 7–8 in wide). Roll into a cone and glue or hand-stitch the seam closed.
- Stuff the body: Add a small amount of fiberfill until the cone feels firm but still lightweight. Glue or stitch the bottom closed.
- Create the beard: Cut a triangle of white faux fur. Glue it to the front of the stuffed body, leaving room at the top for the nose and hat.
- Add the nose: Glue a wooden bead at the top of the beard, centered.
- Make the hat: Cut a smaller plaid triangle, roll into a tall cone, and glue the seam. Slide it down so it overlaps the top of the nose slightly.
- Attach greenery: Glue a small faux pine sprig and red berries to one side of the hat.
- Add the hanger: Tie a loop of twine and glue it inside the tip of the hat, or stitch it through before attaching the hat.
- Final shaping: Fluff the beard, fold or bend the hat slightly for personality, and trim loose threads or fur fibers.
Yarn Beard Cozy Gnome
Soft yarn and simple shapes give this gnome a cozy Nordic feel. It’s a great beginner craft and easy to batch for gifts or garlands.
Shopping List
- Wooden balls or foam balls (1.5–2 in)
- Chunky white/cream yarn
- Felt (hat color of choice)
- Small wooden bead (nose)
- Mini bells or stars (optional)
- Jute/twine for hanging
- Low-temp hot glue + glue sticks
- Scissors, ruler, comb (for fringing)
How to Make (Step by Step)
- Cut the beard strands: Measure and cut yarn strands 4–5 in long; you’ll need enough to cover half the ball.
- Glue the beard base: Run a curved line of glue across the front lower half of the ball; press yarn strands side-by-side.
- Attach the nose: Glue a wooden bead at the top edge of the beard line (centered).
- Make the hat: Cut a tall felt triangle (4–5 in), roll into a cone, glue the seam, and test-fit so it sits just over the nose.
- Hanger: Knot a twine loop; glue it inside the hat tip. Add a mini bell if using.
- Attach the hat: Glue inside the cone rim; place on ball so the rim kisses the top of the nose.
- Finish: Comb out the yarn ends, trim to a neat V or rounded shape. Remove glue strings.
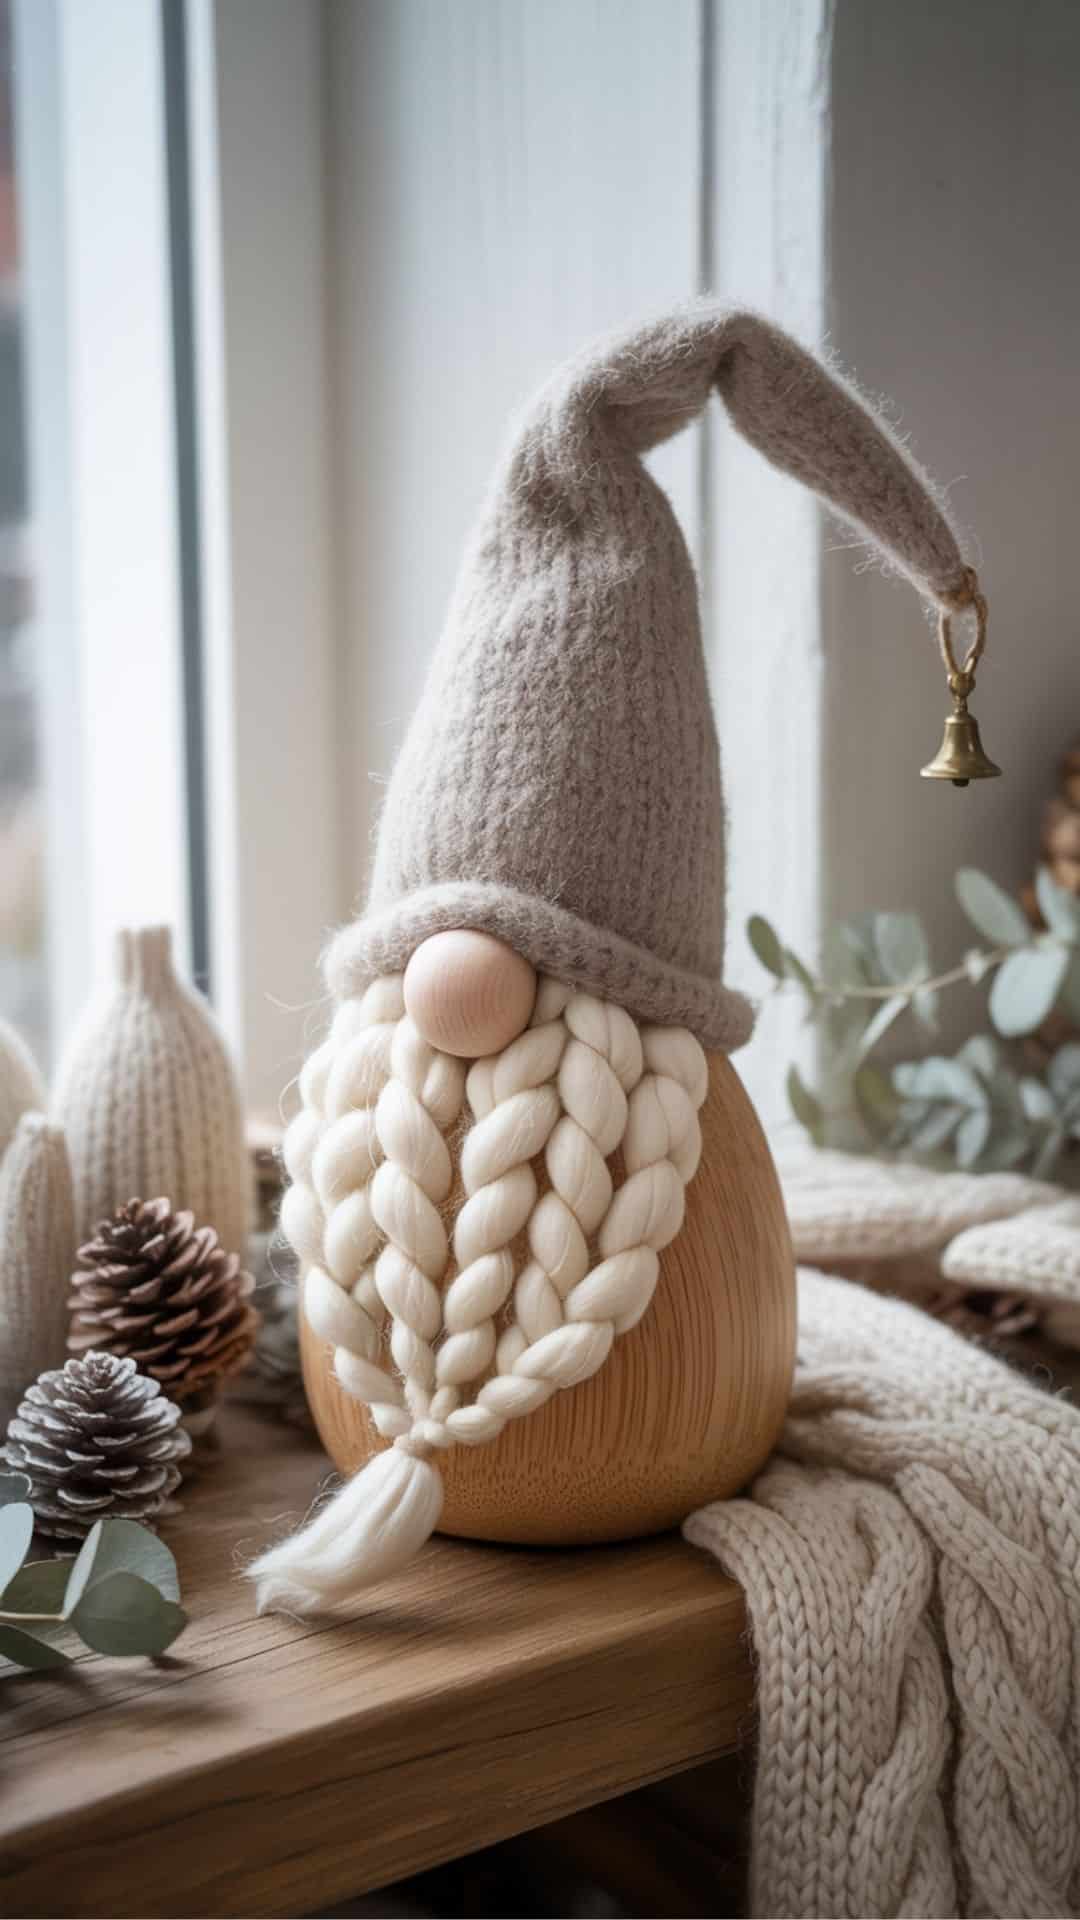
Wood Slice Gnome Ornament

Wood slices make a sturdy base and show off that farmhouse grain. Add buffalo check or burlap for instant lodge vibes that pop on the tree.
Shopping List
- Small round wood slices (2.5–3.5 in)
- Faux fur (white/gray/brown) for beards
- Plaid fabric or burlap for hats
- Small wooden beads or buttons (nose)
- Jute/twine for hanging
- Low-temp hot glue + glue sticks
- Scissors, craft knife (for fur backing), pencil
How to Make (Step by Step)
- Cut the beard: Flip faux fur to the fabric side; lightly pencil a triangle. Cut only the backing with a craft knife so the fur stays long at the edge.
- Glue beard to slice: Position triangle so the point faces down; glue along the top edge only, letting fur drape.
- Add the nose: Glue a bead/button where the top of the beard meets the hat line.
- Make the hat: Cut a fabric triangle wide enough to cover the wood slice top; fold/hem the base if you want a brim.
- Attach the hat: Glue along the hat edges; overlap the top of the nose slightly for that classic gnome look.
- Hanger: Glue or staple a jute loop to the back of the slice at the top.
- Style details: Add a tiny plaid bow, felt snowflake, or twine wrap to finish.
Felted Wool Ball Gnome
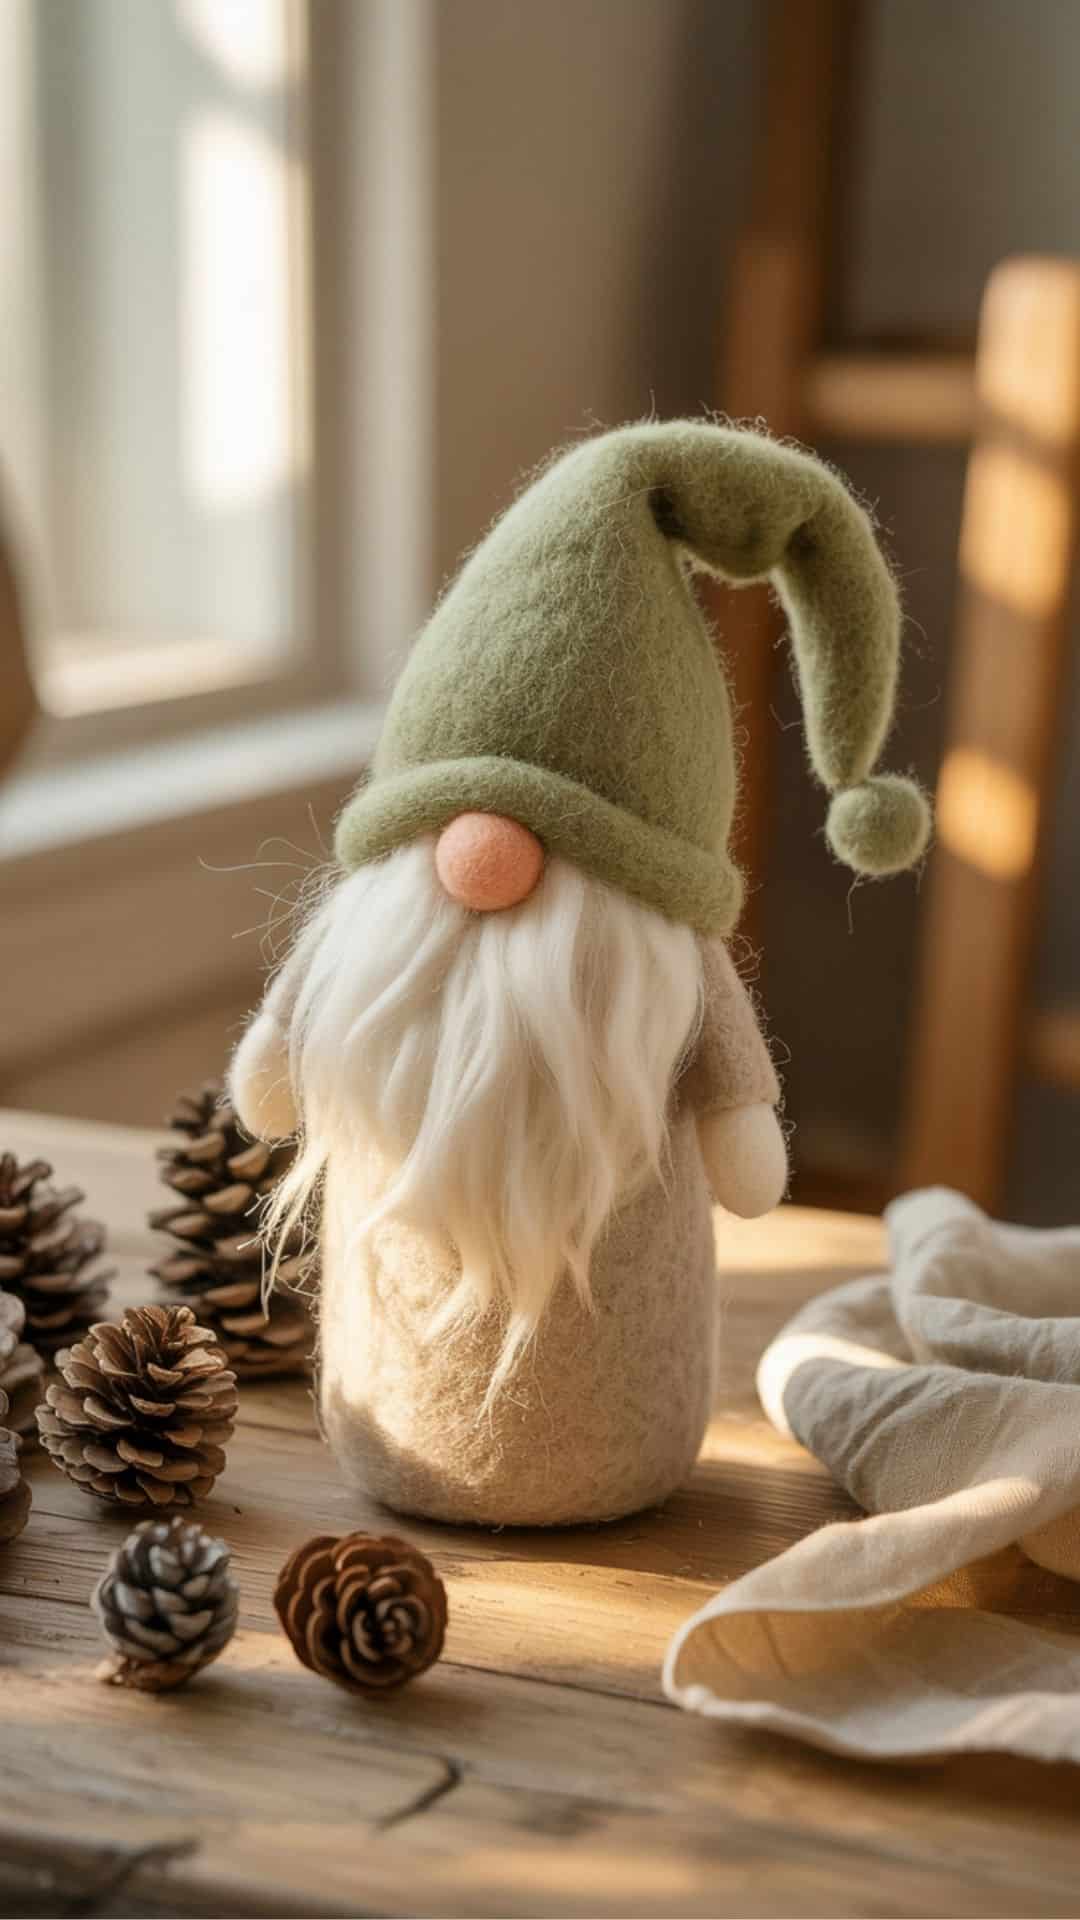
This all-wool cutie is light, durable, and looks beautifully handmade. Mix pastel hats for a sweet cottage look or stick to neutrals for minimalist Scandi style.
Shopping List
- Large wool felt balls (1.5–2 in) for bodies
- Small wool felt balls (nose)
- Wool roving (beard)
- Felt sheets (hat)
- Embroidery thread or thin cord (hanger)
- Needle (for hanger)
- Fabric glue or hot glue
- Scissors
How to Make (Step by Step)
- Hanger first: Thread a needle with embroidery thread, pierce the felt ball, and tie a top loop (or glue a loop to the top).
- Form the beard: Pull/shape a small tuft of roving into a teardrop; lightly twist the top so it’s neat.
- Attach the beard: Glue the roving to the front lower half of the ball; keep edges fluffy.
- Add the nose: Glue a tiny felt ball where beard meets hat line.
- Make the hat: Cut a small felt triangle; roll into a cone with a slight bend. Glue the seam.
- Attach the hat: Glue inside the cone and set it over the nose line. Pinch the tip for character.
- Detailing: Add a micro pom or stitch a simple snowflake to the hat if desired.
Acorn Cap Mini Gnome

Small but full of charm, these mini gnomes are perfect as filler ornaments, gift toppers, or garlands. Gather acorn caps on a walk and turn them into whimsical hats.
Shopping List
- Small corks or wooden peg dolls
- Acorn caps (cleaned, dried)
- Tiny pom-poms or beads (nose)
- Faux fur scraps or fluffy yarn (beard)
- Jute/twine or thin thread (hanger)
- Optional: white or metallic paint for caps, small brush
- Low-temp hot glue + glue sticks
- Scissors
How to Make (Step by Step)
- Prep hats: If painting, dry-brush acorn caps with white or metallic and let dry.
- Beard: Cut a small triangle of faux fur (or bundle short yarn strands) and glue to the front of the cork/peg.
- Nose: Glue a tiny pom or bead at the top of the beard line.
- Hanger: Tie a micro loop of thread/twine; glue it inside the acorn cap.
- Attach hat: Run glue around the inner rim of the cap and press onto the top so it slightly overlaps the nose.
- Finish: Add a dab of faux snow or a single berry for whimsy. Let set fully before hanging.
More easy crafts – crafts you can make in under 30 minutes to sell for profit!
More Christmas Crafts

Wrapping Up
Handmade ornaments have a way of bringing extra heart into holiday decorating, and these DIY woodland gnomes are no exception. Whether you made just one or crafted the whole little forest family, each gnome adds its own charm, texture, and personality to your Christmas tree. They also make adorable gift toppers, stocking stuffers, or keepsake crafts to make with kids, grandkids, or friends during a cozy winter afternoon.
Save this post for later, pin your favorite gnome style, and come back whenever you feel like making more because once you make one, it’s hard not to start a whole village of them. Happy crafting, and may your holidays be as warm and whimsical as your new little gnomes!