DIY Wood Slice Snowman Ornaments: Step-by-Step Guide
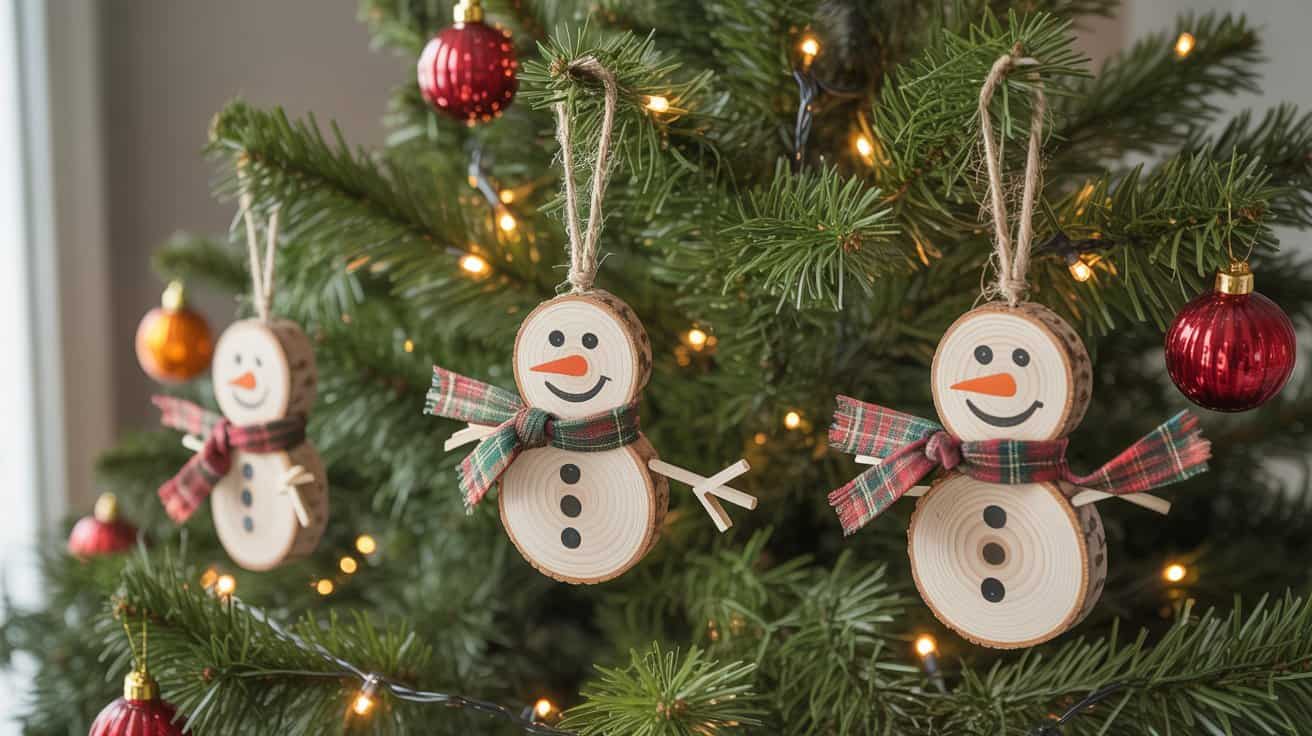
Looking for a holiday project that’s charming, simple, and totally gift-worthy? These DIY wood slice snowman ornaments are the kind of rustic Christmas craft that instantly warms up a tree, a garland, or even the top of a wrapped present.
With just a handful of supplies and a dash of creativity, you can turn plain wood slices into the sweetest little snowmen each with its own personality. Whether you’re crafting for fun, decorating with intention, or creating keepsakes to tuck into stockings, this project adds a handmade touch that feels nostalgic, festive, and very “you made that?!”

This website contains affiliate links. As an Amazon Associate, I earn from qualifying purchases. Please read our disclaimer.
Materials You’ll Need
Gather these supplies before starting your wood slice snowman ornaments project. Most items can be found at your local craft store or online.

Basic Supplies
- Wood slices (2-3 inches in diameter, with pre-drilled holes)
- White acrylic paint for the snowman base
- Paintbrushes in various sizes
- Black paint pen or fine brush for eyes and details
- Orange paint pen or paint for the carrot nose
- Craft glue (strong hold)
- Twine or ribbon for hanging
- Small twigs for arms
Optional Decorative Elements
- Snowman decoration kit buttons, noses, arms and hats
- Fabric scraps for miniature scarves
- White iridescent glitter for sparkle
- Colored felt for hats or other accessories
- Tiny buttons for decoration
- Craft sealant to preserve your ornaments
- Sandpaper (fine grit) for smoothing rough edges
- Colored ribbon for hanging alternatives
Preparing Your Wood Slices

Before you begin painting and decorating, it’s important to properly prepare your wood slices for the best results.
If Using Store-Bought Wood Slices
- Check each wood slice for any rough spots or splinters.
- Lightly sand the surface with fine-grit sandpaper if needed.
- Wipe away any dust with a slightly damp cloth.
- Allow the slices to dry completely before painting.
- If your slices don’t have pre-drilled holes, carefully drill a small hole near the top edge for hanging.
If Cutting Your Own Wood Slices
- Select dry branches about 2-3 inches in diameter.
- Use a miter saw to cut slices approximately 1/2 inch thick.
- Allow freshly cut slices to dry for at least 2-3 days.
- Sand both sides and edges to remove any rough spots.
- Drill a small hole near the top for hanging.
- Wipe away all dust before proceeding.
Pro Tip: To prevent wood from cracking, you can bake store-bought or fully dried wood slices in the oven at 200°F (93°C) for about 30 minutes. This helps remove any remaining moisture that could cause cracking later.
Creating Your Snowman Base

Now it’s time to transform your wood slices into adorable snowmen with these simple painting steps.
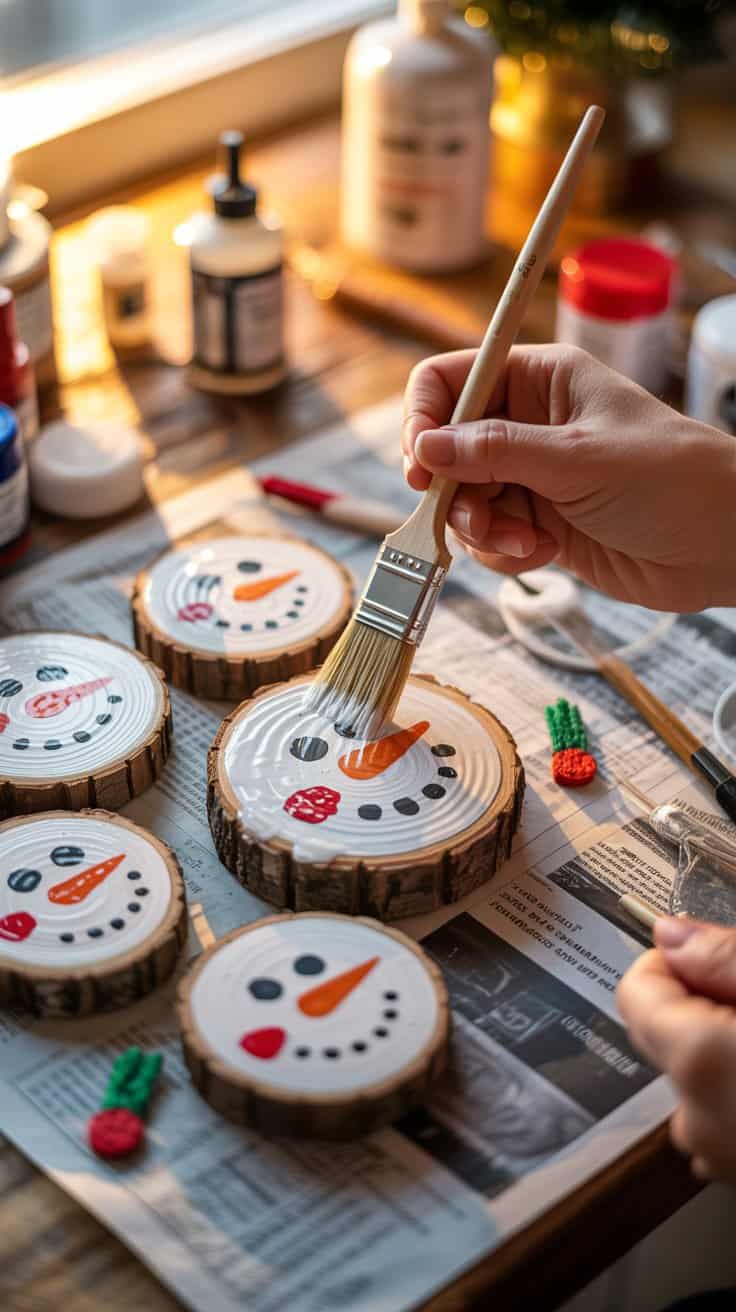
Basic Painting Instructions
- Prepare your workspace by covering it with newspaper or a craft mat.
- Remove any hanging twine if your wood slices came with it attached.
- Apply white acrylic paint to the front surface of each wood slice, leaving the bark edge natural for a rustic look.
- Allow the first coat to dry completely (about 30 minutes).
- Apply a second coat of white paint for better coverage.
- For a sparkly effect, sprinkle iridescent glitter over the wet second coat of paint.
- Let the paint dry thoroughly before proceeding to the next steps.
Alternative Option: Instead of paint and glitter, you can use white glitter foam cut to the shape of your wood slice for a less messy alternative. Simply trace your wood slice onto the foam, cut it out, and glue it to the wood surface.
Assembling Your Snowman Ornaments


Now that your wood slices are painted and dry, it’s time to bring your snowmen to life with facial features and decorative elements.
Creating the Face
- Use a black paint pen to draw two small circles for the eyes.
- Add an orange carrot nose using an orange paint pen or small brush with orange paint.
- Draw a simple smile with your black paint pen.
- Optional: Add small dots for buttons down the center of the snowman.
Adding Arms and Accessories
- Select two small twigs of similar size for the arms.
- Apply a drop of craft glue to one end of each twig.
- Press the twigs onto the sides of your snowman, holding for a few seconds until secure.
- Cut a small strip of fabric about 4-5 inches long and 1/2 inch wide for the scarf.
- Wrap the fabric around the “neck” area of your snowman and secure with a tiny dot of glue.
- Optional: Add a small felt hat or other accessories as desired.
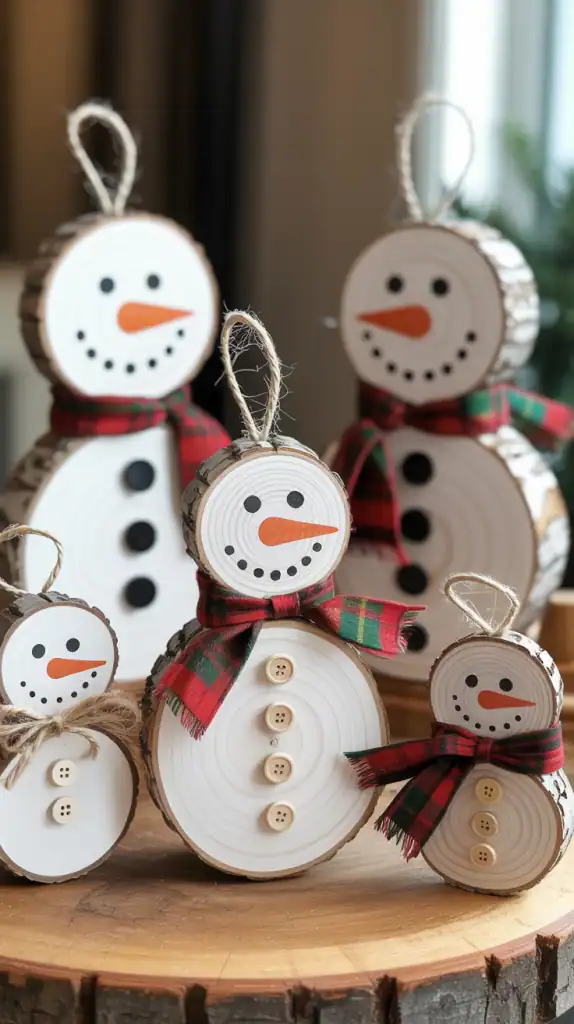
Creating a Stacked Snowman (Optional)
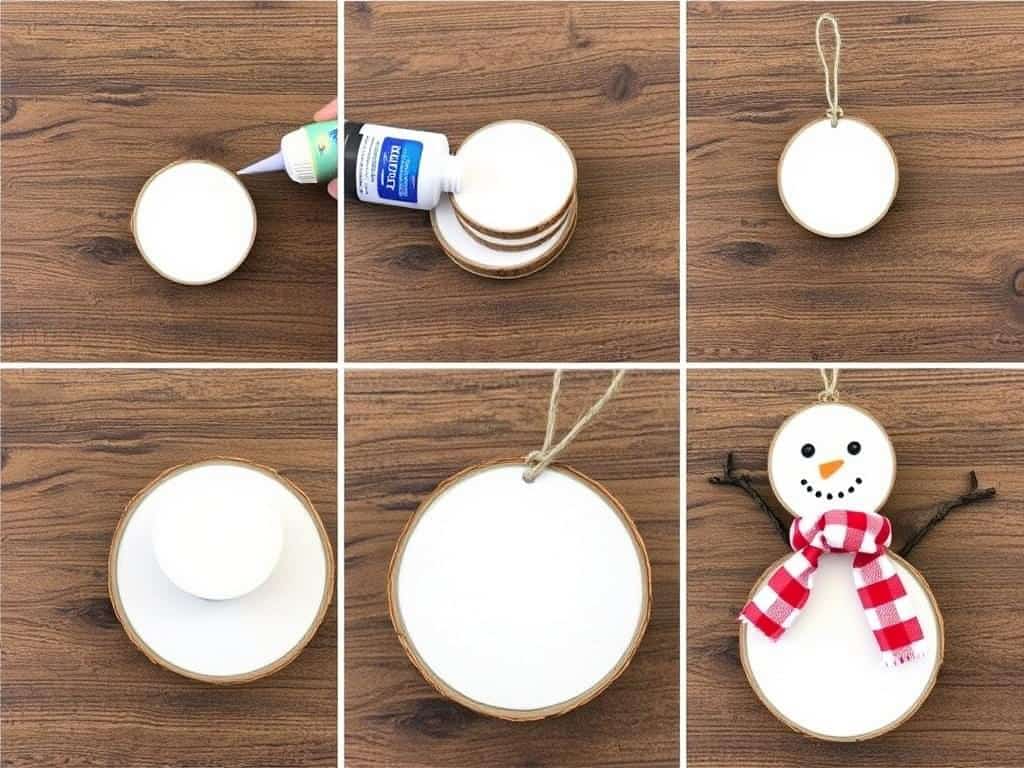
For a more dimensional snowman, you can use two wood slices of different sizes glued together.
- Select two wood slices – one slightly smaller than the other.
- Paint both slices white as described earlier.
- Apply a generous amount of craft glue to the back of the smaller slice.
- Position the smaller slice slightly overlapping the top of the larger slice to create a snowman shape.
- Hold firmly for 30-60 seconds, then allow to dry completely (about 1 hour).
- Add facial features to the top slice and decorative elements as desired.
- Ensure your hanging hole is at the top of the ornament.
Finishing Touches
Complete your DIY wood slice snowman ornaments with these final steps to ensure they’re ready to display and will last for many holiday seasons.

Adding Hanging Elements
- Cut a 6-8 inch piece of twine, ribbon, or baker’s twine for hanging.
- Thread it through the pre-drilled hole at the top of your ornament.
- Tie the ends together in a secure knot to create a hanging loop.
- Trim any excess if needed, leaving about 1/2 inch beyond the knot.
Sealing Your Ornaments (Optional but Recommended)
To preserve your ornaments and protect them from dust and moisture:
- Ensure your ornament is completely dry and all elements are securely attached.
- Apply a thin, even coat of craft sealant using a foam brush.
- Cover the entire front surface, including any decorative elements.
- Allow to dry according to the sealant manufacturer’s instructions (usually 1-2 hours).
- Apply a second coat if desired for extra protection.
- Let dry completely before handling or hanging.
Storage Tip: When the holiday season is over, store your wood slice ornaments in a cool, dry place. Wrap them individually in tissue paper to prevent scratching and place in a sturdy box. Avoid storing in attics or basements where temperature and humidity fluctuate significantly.
Creative Variations
Once you’ve mastered the basic wood slice snowman ornament, try these creative variations to expand your collection!
Winter Scene Background

Paint a small winter landscape behind your snowman with tiny evergreen trees and a blue sky background.
Fancy Snowman with Hat
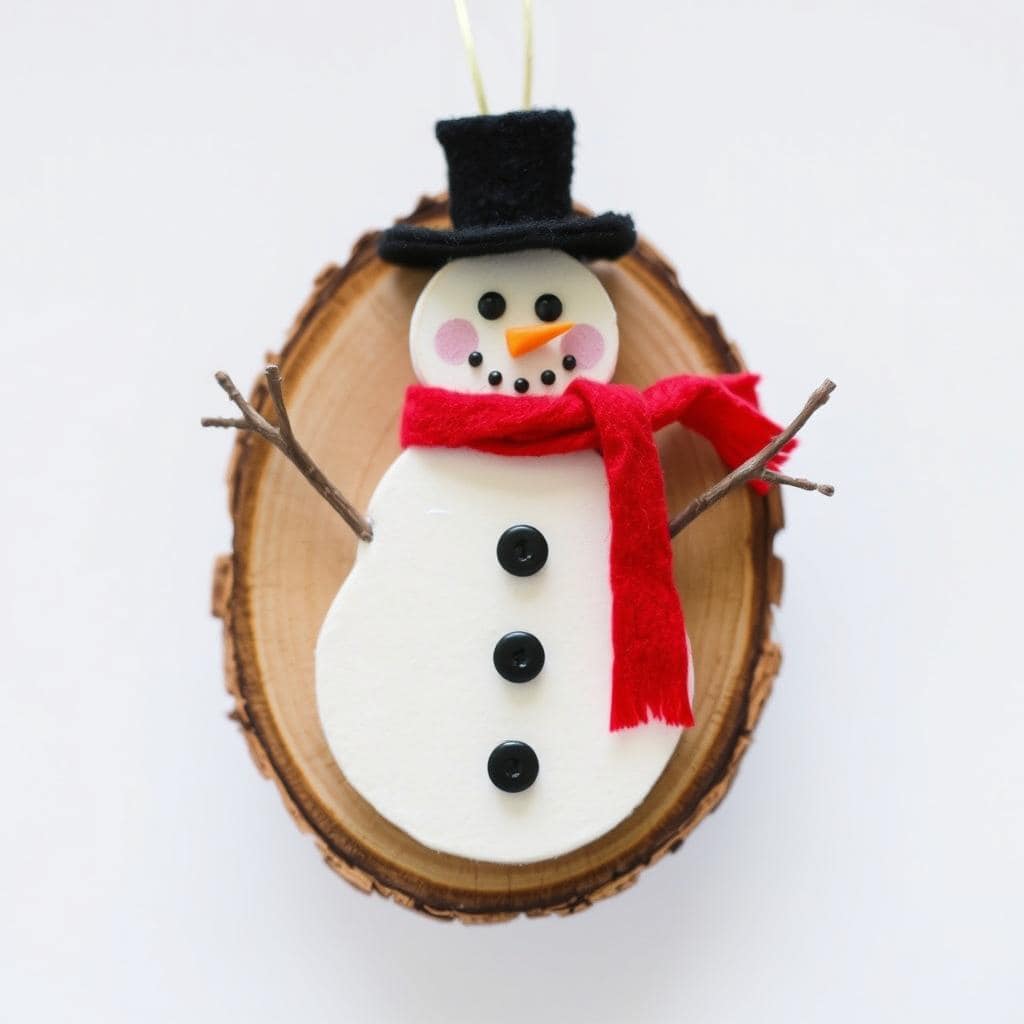
Add a small felt top hat and tiny buttons (affiliate) for a more dressed-up snowman look.
Snowman Family

Create a family of snowmen using different sized wood slices, connected with small pieces of twine.
Photo Memory Snowman

Use photo transfer paper to add a small family photo to the center of your snowman for a personalized keepsake.
Glitter Foam Snowman
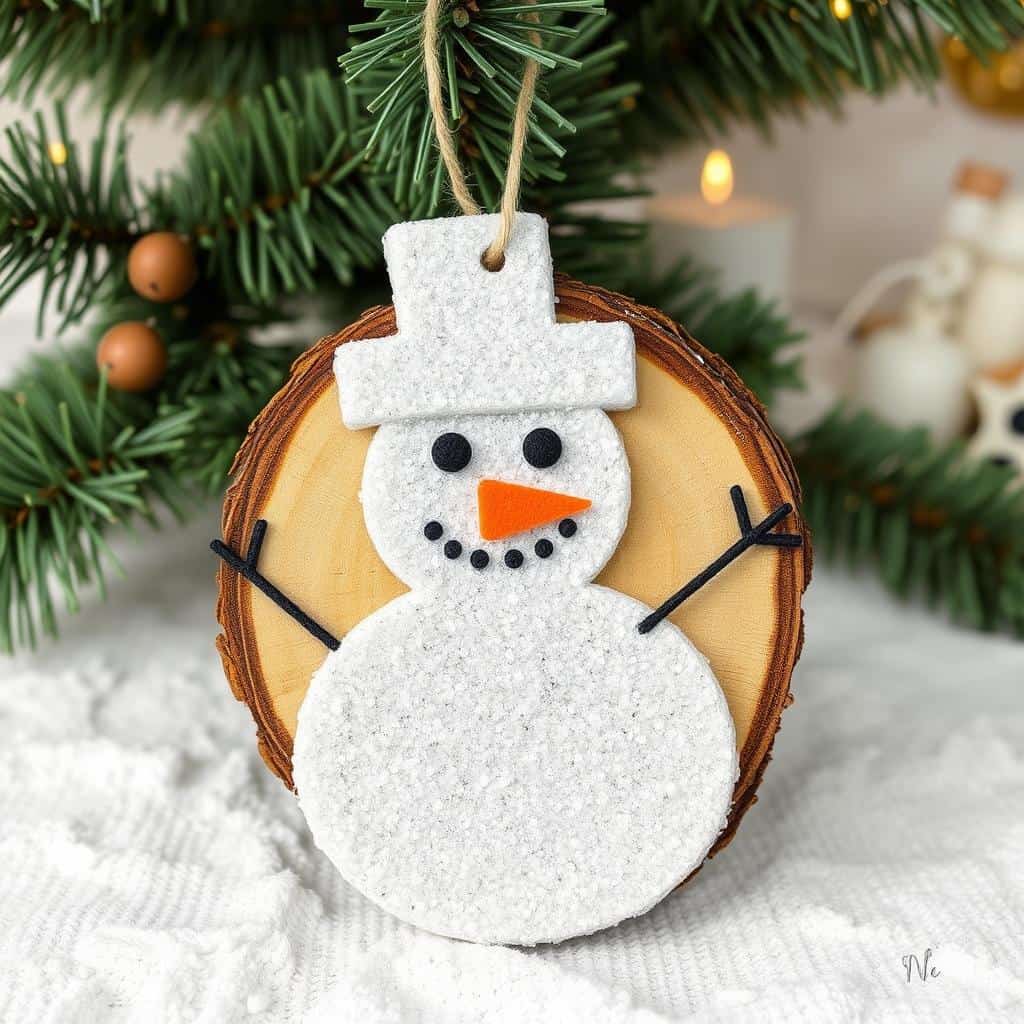
Instead of paint, use white glitter foam cut to the shape of your wood slice for extra sparkle.
Personalized Gift Tags
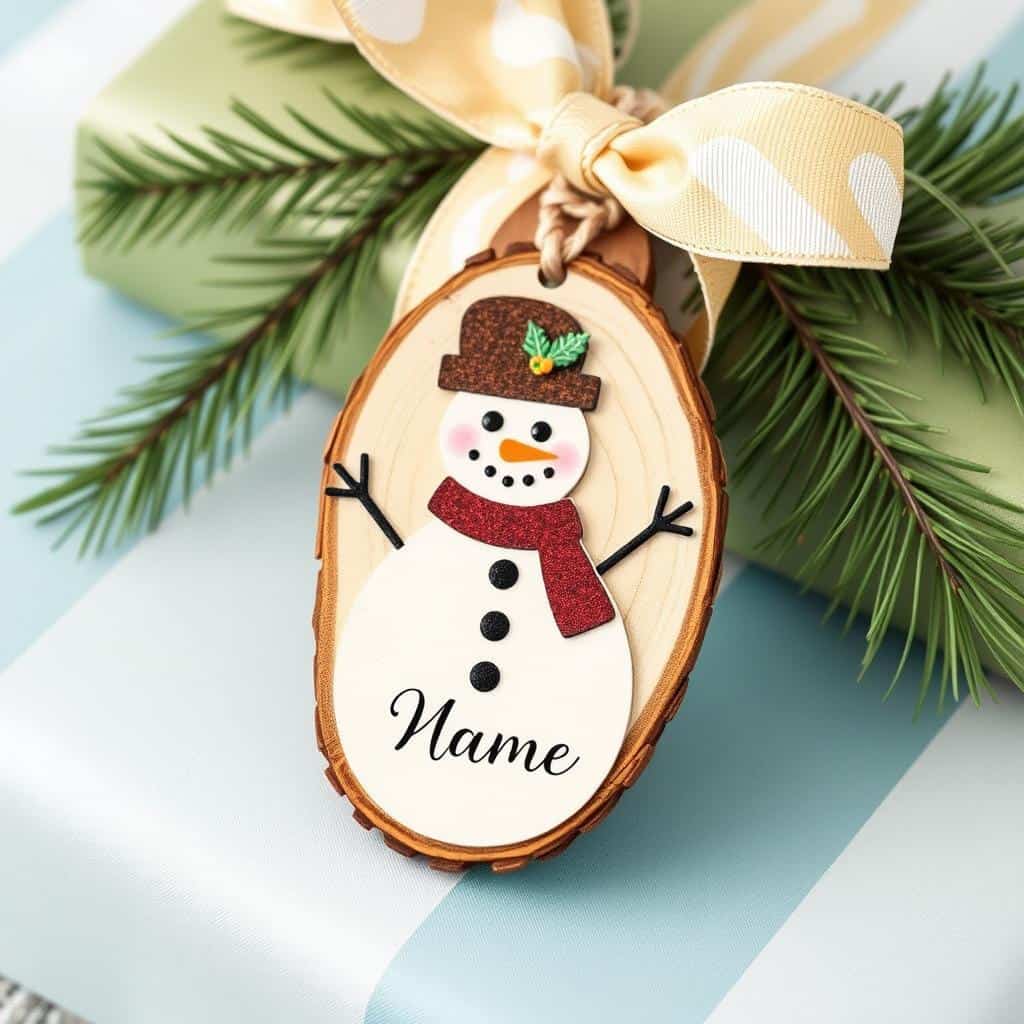
Add names with a paint pen to create personalized gift tags that recipients can later use as ornaments.
Showcase Your Creations

Your DIY wood slice snowman ornaments are now ready to bring charm and character to your holiday decorations! These handcrafted treasures make wonderful keepsakes and thoughtful gifts that friends and family will cherish for years to come.
Don’t stop at just decorating your tree! These versatile ornaments can be used to:
- Create a festive garland by stringing multiple ornaments together
- Adorn holiday wreaths for added dimension
- Embellish gift packages as special tags
- Display in a decorative bowl as a seasonal centerpiece
- Hang from doorknobs or cabinet handles throughout your home
The beauty of handmade ornaments lies in their uniqueness. Each wood slice has its own character, and each snowman you create will have its own personality. Embrace any imperfections as part of the rustic charm that makes these ornaments so special.
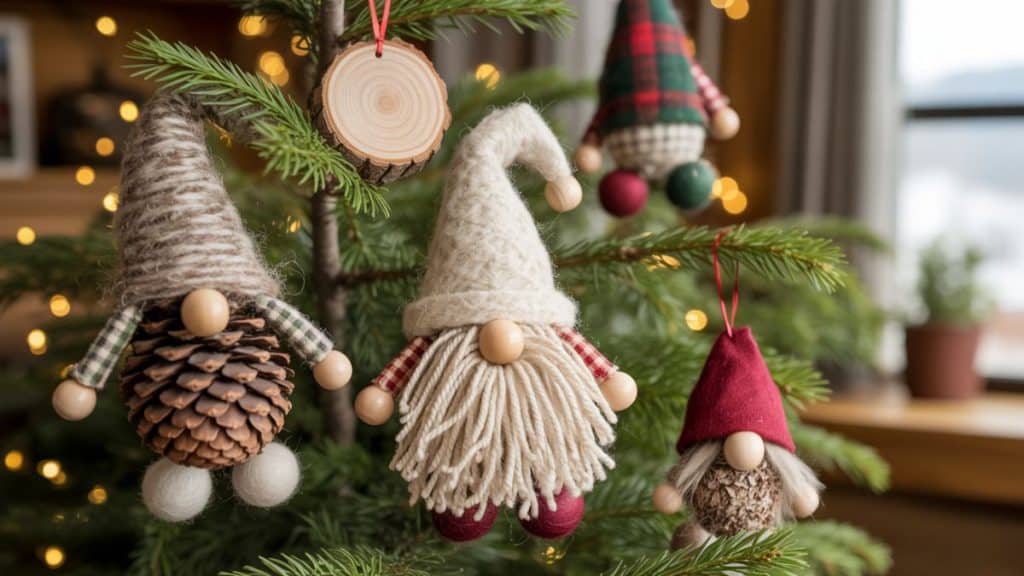
More Christmas Crafts
Happy crafting, and may your holiday season be filled with the joy of creating!