DIY Clay Diffuser Stones: An Easy Step-By-Step Guide for Beginners
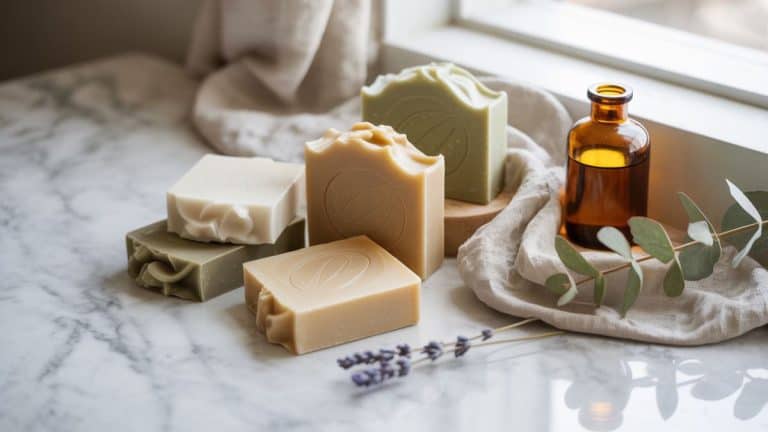
If you love a home that smells amazing but feel uninspired by plastic plug-ins and overpowering sprays, this project is for you. DIY clay diffuser stones are a simple, stylish way to add natural fragrance to your space without cords, flames, or expensive refills.
These little handmade stones look like something you’d find in a boutique, yet they’re surprisingly easy to make. With just a few supplies and no special crafting skills, you can create beautiful, reusable scent diffusers that blend effortlessly into your decor.
They’re perfect for small spaces like desks, shelves, closets, or even your car and they make thoughtful, heartfelt gifts too.
This website contains affiliate links. As an Amazon Associate, I earn from qualifying purchases. Please read our disclaimer.
Why Clay Diffuser Stones Are Such a Great Alternative
Unlike candles or electric diffusers, clay diffuser stones work quietly and naturally. Air-dry clay is porous, which allows it to absorb essential oils and release fragrance slowly over time.
They’re:
- Flame-free and electricity-free
- Customizable in shape, size, and texture
- Budget-friendly
- Safe for homes with kids or pets (when used responsibly)
And best of all, they look just as good as they smell.
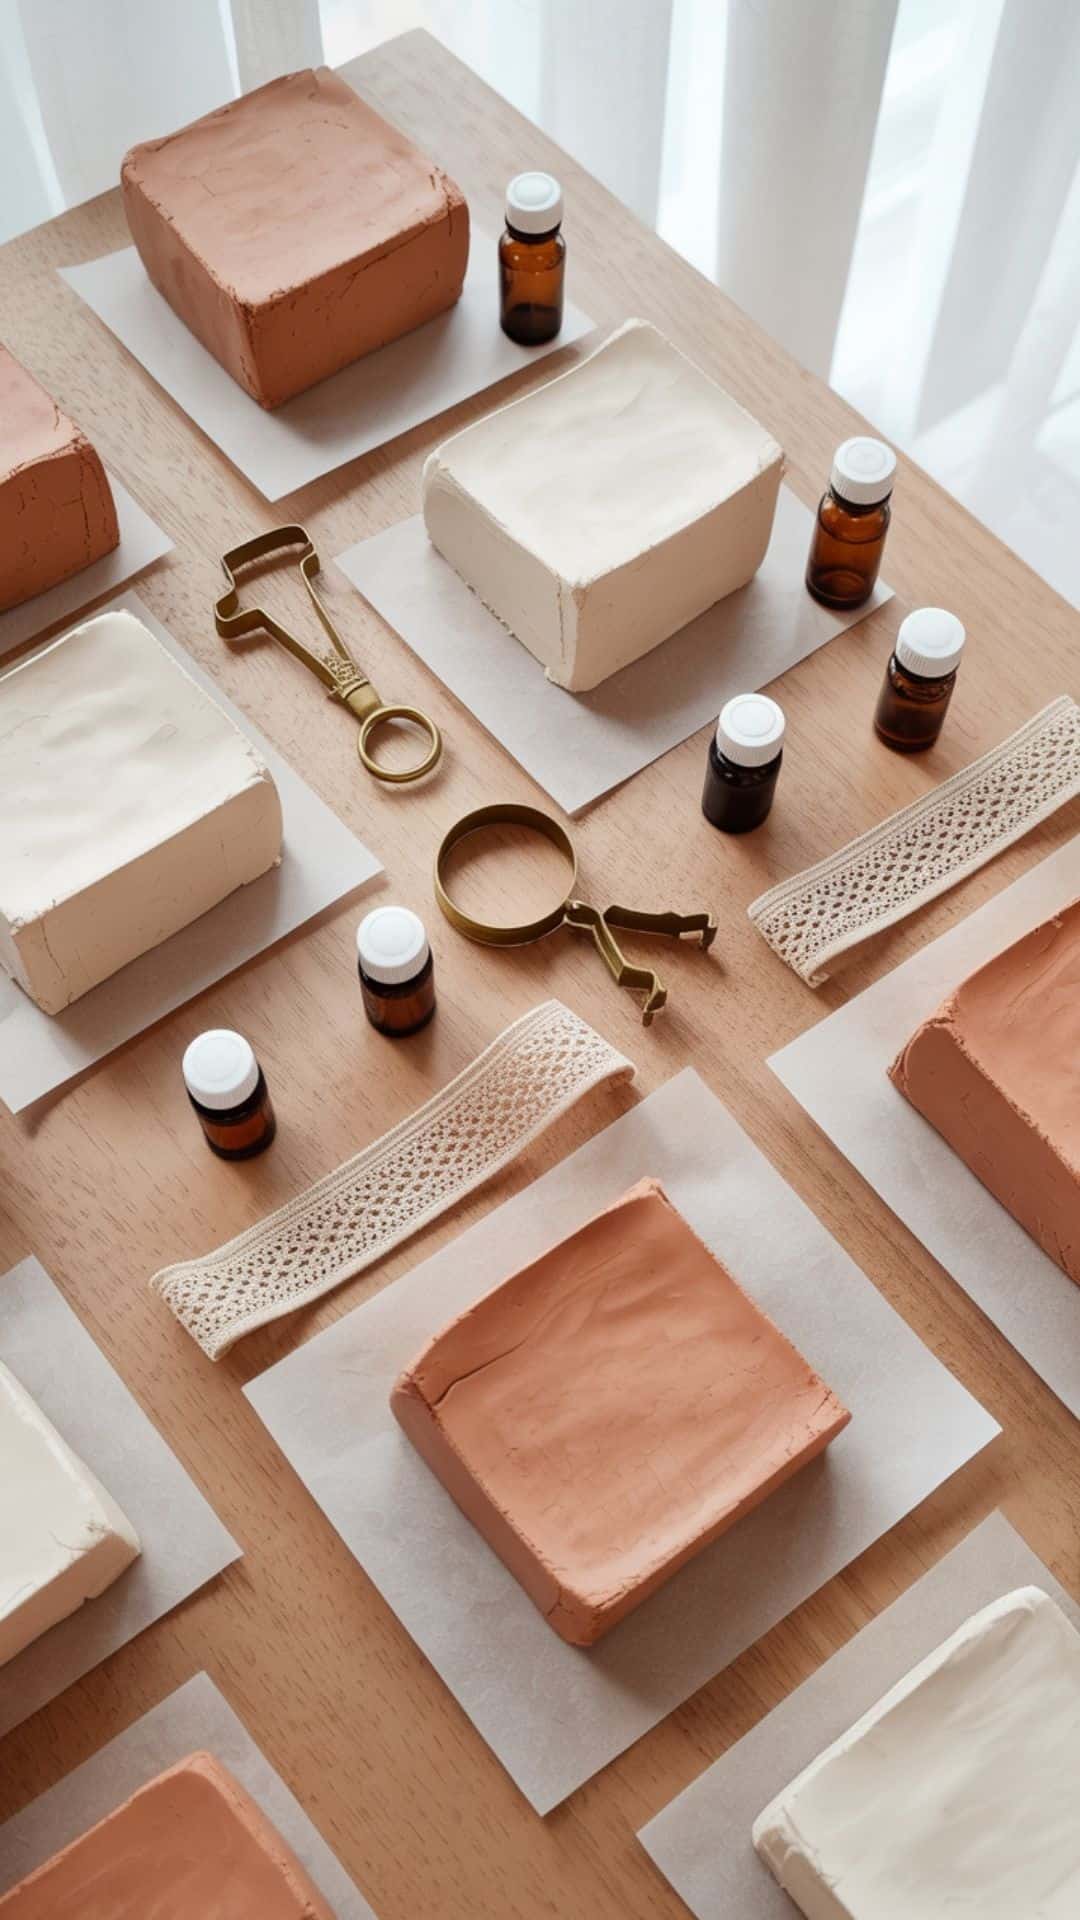
Supplies You’ll Need
You don’t need much to get started, and chances are you already have some of these items on hand.
- Air-dry clay
- Essential oils
- Rolling pin or smooth bottle
- Cookie cutters or glass rim
- Parchment paper
- Wooden skewer or toothpick
- Lace, leaves, or rubber stamps for texture
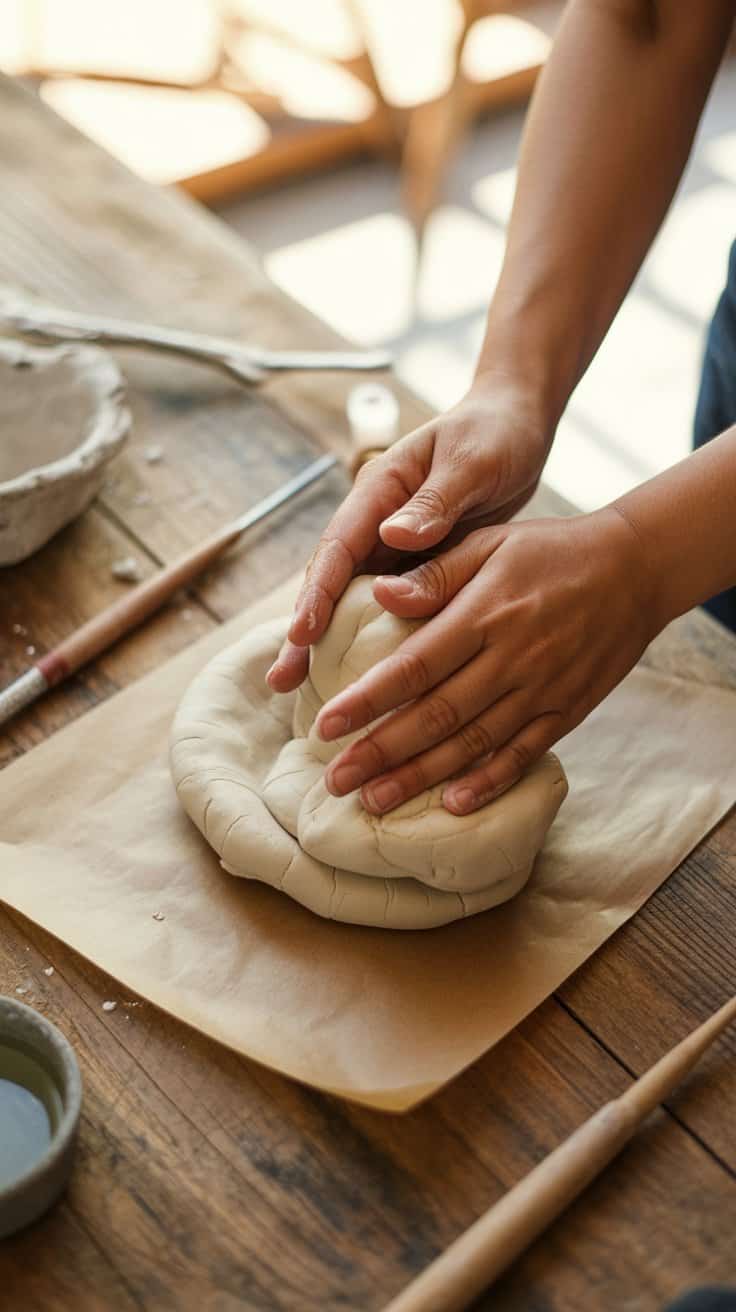
Step 1: Prep Your Workspace and Condition the Clay
Start by covering your work surface with parchment paper to prevent sticking and make cleanup easy.
Break off a portion of clay about the size of a large lemon and seal the rest of the package tightly. Knead the clay in your hands for a minute or two, folding and rolling it until it becomes smooth and pliable. This step removes air bubbles and helps prevent cracking later.
If the clay feels slightly dry, add a tiny bit of water to your fingertips and work it in slowly.
Step 2: Roll Out and Shape Your Stones
Place the conditioned clay between two sheets of parchment paper and roll it out evenly. Aim for about ¼ inch thickness thick enough to be sturdy but thin enough to dry properly.
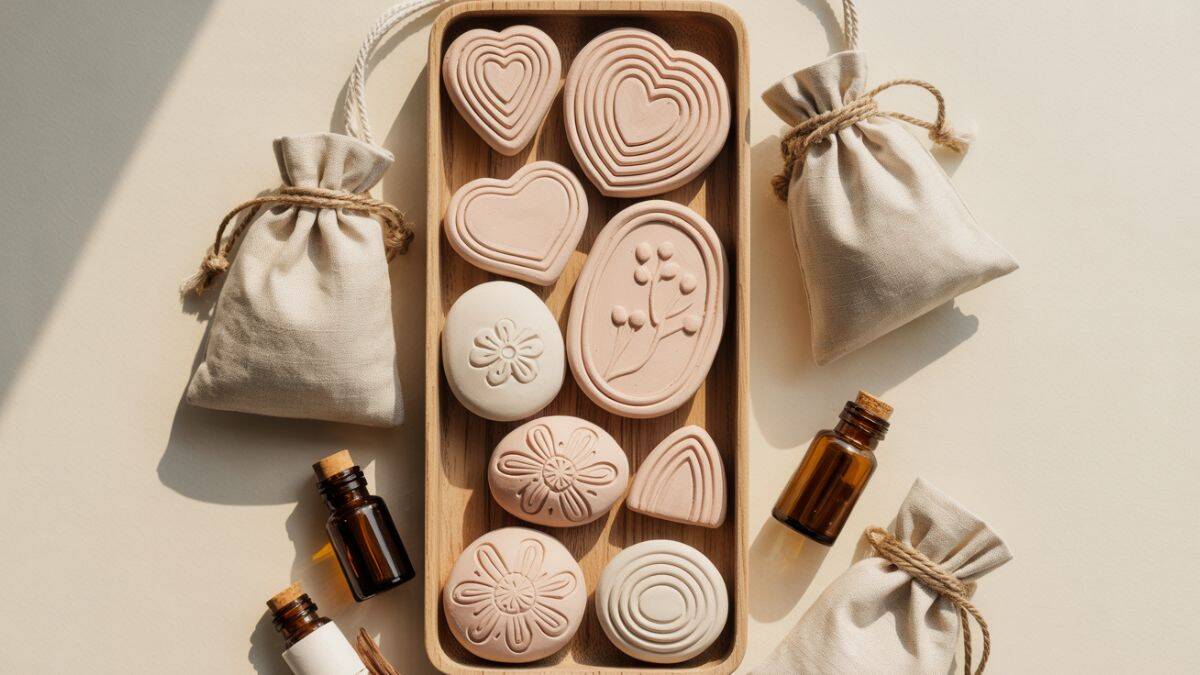
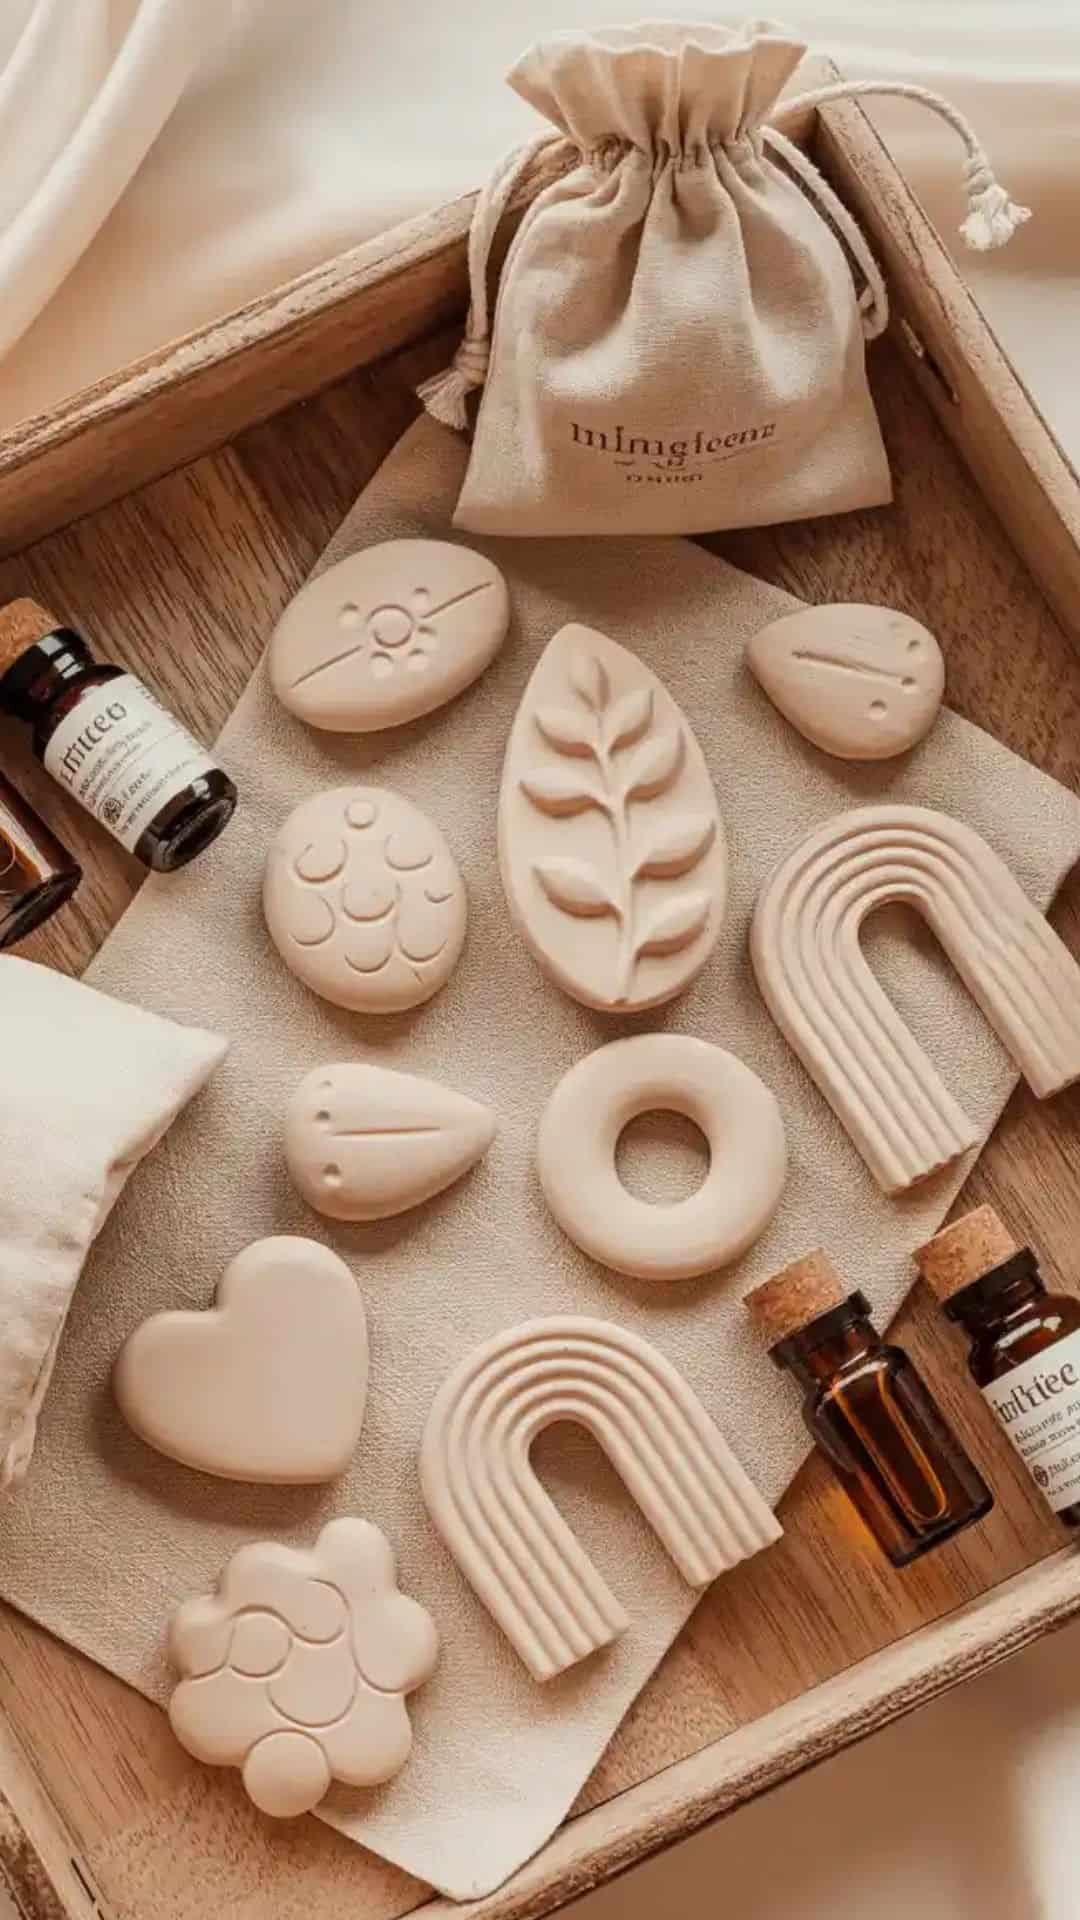
Use cookie cutters or the rim of a glass to cut out shapes. Circles, hearts, ovals, and organic shapes all work beautifully. Re-roll scraps to make more stones.
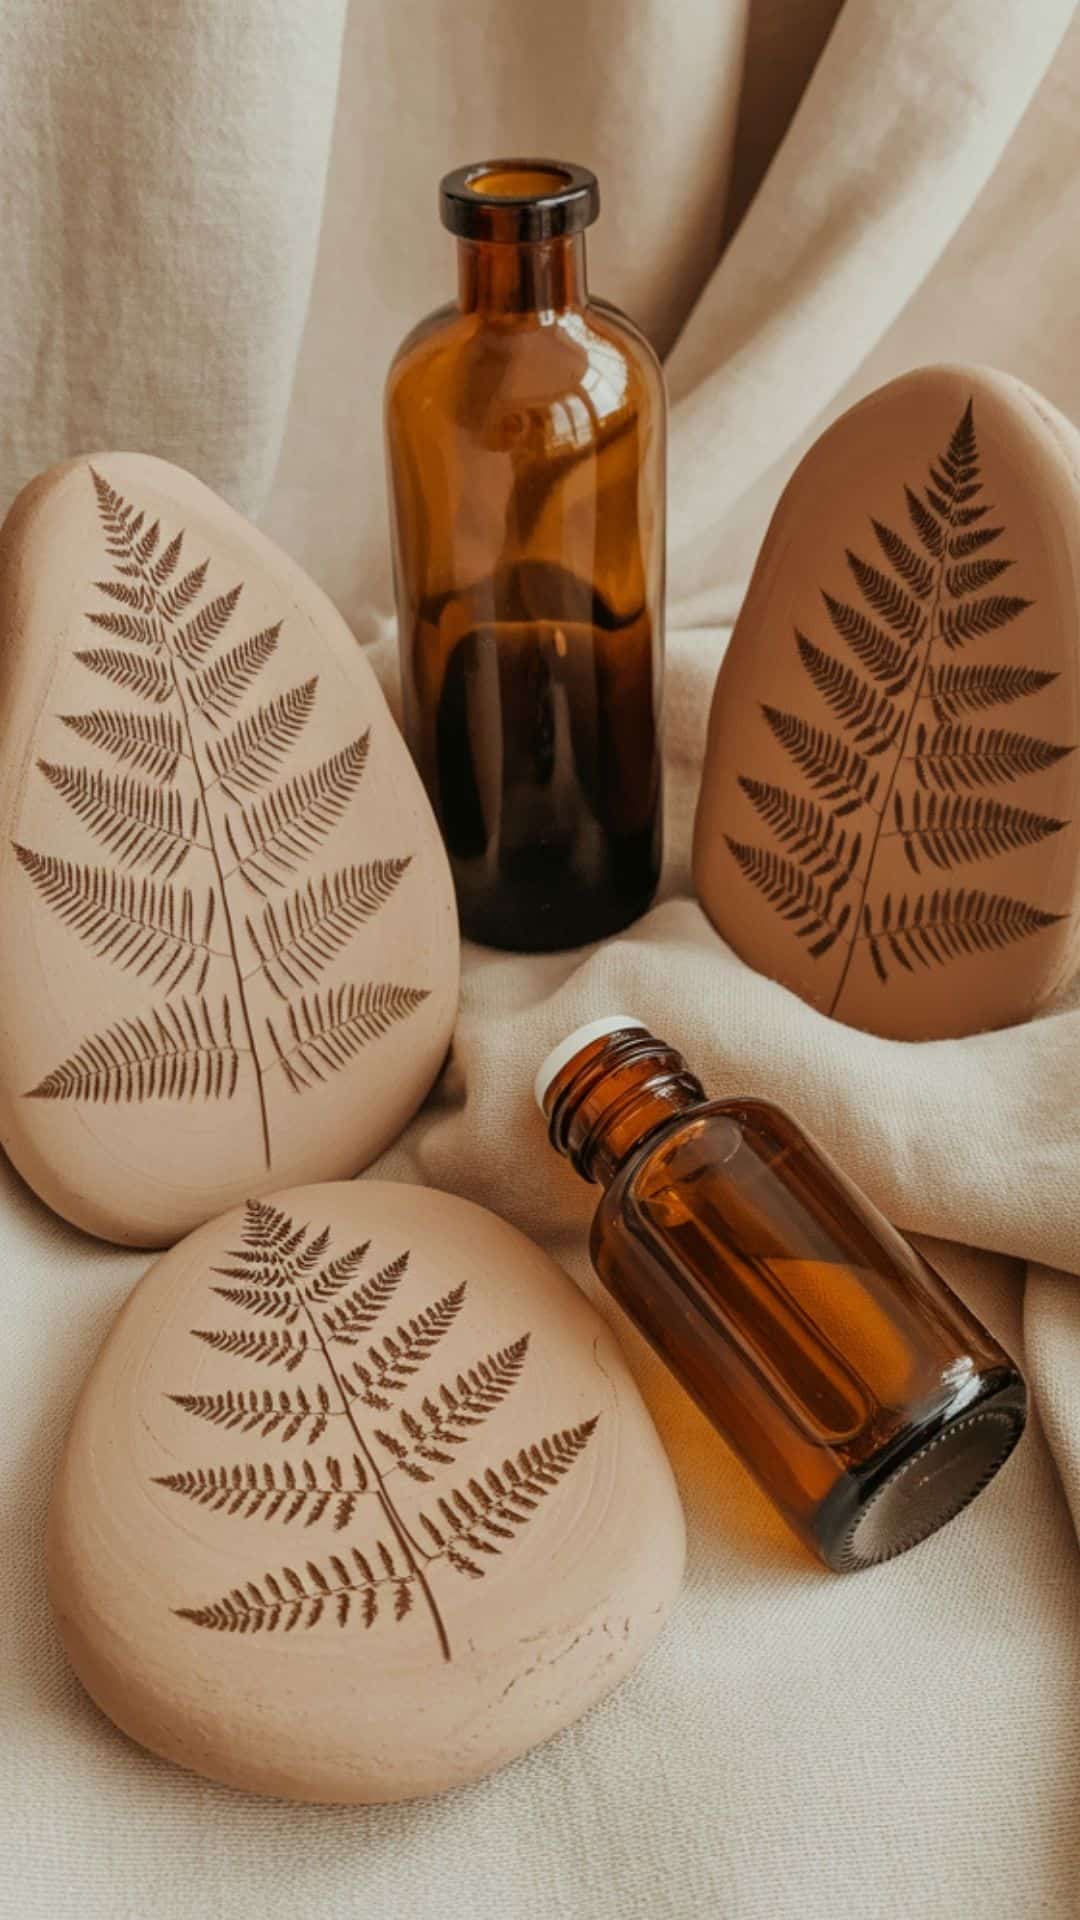
Before cutting, you can press lace, leaves, or stamps into the clay to create texture. This small detail instantly gives your stones a high-end, handmade look.
Step 3: Add Holes and Smooth the Edges
If you plan to hang your diffuser stones, use a skewer or toothpick to gently twist a hole near the top of each piece keeping it away from the edge for strength.
To smooth rough edges, lightly dampen your finger and gently glide it along the sides of each stone. This softens imperfections and creates a clean, polished finish.
Take your time here these small refinements make all the difference.
Step 4: Let the Stones Dry Completely
Transfer the stones (still on parchment) to a tray and place them in a well-ventilated area away from direct sunlight.
Most air-dry clay takes 24–48 hours to fully cure. Flip the stones after about 12 hours so both sides dry evenly.
You’ll know they’re ready when they feel firm, no longer cool, and appear lighter in color.
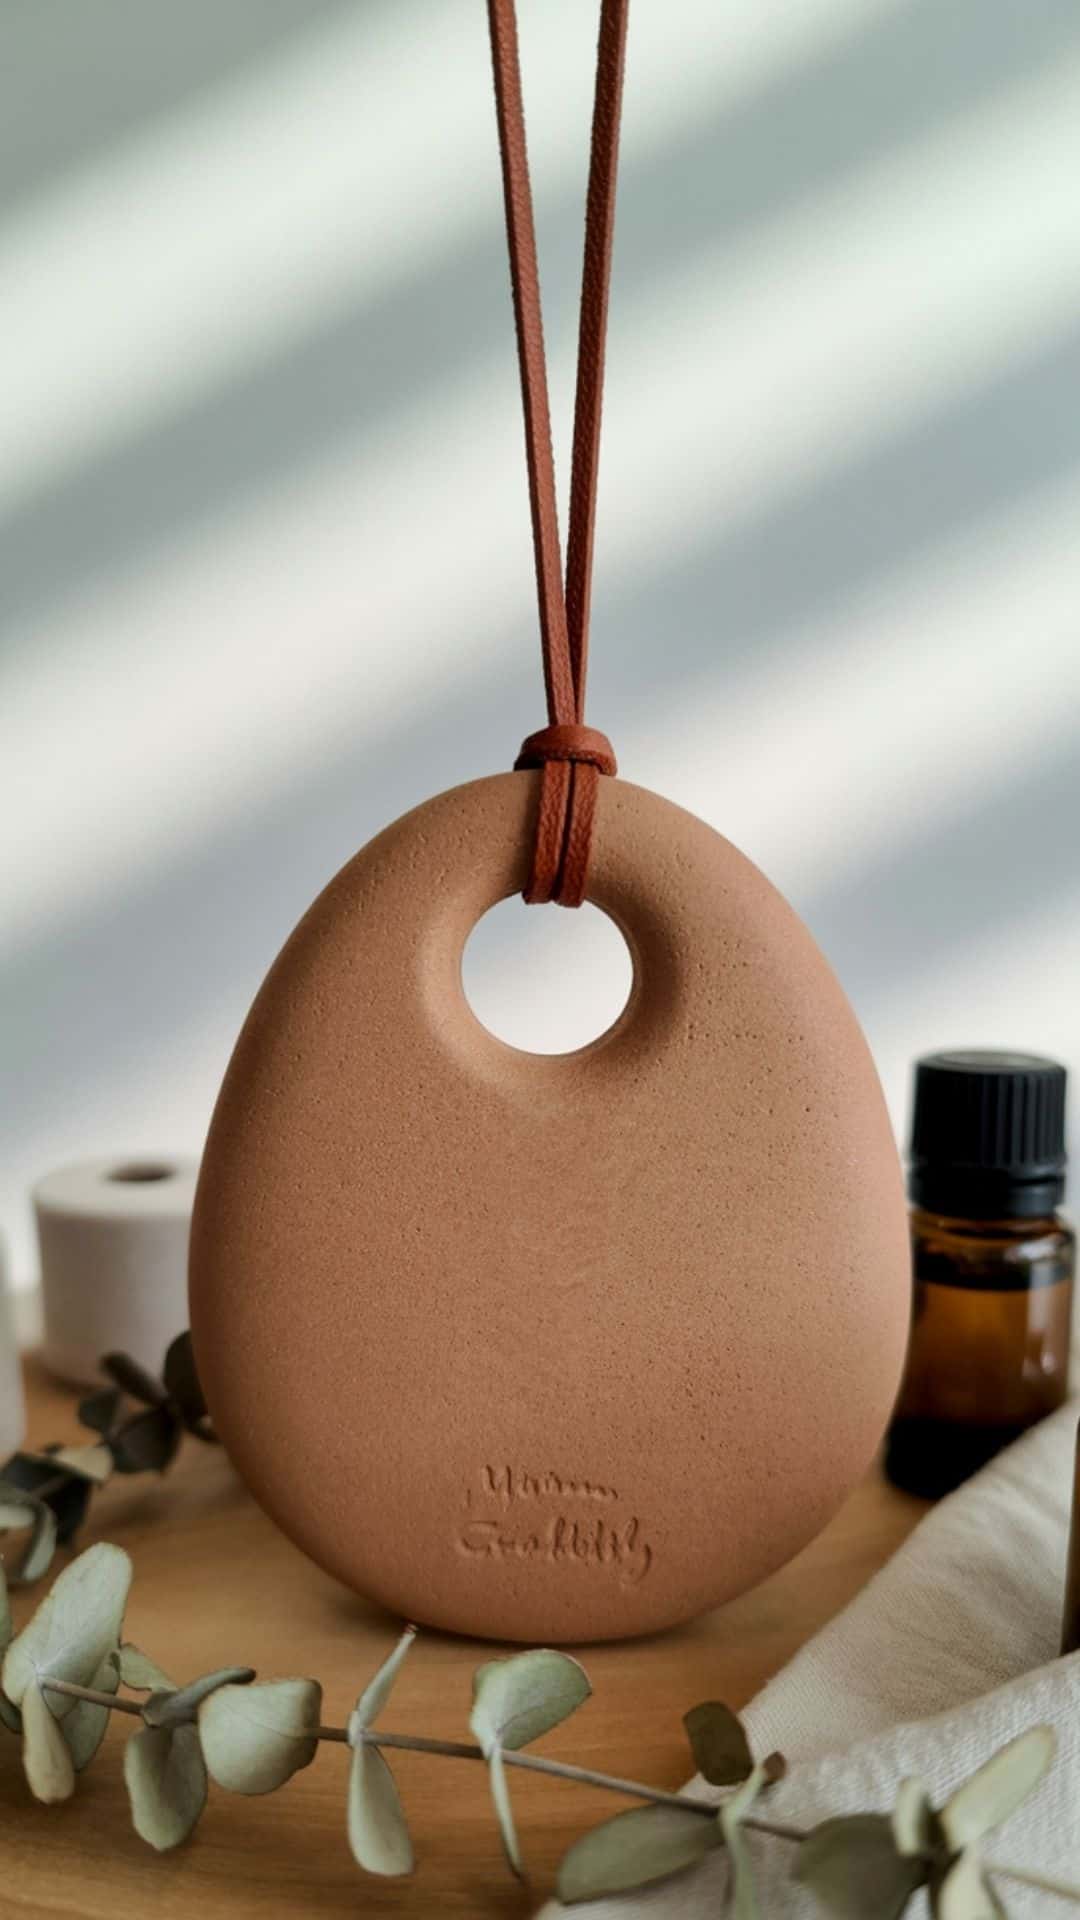
Step 5: Activate Your Diffuser Stones
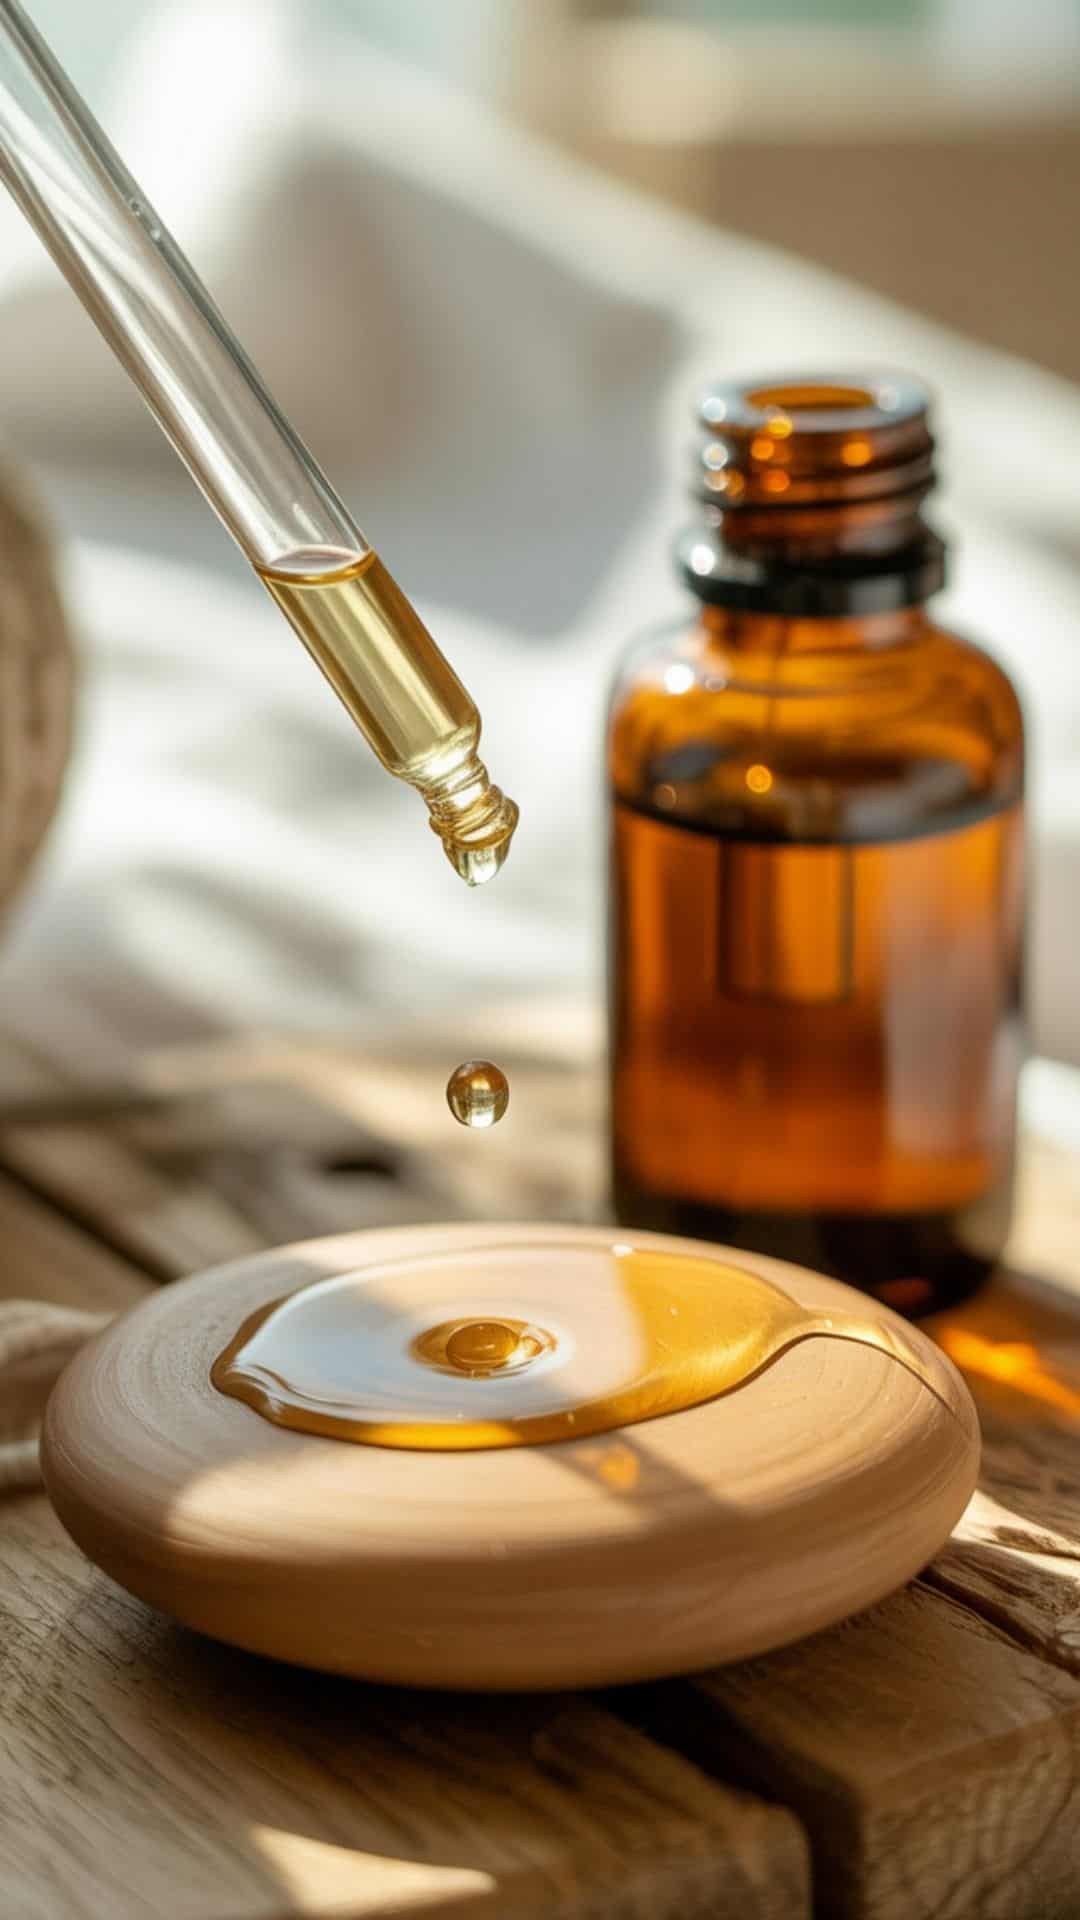
Once fully dry, add 2–3 drops of essential oil to the back of each stone. The oil will absorb quickly into the clay and begin releasing fragrance naturally.
Let the stone rest for a few minutes before placing it in your space. When the scent fades, simply refresh with a few more drops.
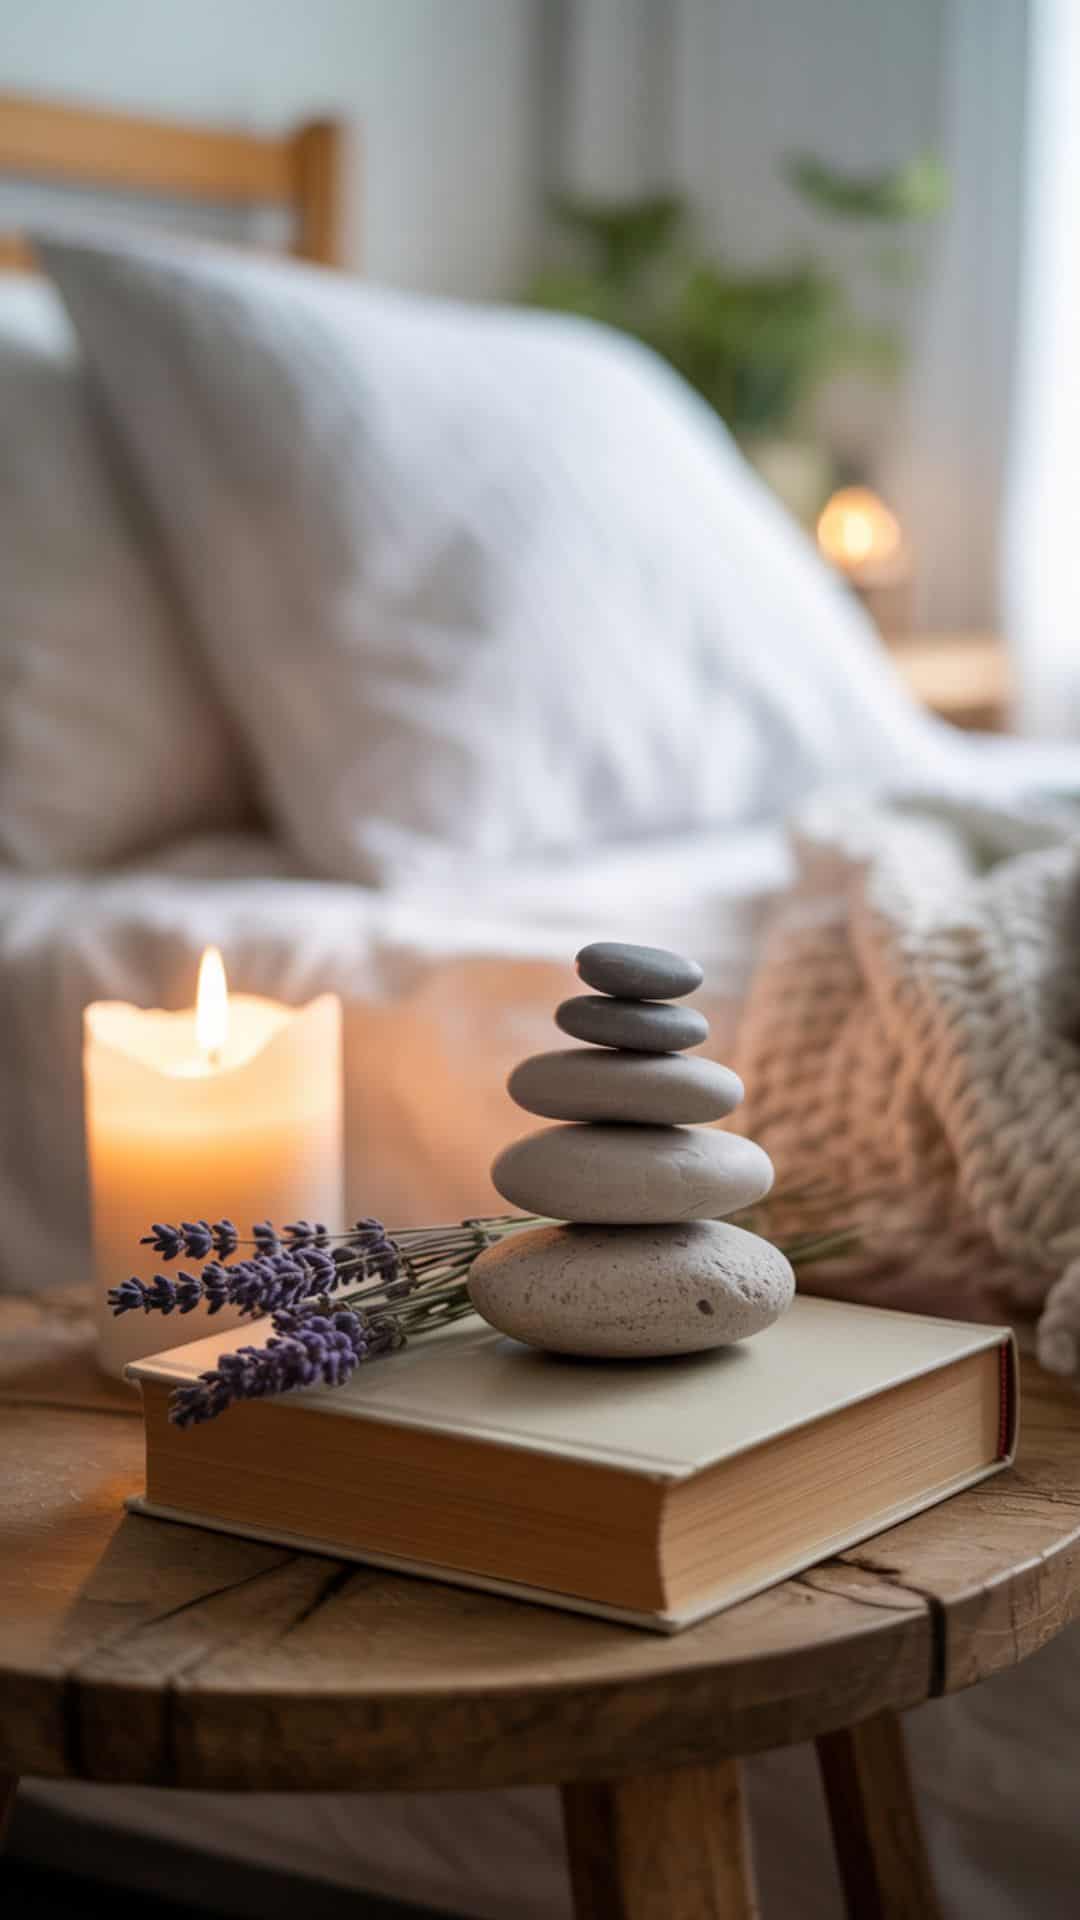
Creative Ways to Use and Display Them
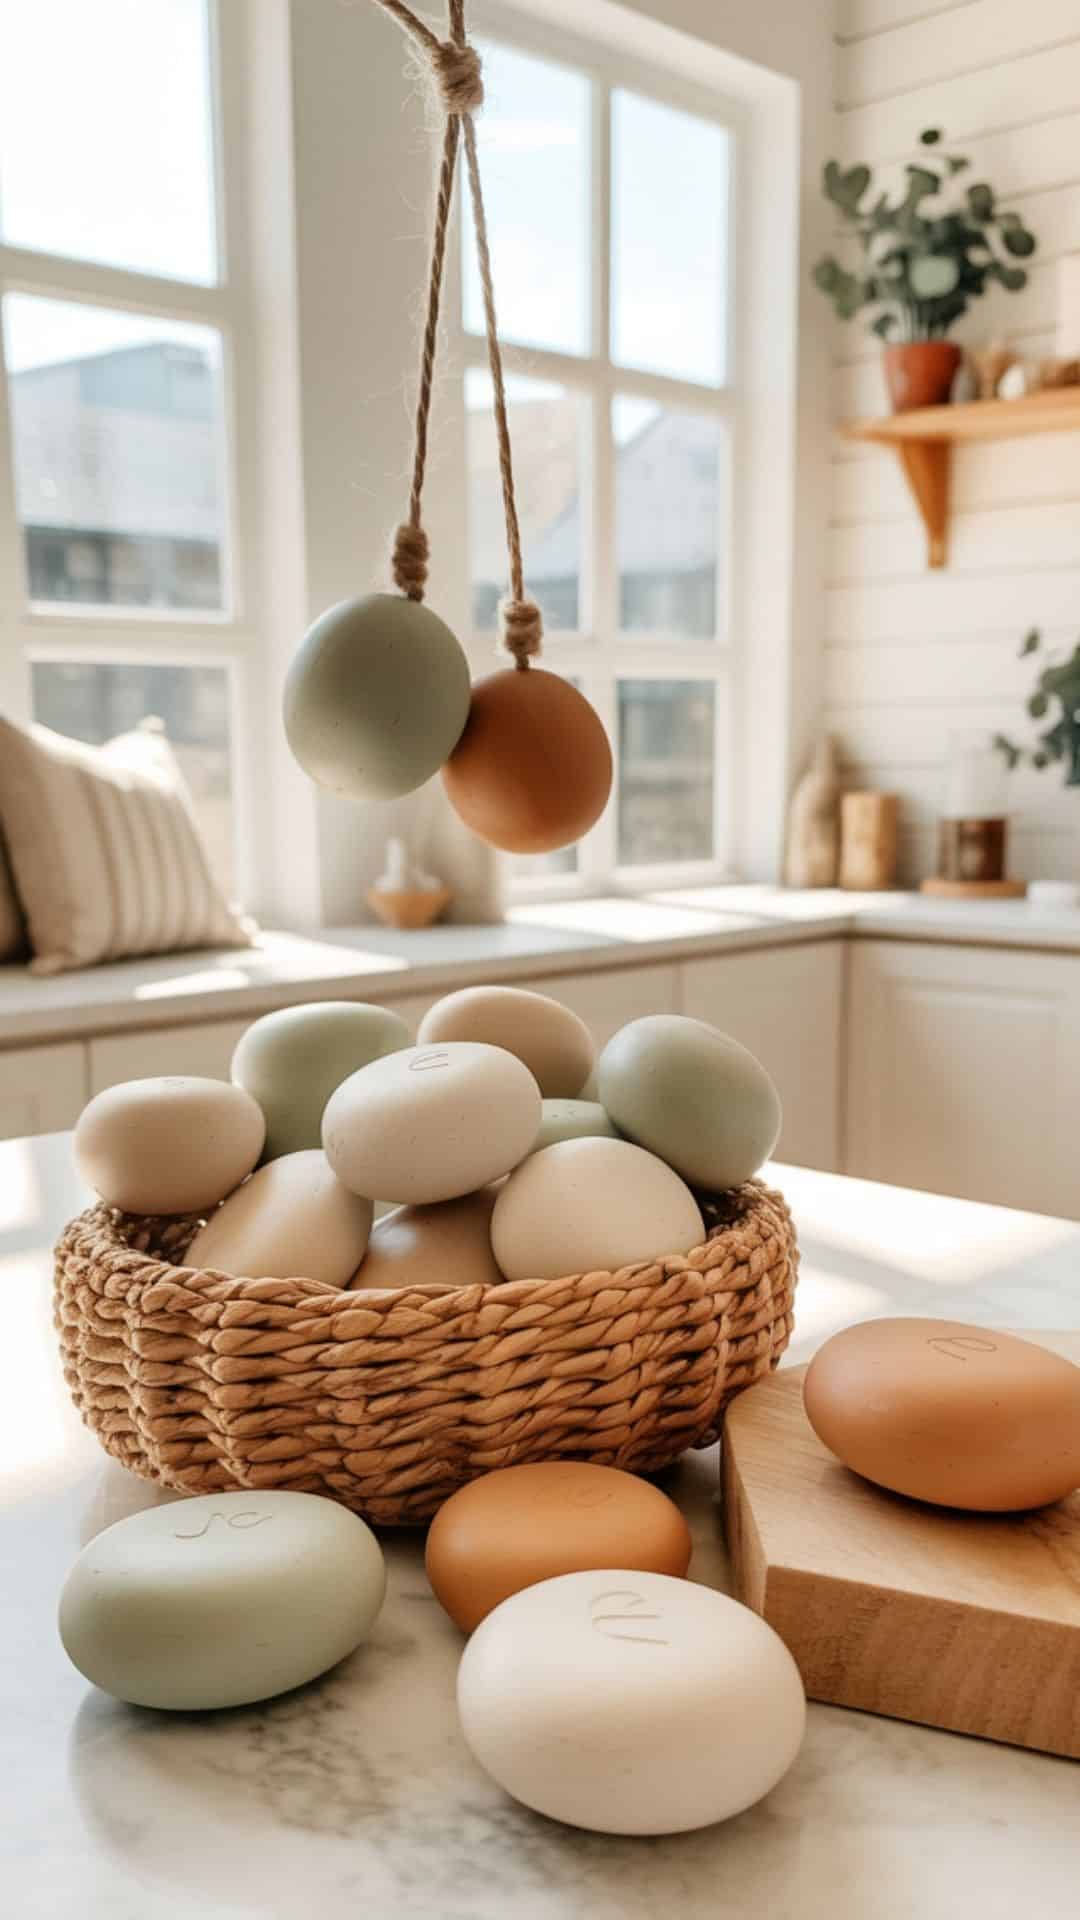
Place a single stone on your desk for a gentle, focused scent. Group several in a decorative bowl for bathroom or bedroom decor. Hang them in closets, drawers, or from your car’s rearview mirror using twine or ribbon.
They also make wonderful handmade gifts. Pair a few stones with a small bottle of essential oil and package them in a linen pouch for a thoughtful, affordable present.
Wrapping Up
DIY clay diffuser stones are a perfect example of simple creativity with big impact. With minimal supplies and a little time, you can create something beautiful, functional, and completely personalized.
This project proves that you don’t need expensive products or advanced skills to make your home feel welcoming and calm. Whether you keep them for yourself or gift them to someone special, these little stones add a meaningful handmade touch to everyday life.
What scent will you try first?